Esta versão pode conter edições incorretas. Mude para o último instantâneo verificado.
O que você precisa
-
Este passo não foi traduzido. Ajude a traduzi-lo
-
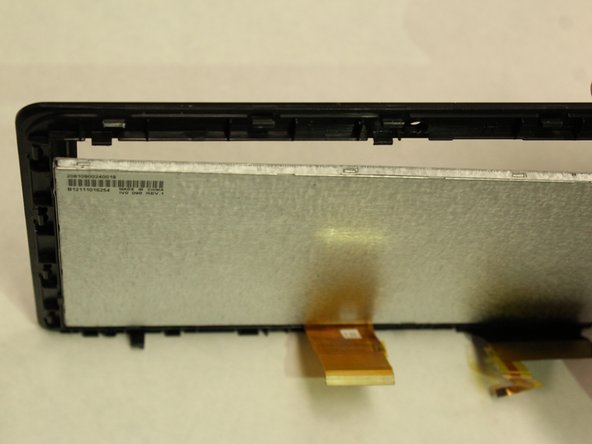
Place the plastic opening tool between the screen and the main component and pry open between the two. Once removed place the main component in a safe place and continue working on the screen section (highlighted in red).
-
Be aware of the wires when removing the display screen from the main component (highlighted in orange)
-
-
Este passo não foi traduzido. Ajude a traduzi-lo
-
Place the plastic opening tool between the metal screen plate and the black front casing.
-
There are small clips where the plastic opening tool can be placed to help pry the screen from the casing.
-
-
Este passo não foi traduzido. Ajude a traduzi-lo
-
Continue to slide the opening tool along the length of the casing until there is a clear separation between the screen and the cover (as shown in the third image).
-
-
Este passo não foi traduzido. Ajude a traduzi-lo
-
Once there is a clearing, carefully remove the screen from the black cover. You now have separated the screen from the tablet device and and are now ready to replace screen.
-


Cancelar: não concluí este guia.
Uma outra pessoa concluiu este guia.
Equipe

IUPUI, Team S1-G1, Wilson Spring 2018 Membro de IUPUI, Team S1-G1, Wilson Spring 2018
IUPUI-WILSON-S18S1G1
Membros da 5
Autoria de 6 guias