O que você precisa
-
-
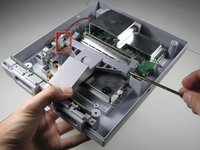
Remove the six screws located on the underside of the system using the Gamebit 4.5mm screwdriver.
-
-
-
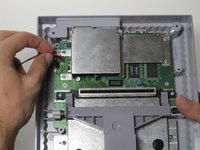
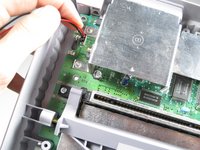
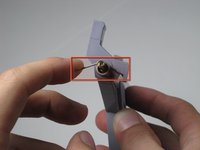
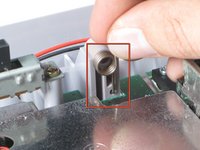
Remove the two 11.7 mm Phillips #2 screws connecting the power switch to the motherboard.
-
-
-
-
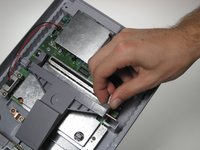
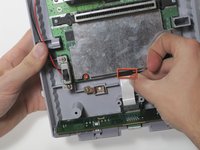
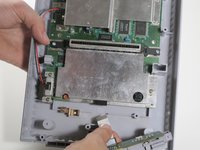
Lift the controller ports out of the housing, this should be done without much force. Take note of the location of the ribbon cable connection.
-
-
-
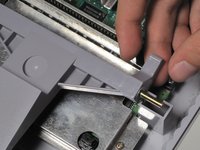
Remove the two Phillips two 11.6mm screws that connect the front shield to the motherboard.
-










To reassemble your device, follow these instructions in reverse order.
Cancelar: não concluí este guia.
47 outras pessoas executaram este guia.

Equipe

Cal Poly, Team 4-47, Amido Fall 2010 Membro de Cal Poly, Team 4-47, Amido Fall 2010
CPSU-AMIDO-F10S4G47
4 Membros
Autoria de 25 guias
4Comentários do guia
There are several versions of the Super Nintendo. Steps for my version are a bit different.
This seems to be a newer super nintendo. If you have one of the older ones, there will be a bit more screws but still basically the same steps.
There are two versions of the Super Nintendo- the one pictured here, and one with a sound chip board behind the game cartridge reader. These two models have different shells that are not interchangeable (important to know if you're looking to buy a replacement housing for your SNES)
It’s possible they may be referring to the European/Japanese version of the Super Nintendo/Super Famicom. Either that, or it’s one of the weird, misshapen “reskins”.
