Ir para o conteúdo principal

Super Nintendo Cartridge Battery Replacement

O que você precisa

  1. Super Nintendo Cartridge Battery Replacement, Battery: passo 1, imagem 1 %32 Super Nintendo Cartridge Battery Replacement, Battery: passo 1, imagem 2 %32 Super Nintendo Cartridge Battery Replacement, Battery: passo 1, imagem 3 %32
    • Remove the two 3.8mm security screws from the front panel of the game cartridge using a 3.8mm Gamebit screwdriver to reveal the circuit board.

    • It's good to have a white mat or bright sheet on your work surface to be able to see any small items like screws more easily and protect the surface from damage like hot solder dripping down.

  2. Super Nintendo Cartridge Battery Replacement: passo 2, imagem 1 %32 Super Nintendo Cartridge Battery Replacement: passo 2, imagem 2 %32 Super Nintendo Cartridge Battery Replacement: passo 2, imagem 3 %32
    • Mount the circuit board on to the adjustable circuit board holder.

    • Desolder the two soldering points on the back of the circuit board holding the battery in place to remove the battery.

    • Use a soldering rest or holder to avoid damage to the surface when you need to put the soldering iron down.

  3. Super Nintendo Cartridge Battery Replacement: passo 3, imagem 1 %32 Super Nintendo Cartridge Battery Replacement: passo 3, imagem 2 %32
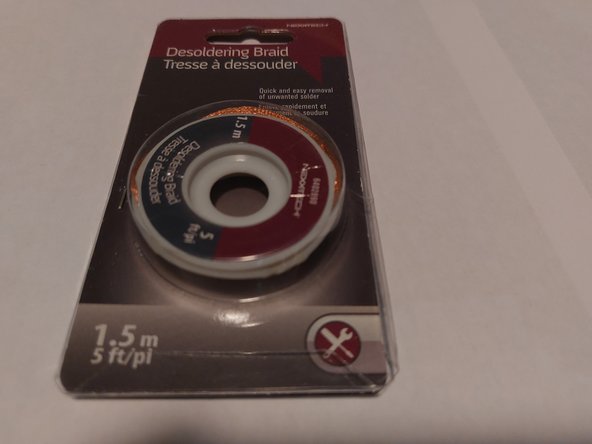
    • Use the soldering iron and the de-soldering braid to remove any excess soldering adhesive.

    • Excess solder needs to be removed so that the new battery can be mounted properly.

  4. Super Nintendo Cartridge Battery Replacement: passo 4, imagem 1 %32 Super Nintendo Cartridge Battery Replacement: passo 4, imagem 2 %32
    • Use the soldering iron with the soldering wire on the two soldering points to adhere the new battery to the circuit board.

  5. Super Nintendo Cartridge Battery Replacement: passo 5, imagem 1 %32 Super Nintendo Cartridge Battery Replacement: passo 5, imagem 2 %32
    • Place the circuit board back into the cartridge and screw the front panel back in place with the 3.8mm security screws using a 3.8mm Gamebit screwdriver.

    • Optional: It would be advisable to clean the finished circuit board before mounting it back into the cartridge.

Linha de Chegada

Uma outra pessoa concluiu este guia.

Mohamad Mohamad

Membro desde: 01/18/21

436 Reputação

Autoria de 3 guias

Equipe

York University, Team M-6, Allen Summer 2023 Membro de York University, Team M-6, Allen Summer 2023

YORK-ALLEN-SU23SMG6

Membros da 3

Autoria de 4 guias

0 comentários

Adicione um comentário

Exibir estatísticas:

Últimas 24 horas: 4

Últimos 7 dias: 33

Últimos 30 dias: 152

Duração total: 1,084