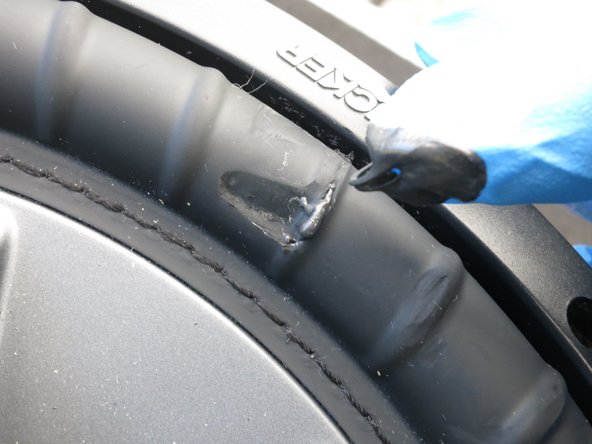
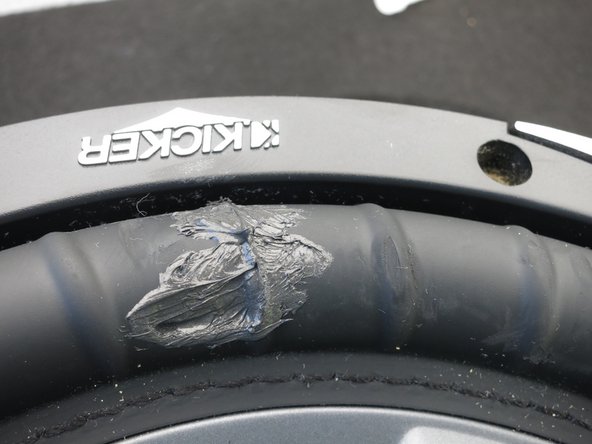
Ir para o conteúdo principal

Subwoofer Rubber Surround Repair

O que você precisa

  1. Subwoofer Rubber Surround Repair, Subwoofer Rubber Surround Repair: passo 1, imagem 1 %32 Subwoofer Rubber Surround Repair, Subwoofer Rubber Surround Repair: passo 1, imagem 2 %32
    • Assess the damage. Depending on the severity of the cut, you may need some other scaffolding material (aside from RTV silicone) to enclose the hole.

    • This is especially true if a chunk of the rubber material is completely missing from the rubber surround.

    • In this case, all we need to do is cover up the tear with RTV silicone in order to make the subwoofer almost as good as new — functionally, at least.

  2. Subwoofer Rubber Surround Repair: passo 2, imagem 1 %32 Subwoofer Rubber Surround Repair: passo 2, imagem 2 %32 Subwoofer Rubber Surround Repair: passo 2, imagem 3 %32
    • Unscrew the eight #2 Phillips screws using either a screwdriver or cordless driver.

    • Be careful if you use a cordless driver for either screwing or unscrewing — you don't want to strip the screws or the enclosure's holes. You also don't want to accidentally create another hole in the rubber surround with either tool.

  3. Subwoofer Rubber Surround Repair: passo 3, imagem 1 %32 Subwoofer Rubber Surround Repair: passo 3, imagem 2 %32
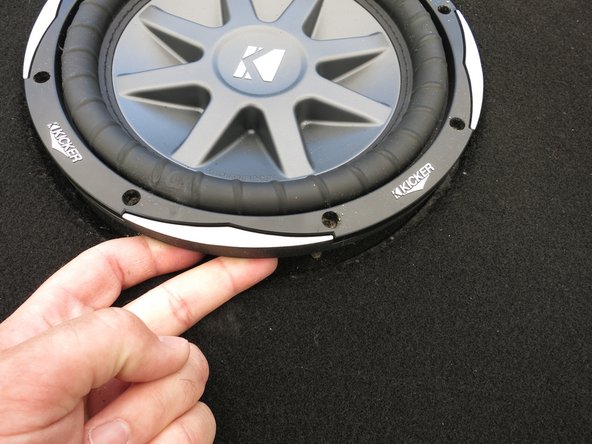
    • Use a flat pry tool (such as a flat-blade screwdriver) to prop up an edge of the subwoofer.

    • In my case, I just used the Phillips #2 screwdriver I had on-hand.

    • Slide your fingers underneath the sub so that you get a good grip on its edge.

    • Carefully lift the subwoofer out of the enclosure, minding any wires that may be tethering the sub to the enclosure.

  4. Subwoofer Rubber Surround Repair: passo 4, imagem 1 %32 Subwoofer Rubber Surround Repair: passo 4, imagem 2 %32
    • Use a clean, lint-free cloth to wipe away any dirt/grease/grime that would otherwise tarnish the bond between the rubber and RTV silicone.

    • Inspect the underside of the tear and also gently clean it with a cloth, if needed.

  5. Subwoofer Rubber Surround Repair: passo 5, imagem 1 %32 Subwoofer Rubber Surround Repair: passo 5, imagem 2 %32 Subwoofer Rubber Surround Repair: passo 5, imagem 3 %32
    • Time to get dirty. Put on your favorite brand of nitrile or latex gloves.

    • Put a dab of RTV silicone on a disposable plate, or some other clean, non-essential surface.

  6. Subwoofer Rubber Surround Repair: passo 6, imagem 1 %32 Subwoofer Rubber Surround Repair: passo 6, imagem 2 %32 Subwoofer Rubber Surround Repair: passo 6, imagem 3 %32
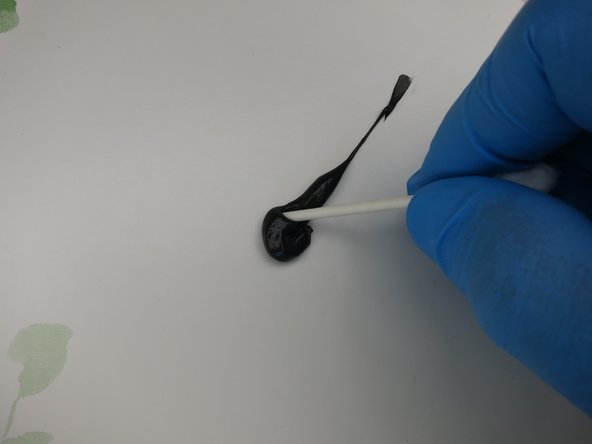
    • Cut the end off a cotton swab in order to transform it into an RTV applicator.

    • Alternatively you can try removing all of the cotton from the swab, but you certainly do not want any cotton fibers to remain on the swab.

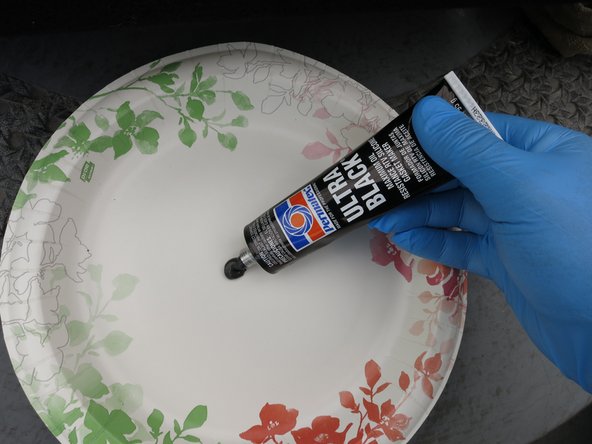
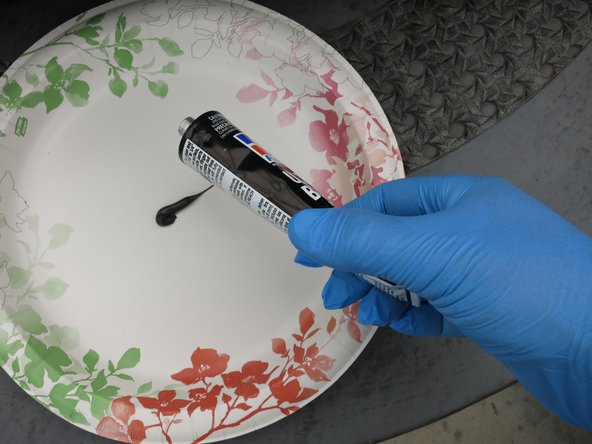
    • Dip the swab into the RTV silicone, and use it to apply the RTV silicone to the underside of the subwoofer tear.

    • You do not need a huge amount of RTV silicone on either side of the rubber surround — just enough to form a very thin layer.

  7. Subwoofer Rubber Surround Repair: passo 7, imagem 1 %32 Subwoofer Rubber Surround Repair: passo 7, imagem 2 %32 Subwoofer Rubber Surround Repair: passo 7, imagem 3 %32
    • With the underside coated, put a dab of RTV silicone onto your gloved finger.

    • Gently spread the RTV silicone across the front of the torn subwoofer surround.

    • Again, you don't need gobs of RTV silicone in order to make a strong bond — just enough to form a thin layer.

    • Perform this action at your own risk -- you may inadvertently open up the hole again, depending on its size.

    • Push down a couple of times on the center of the subwoofer to ensure that the RTV silicone doesn't accidentally impede the movement of the sub.

  8. Subwoofer Rubber Surround Repair, Optional Step: passo 9, imagem 1 %32
    • After you're done applying the RTV silicone and testing the subwoofer's excursion, shine a strong flashlight through the now-covered hole, and ensure that no light bleeds through.

    • Ensure the sub wires are still connected properly, and reinstall the subwoofer back into the enclosure.

Linha de Chegada

24 outras pessoas executaram este guia.

18 comentários

Did this method really work? Did u test your subs? Does the kind of silicone matter clear or black? I read forums and a product u can purchase at walmart called Shoe Goo would be the perfect candidate its flexible sealant.

Makkara - Responder

Also I have a Kicker L5 12" that has a small rip like a 1/4".

Makkara - Responder

I have repaired many using fingernail polish. It may take several applications depending on the size but it forms a strong durable bond. Also works great on the cone.

Matthew Putman - Responder

Where would I find this EVE silicone?

adamh2582 - Responder

Just be careful what silicone you use. Some may degrade the cone and other parts of the subwoofer.

Andrew Powers - Responder

Adicione um comentário

Exibir estatísticas:

Últimas 24 horas: 11

Últimos 7 dias: 85

Últimos 30 dias: 378

Duração total: 125,924