Este guia tem alterações mais recentes. Mudar para a última versão não verificada.
Introdução
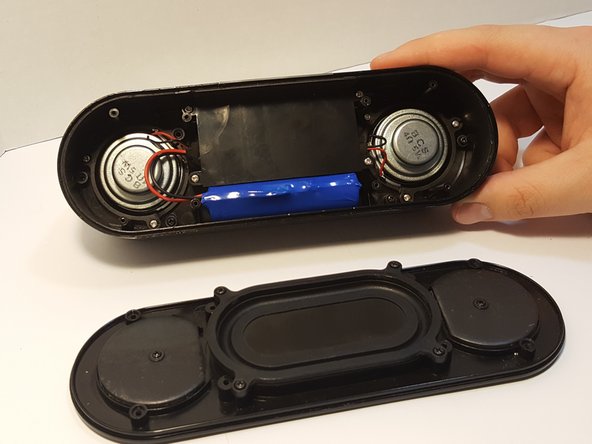
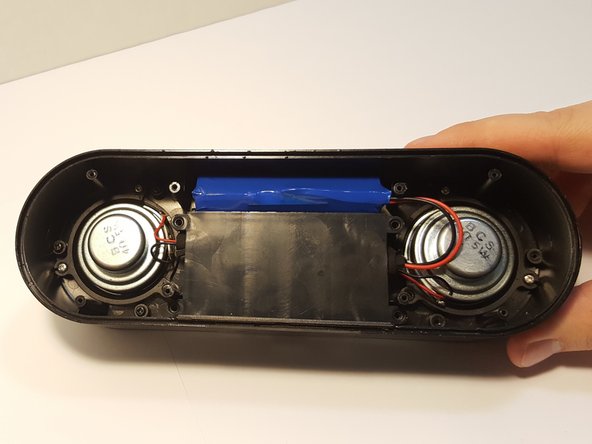
This guide can be used to take out a specific device speaker in order to replace it with a new one.
O que você precisa
-
-
-
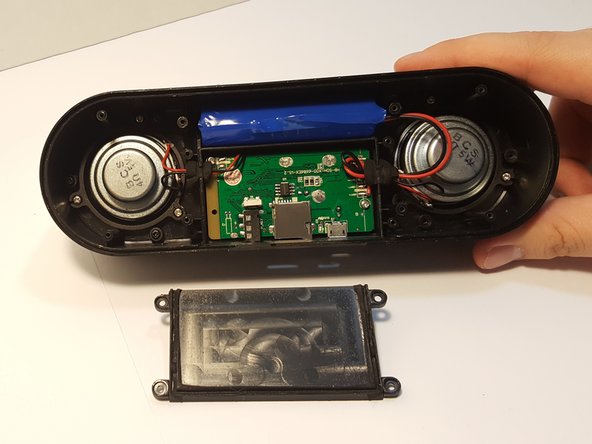
Remove the four 4.5 mm silver Phillips screws that secure the plastic panel covering the motherboard.
-
Remove the plastic panel.
-


To reassemble your device, follow these instructions in reverse order.
To reassemble your device, follow these instructions in reverse order.
Cancelar: não concluí este guia.
Uma outra pessoa concluiu este guia.

Equipe

UMass Dartmouth, Team 3-2, Bhusal Spring 2016 Membro de UMass Dartmouth, Team 3-2, Bhusal Spring 2016
UMASSD-BHUSAL-S16S3G2
Membros da 5
Autoria de 8 guias