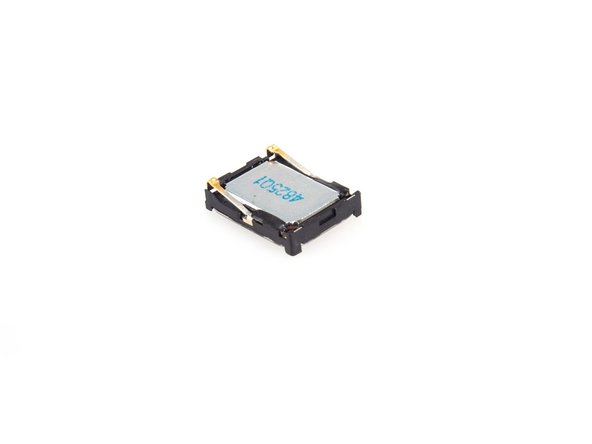
Ir para o conteúdo principal

Sony Xperia Z3 Dual Earpiece Speaker Replacement

O que você precisa

  1. Sony Xperia Z3 Dual Earpiece Speaker Replacement, Earpiece Speaker: passo 1, imagem 1 %32
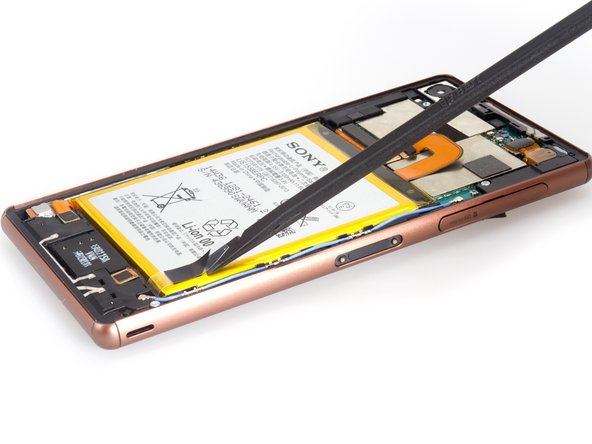
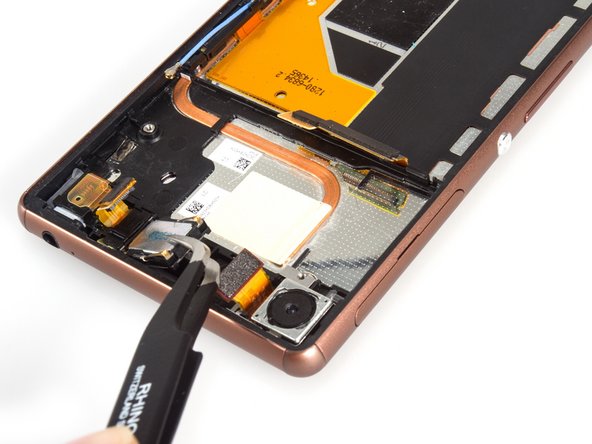
    • Power off and remove two SIM card trays at first before earpiece speaker replacement.

  2. Sony Xperia Z3 Dual Earpiece Speaker Replacement: passo 2, imagem 1 %32 Sony Xperia Z3 Dual Earpiece Speaker Replacement: passo 2, imagem 2 %32 Sony Xperia Z3 Dual Earpiece Speaker Replacement: passo 2, imagem 3 %32
    • Heat to soften back cover adhesive sticker.

    • Use suction cup to open a gap and insert into the guitar pick.

    • Slide guitar pick to cut the sticker.

  3. Sony Xperia Z3 Dual Earpiece Speaker Replacement: passo 3, imagem 1 %32
    • Remove back cover.

  4. Sony Xperia Z3 Dual Earpiece Speaker Replacement: passo 4, imagem 1 %32 Sony Xperia Z3 Dual Earpiece Speaker Replacement: passo 4, imagem 2 %32 Sony Xperia Z3 Dual Earpiece Speaker Replacement: passo 4, imagem 3 %32
    • It's easy to remove the battery.

  5. Sony Xperia Z3 Dual Earpiece Speaker Replacement: passo 5, imagem 1 %32
    • Twist off two screws at first.

  6. Sony Xperia Z3 Dual Earpiece Speaker Replacement: passo 6, imagem 1 %32 Sony Xperia Z3 Dual Earpiece Speaker Replacement: passo 6, imagem 2 %32 Sony Xperia Z3 Dual Earpiece Speaker Replacement: passo 6, imagem 3 %32
    • Remove three pieces of securing bracket.

  7. Sony Xperia Z3 Dual Earpiece Speaker Replacement: passo 7, imagem 1 %32 Sony Xperia Z3 Dual Earpiece Speaker Replacement: passo 7, imagem 2 %32 Sony Xperia Z3 Dual Earpiece Speaker Replacement: passo 7, imagem 3 %32
    • Release all the connectors connecting with motherboard.

    • Pry motherboard up from left side. It's really hold tightly by some hidden keys, so be careful.

    • Remove motherboard.

  8. Sony Xperia Z3 Dual Earpiece Speaker Replacement: passo 8, imagem 1 %32 Sony Xperia Z3 Dual Earpiece Speaker Replacement: passo 8, imagem 2 %32 Sony Xperia Z3 Dual Earpiece Speaker Replacement: passo 8, imagem 3 %32
    • Remove the blocker beside earpiece speaker and you can see the breakout to pry up the speaker.

    • Remove earpiece speaker finally.

Conclusão

To reassemble your device, follow these instructions in reverse order.

13 outras pessoas executaram este guia.

Sophia

Membro desde: 03/25/14

43.810 Reputação

Autoria de 62 guias

3 comentários

Thanks for the guide, it worked very well.

Maybe it's worth mentioning that there's a sticker at the back of the battery and you shouldn't be afraid to just pull the battery out.

Steven Kolenberg - Responder

Hai. Can you give me the link to buy the earpiece? Tq

Wafi Sams - Responder

Thanks for the guide, however my ear piece speaker now rattles when i play music at medium levels. I have tried installing additional adhesive to it, but still cracks.

Tony Ho - Responder

Adicione um comentário

Exibir estatísticas:

Últimas 24 horas: 0

Últimos 7 dias: 2

Últimos 30 dias: 9

Duração total: 16,183