Introdução
Also known as Xperia Z LT36i, Xperia C6603, Xperia C6602, Xperia Z LTE, Xperia Z HSPA+
How to change broken, not working Digitizer or Display.
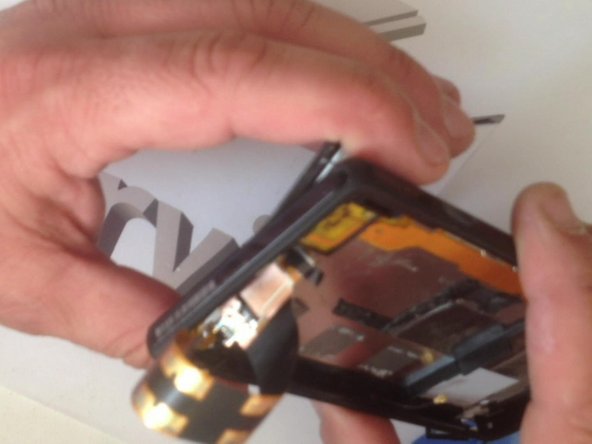
This procedure is very hard. You must have experience to do this.
O que você precisa
Vídeo de Apresentação
-
-
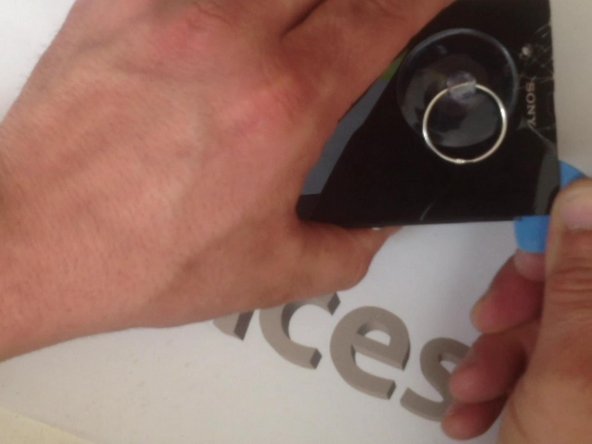
Warm the Battery cover before disassemble it.
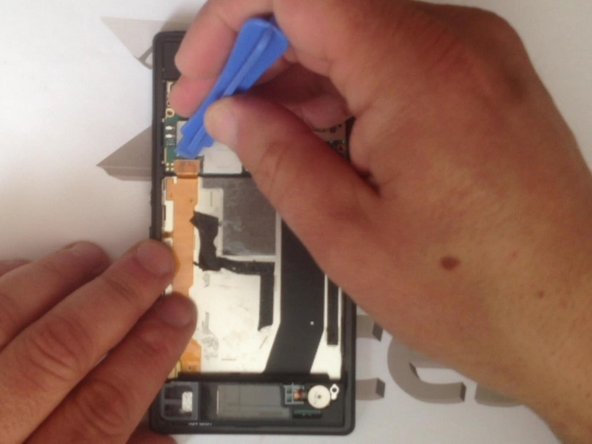
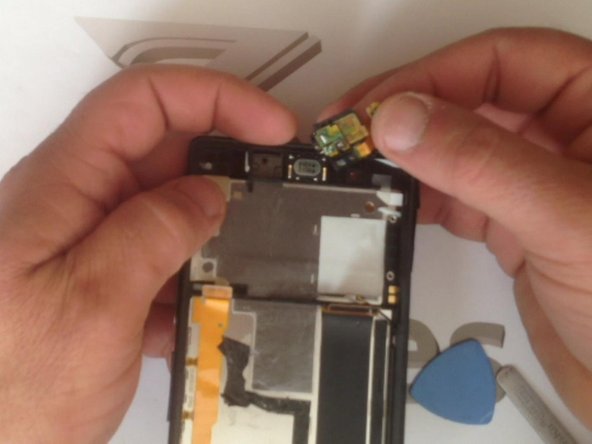
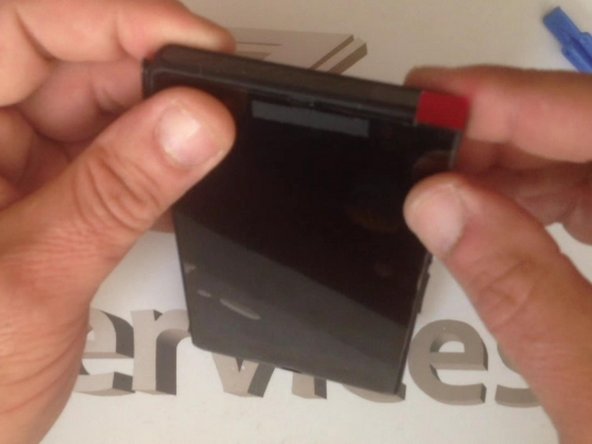
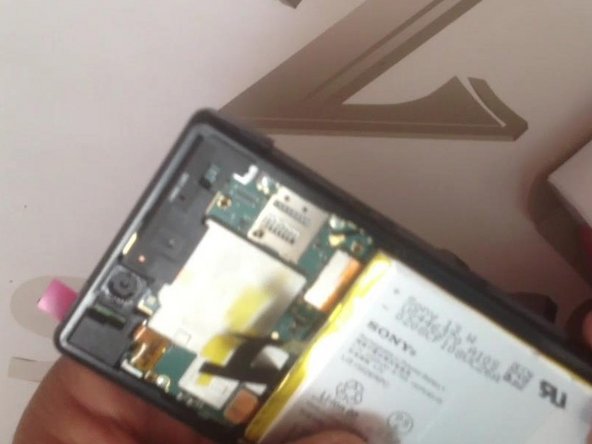
-
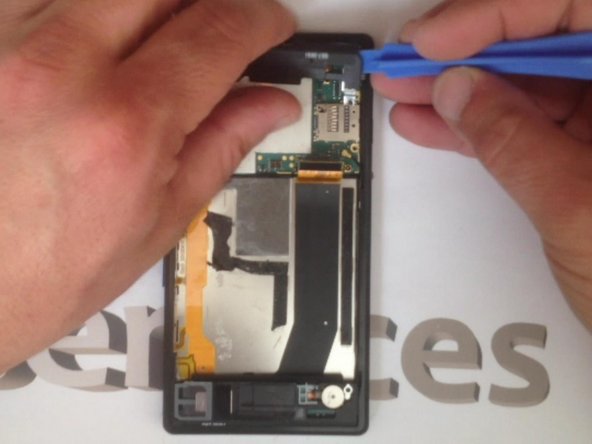
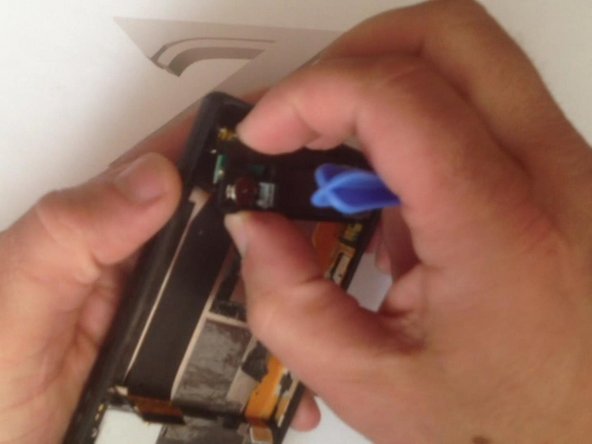
-
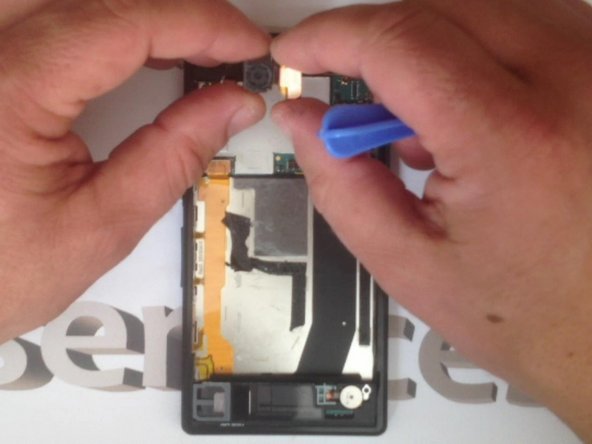
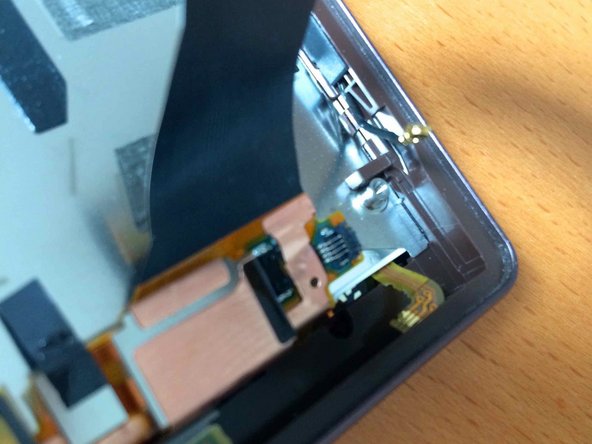
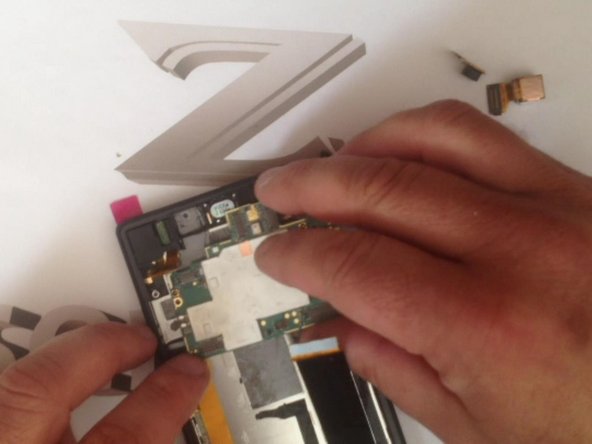
-
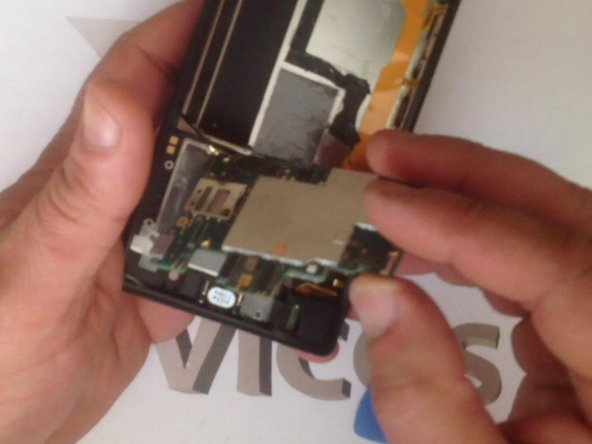
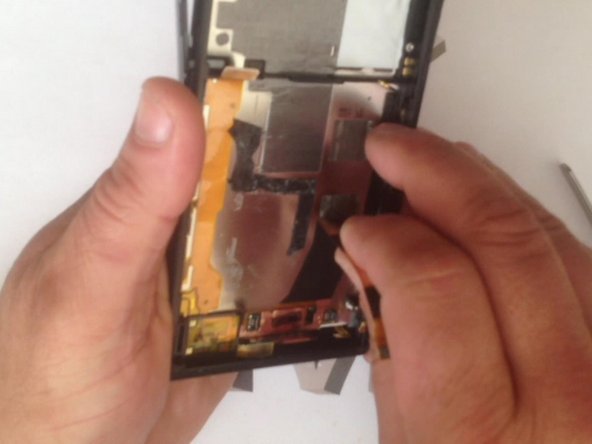
-
All's well, that ends well. :)
-
.
-
Did you do it successfully?
-


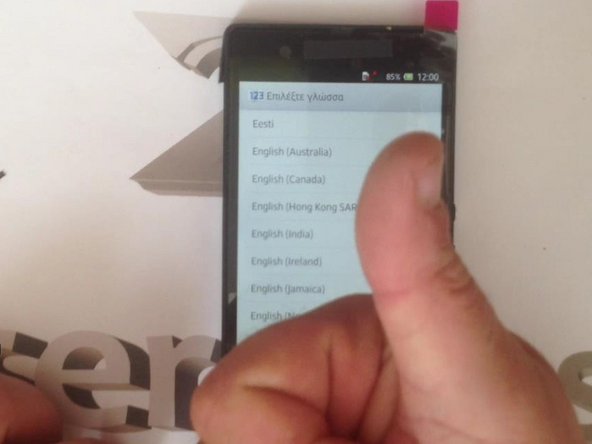
Quase terminado!
To reassemble your device, follow these instructions in reverse order.
Conclusão
To reassemble your device, follow these instructions in reverse order.
Cancelar: não concluí este guia.
76 outras pessoas executaram este guia.

Equipe

54 comentários
with a hairdryer for like 3 min on high