Esta versão pode conter edições incorretas. Mude para o último instantâneo verificado.
O que você precisa
-
Este passo não foi traduzido. Ajude a traduzi-lo
-
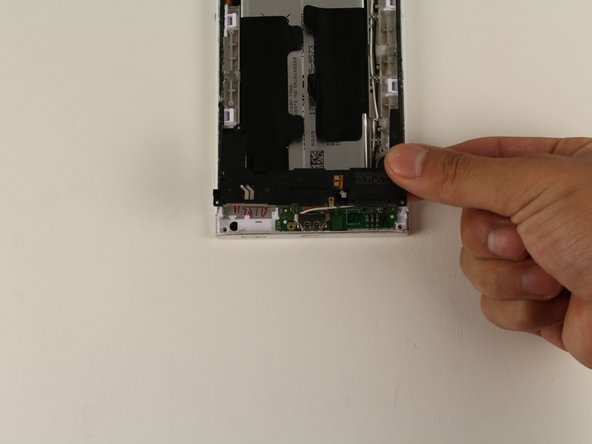
Wedge your finger under the bottom ridge of the SD card insert.
-
Pull outwards with your fingers to remove the SD card from the left side of device.
-
-
Este passo não foi traduzido. Ajude a traduzi-lo
-
Use a hair dryer to heat each corner of the phone.
-
Alternate heating each corner for a minute to loosen the adhesive binding the back cover to the phone.
-
-
Este passo não foi traduzido. Ajude a traduzi-lo
-
Press a suction cup on a heated corner of the device.
-
Hold the phone down and gently lift the suction cup to create a small gap.
-
-
-
Este passo não foi traduzido. Ajude a traduzi-lo
-
Insert your iFixit Opening Tool in the small gap between your phone and the back cover.
-
Lift up on the iFixit Opening Tool and insert your plastic card in the small gap between your phone and the back cover.
-
-
Este passo não foi traduzido. Ajude a traduzi-lo
-
Slide your plastic card along the side of your phone to loosen the adhesive.
-
Move the card along the sides of the phone to lift all of the corners.
-
-
Este passo não foi traduzido. Ajude a traduzi-lo
-
Lift up the back cover by lifting up the sides of the phone with your hand.
-
-
Este passo não foi traduzido. Ajude a traduzi-lo
-
Remove the five 4mm T5 screws connecting the speaker to your phone.
-
-
Este passo não foi traduzido. Ajude a traduzi-lo
-
Insert your iFixit Opening Tool underneath the speaker and gently lift up.
-
Once the speaker is slightly lifted, use your hands to remove the piece from the device.
-


Cancelar: não concluí este guia.
Uma outra pessoa concluiu este guia.
Equipe

Cal Poly, Team S16-G3, Livingston Spring 2018 Membro de Cal Poly, Team S16-G3, Livingston Spring 2018
CPSU-LIVINGSTON-S18S16G3
Membros da 4
Autoria de 9 guias