Ir para o conteúdo principal

Sony WH-CH720N Charging Port Replacement

O que você precisa

  1. Sony WH-CH720N Charging Port Replacement, Earmuff: passo 1, imagem 1 %32
    • Place the headphones down on a table, and orient them in this way.

  2. Sony WH-CH720N Charging Port Replacement: passo 2, imagem 1 %32 Sony WH-CH720N Charging Port Replacement: passo 2, imagem 2 %32 Sony WH-CH720N Charging Port Replacement: passo 2, imagem 3 %32
    • Remove the earmuff.

    • Check introductions to ensure you remove the correct side earmuff for each repair guide!

  3. Sony WH-CH720N Charging Port Replacement, Charging Port: passo 3, imagem 1 %32 Sony WH-CH720N Charging Port Replacement, Charging Port: passo 3, imagem 2 %32
    • Use a Philips #00 screwdriver to remove the four 5 mm screws from the left driver housing.

  4. Sony WH-CH720N Charging Port Replacement: passo 4, imagem 1 %32 Sony WH-CH720N Charging Port Replacement: passo 4, imagem 2 %32 Sony WH-CH720N Charging Port Replacement: passo 4, imagem 3 %32
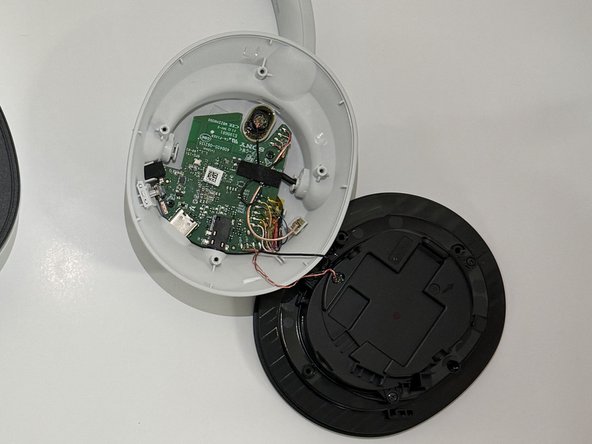
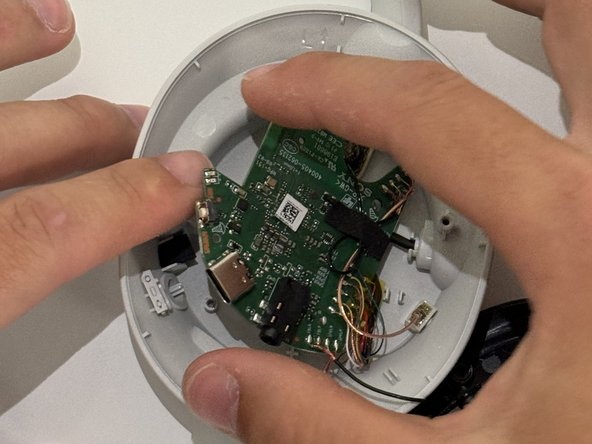
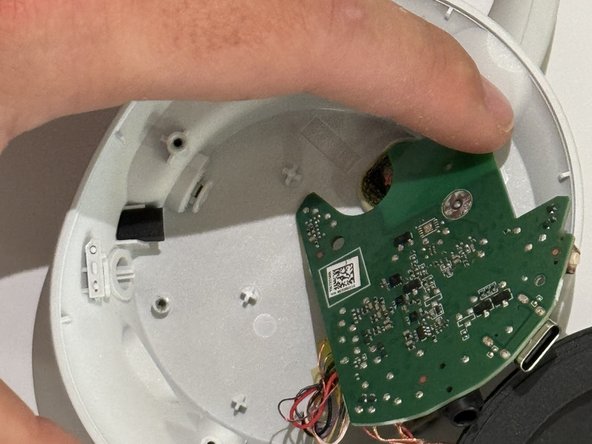
    • Using the same bit, remove the two 3 mm screws from the circuit board.

    • Gently remove the circuit board.

  5. Sony WH-CH720N Charging Port Replacement: passo 5, imagem 1 %32
    • Desolder the four joints holding the USB-C charging port there.

    • Pull the charging port off.

    • Solder the new charging port onto the board.

Conclusão

To reassemble your device, follow these instructions in reverse order.

Uma outra pessoa concluiu este guia.

0 comentários

Adicione um comentário

Exibir estatísticas:

Últimas 24 horas: 0

Últimos 7 dias: 6

Últimos 30 dias: 24

Duração total: 61