Ir para o conteúdo principal

Sony Vaio VPCW21FX Disc Drive Replacement

Guia arquivado
Este guia é mantido exclusivamente para fins históricos. Use a versão atualizada do guia para executar o reparo.

O que você precisa

  1. Sony Vaio VPCW21FX Disc Drive Replacement, Battery: passo 1, imagem 1 %32
    • Make sure your device is powered off and unplugged to avoid electric shock.

    • Place your device upside down with the bottom panel facing upwards.

    • Orient the device so the battery is away from you as shown

  2. Sony Vaio VPCW21FX Disc Drive Replacement: passo 2, imagem 1 %32 Sony Vaio VPCW21FX Disc Drive Replacement: passo 2, imagem 2 %32
    • Unlock the battery by sliding the lock switch to the right.

    • Locate the release latch. Slide the latch to the left to remove the battery from your laptop.

    • Be sure to lift up on the battery while you slide the latch to the left.

  3. Sony Vaio VPCW21FX Disc Drive Replacement: passo 3, imagem 1 %32 Sony Vaio VPCW21FX Disc Drive Replacement: passo 3, imagem 2 %32
    • Remove the battery from your laptop.

  4. Sony Vaio VPCW21FX Disc Drive Replacement, Disc Drive: passo 4, imagem 1 %32 Sony Vaio VPCW21FX Disc Drive Replacement, Disc Drive: passo 4, imagem 2 %32
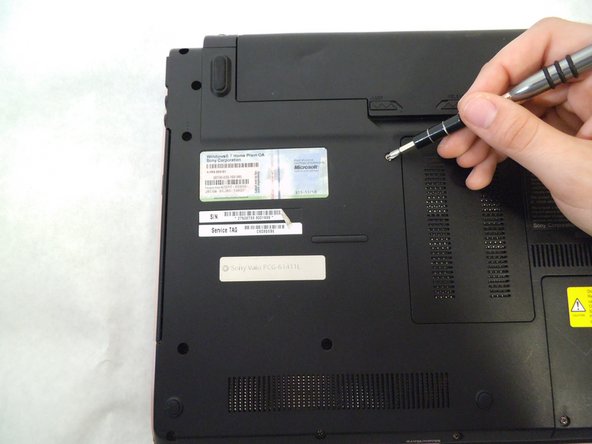
    • Remove the four 5.2mm screws that are holding in the Disc Drive.

  5. Sony Vaio VPCW21FX Disc Drive Replacement: passo 5, imagem 1 %32 Sony Vaio VPCW21FX Disc Drive Replacement: passo 5, imagem 2 %32 Sony Vaio VPCW21FX Disc Drive Replacement: passo 5, imagem 3 %32
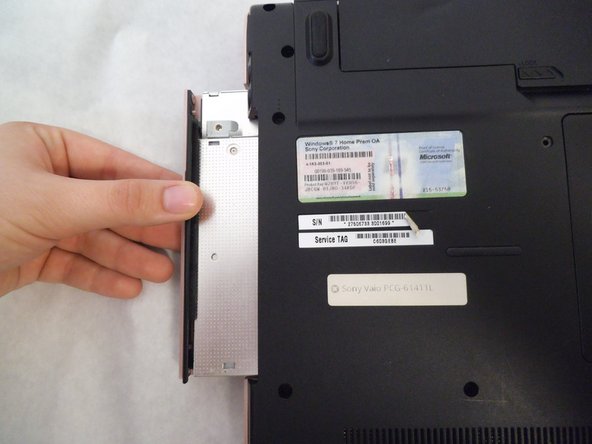
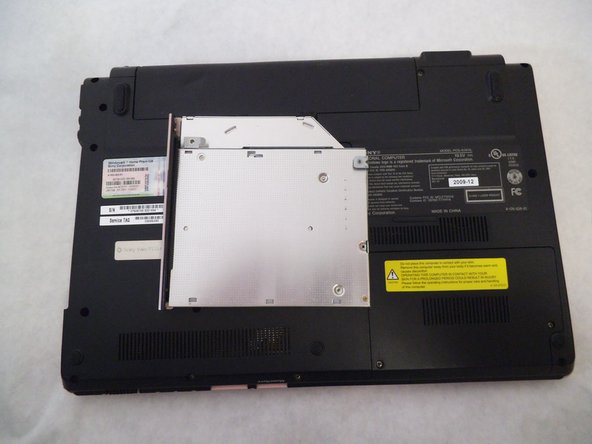
    • Grab the center of the drive and pull away from the computer. It should slide right out.

    • The plastic face plate may come off, this is okay, just push it back into place on the drive

Conclusão

To reassemble your device, follow these instructions in reverse order.

Nicholas Corcoran

Membro desde: 03/08/17

401 Reputação

Autoria de 4 guias

Equipe

0 comentários

Adicione um comentário

Exibir estatísticas:

Últimas 24 horas: 0

Últimos 7 dias: 0

Últimos 30 dias: 0

Duração total: 196