O que você precisa
-
-
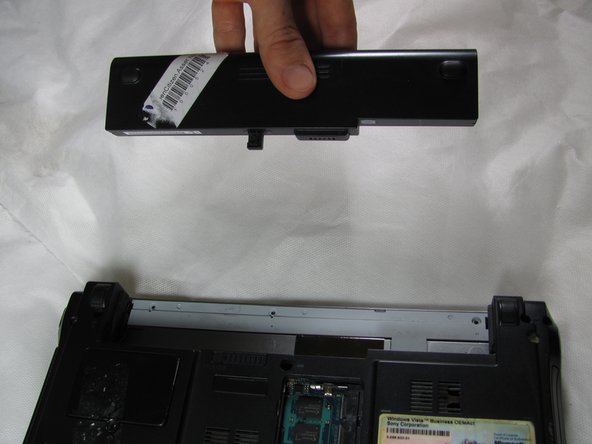
Flip the computer so that the bottom is facing up.
-
Look to the long edge where the computer screen is hinged and find the "release slide". It is located at the top left corner of the square indent.
-
-


To reassemble your device, follow these instructions in reverse order.
To reassemble your device, follow these instructions in reverse order.
Cancelar: não concluí este guia.
6 outras pessoas executaram este guia.
Equipe

Cal Poly, Team 5-3, Forte Spring 2012 Membro de Cal Poly, Team 5-3, Forte Spring 2012
CPSU-FORTE-S12S5G3
Membros da 5
Autoria de 12 guias
4 comentários
Step 10 is actually 7 screws, not 6. There are two screws next to the battery that need to be removed.
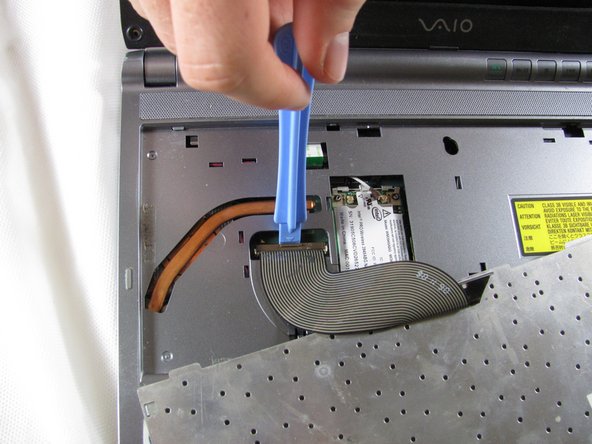
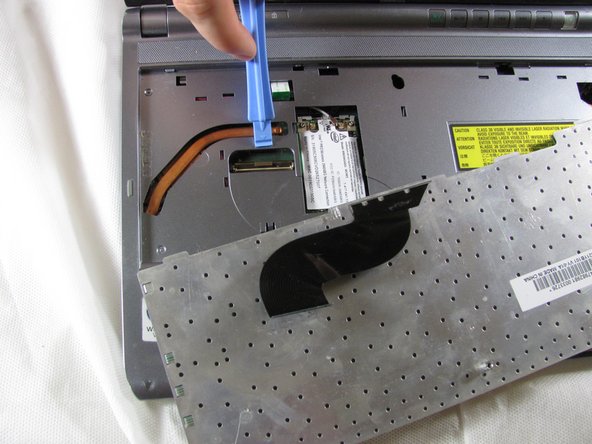
Watch out for the ribbon cable in step 11. There are two, one for the trackpad and one for the activity lights. If you have a WWAN card installed, you may have additional coax wires as well. There is also a clip directly below the keyboard ZIF connector and to the left of the trackpad. You will need tweezers to bend it up and out of the way.
I was unable to fully remove the palm rest assembly, but I could flip it over at a 90 degree angle to get the HDD out.
I was able to successfully swap this hard drive with an iFlash mSATA. I used a Transcend 256GB mSATA SSD. I've had bad luck with Dogfish ones, they're cheap garbage and you do not want to take this apart again.
Update the iFlash to mSATA does not work, it makes the optical drive disconnect. That's not acceptable to me, so I will be trying this instead:
The SSD does work and XP was able to install successfully from a flash drive.
Final update, this worked and the optical drive appears now. Either the ribbon cable in the Vaio is too thin, or the tolerances on this cheap adapter are terrible, but I had to use some electrical tape to force contact. It was too loose otherwise and nothing was being picked up.
The whole thing is upside down in the machine, so you have to carefully bend the ribbon cable for insertion.
All in all, success! Don't buy the iFlash adapter, I think it assigns itself a value (Primary, Secondary, Cable Select) that doesn't play nice with the laptop's IDE controller.