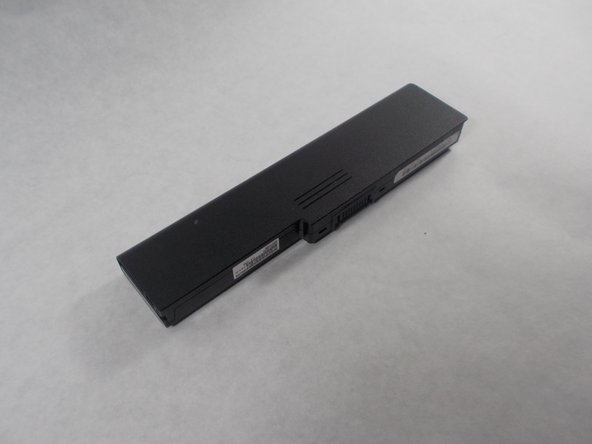
Ir para o conteúdo principal

Sony Vaio VPCEG26FX Back Panel Replacement

O que você precisa

  1. Sony Vaio VPCEG26FX Back Panel Replacement, Battery: passo 1, imagem 1 %32
    • Flip the laptop so the bottom is facing up with the model number visible.

  2. Sony Vaio VPCEG26FX Back Panel Replacement: passo 2, imagem 1 %32 Sony Vaio VPCEG26FX Back Panel Replacement: passo 2, imagem 2 %32
    • Slide the lock switch down until you hear a click to unlock the battery.

  3. Sony Vaio VPCEG26FX Back Panel Replacement: passo 3, imagem 1 %32 Sony Vaio VPCEG26FX Back Panel Replacement: passo 3, imagem 2 %32
    • Slide the release slider up and simultaneously push the battery upwards away from the device until it falls out of place.

  4. Sony Vaio VPCEG26FX Back Panel Replacement: passo 4, imagem 1 %32 Sony Vaio VPCEG26FX Back Panel Replacement: passo 4, imagem 2 %32
    • Remove the battery from the battery compartment.

  5. Sony Vaio VPCEG26FX Back Panel Replacement, Hard Drive: passo 5, imagem 1 %32
    • Loosen the two (7mm) screws that hold the hard drive panel in place with a JIS #0 screwdriver.

    • These screws cannot be removed.

  6. Sony Vaio VPCEG26FX Back Panel Replacement: passo 6, imagem 1 %32
    • Remove the plastic and unscrew the screw on the hard drive using the JIS #0 screwdriver.

  7. Sony Vaio VPCEG26FX Back Panel Replacement: passo 7, imagem 1 %32
    • Push the hard drive towards the optical reader to unlock it.

  8. Sony Vaio VPCEG26FX Back Panel Replacement: passo 8, imagem 1 %32
    • Remove the hard drive from the device.

  9. Sony Vaio VPCEG26FX Back Panel Replacement, RAM: passo 9, imagem 1 %32
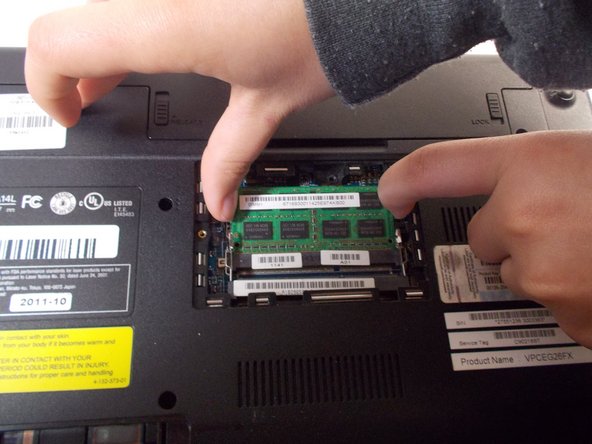
    • After you remove the battery, there is a small rectangular panel underneath where the battery was housed.

  10. Sony Vaio VPCEG26FX Back Panel Replacement: passo 10, imagem 1 %32
    • Remove the single screw holding the panel in place using the JIS #0 screwdriver.

  11. Sony Vaio VPCEG26FX Back Panel Replacement: passo 11, imagem 1 %32 Sony Vaio VPCEG26FX Back Panel Replacement: passo 11, imagem 2 %32 Sony Vaio VPCEG26FX Back Panel Replacement: passo 11, imagem 3 %32
    • Remove the green circuit board by dislodging the circuit it is attached to.

    • Unhook it and remove it from the device.

  12. Sony Vaio VPCEG26FX Back Panel Replacement, Back Panel: passo 12, imagem 1 %32
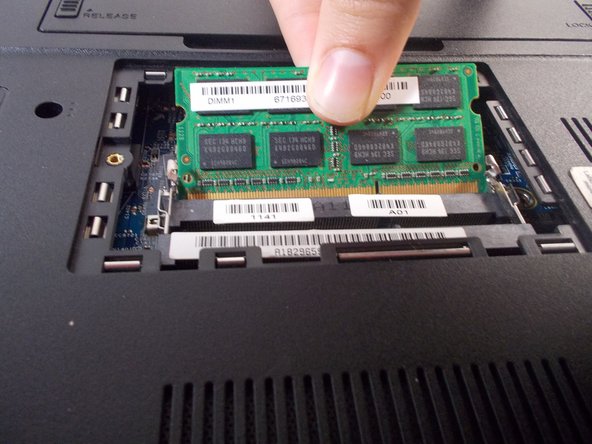
    • Remove the remaining eleven 7mm screws from back panel using the JIS #0 screwdriver.

  13. Sony Vaio VPCEG26FX Back Panel Replacement: passo 13, imagem 1 %32 Sony Vaio VPCEG26FX Back Panel Replacement: passo 13, imagem 2 %32
    • Remove the back panel from the device.

Conclusão

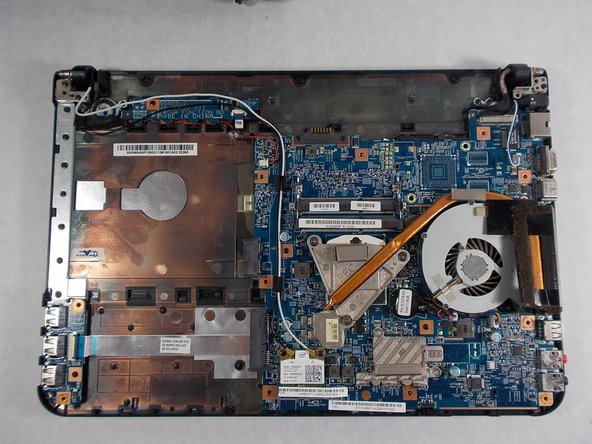
To reassemble your device, follow these instructions in reverse order.

Sara Alfaro

Membro desde: 03/08/19

531 Reputação

Autoria de 5 guias

Equipe

UMass Dartmouth, Team S1-G4, Botvin Spring 2019 Membro de UMass Dartmouth, Team S1-G4, Botvin Spring 2019

UMASSD-BOTVIN-S19S1G4

Membros da 4

Autoria de 10 guias

0 comentários

Adicione um comentário

Exibir estatísticas:

Últimas 24 horas: 0

Últimos 7 dias: 1

Últimos 30 dias: 9

Duração total: 892