Introdução
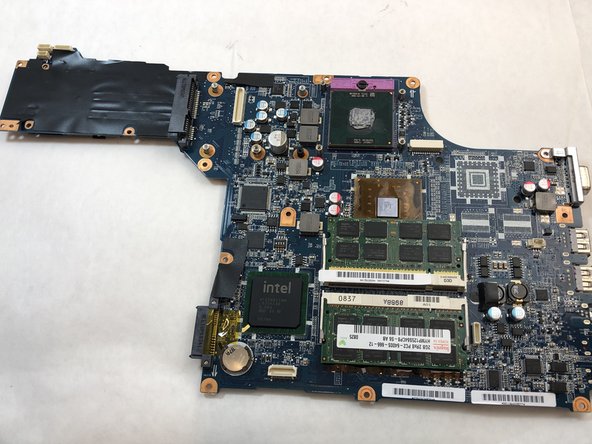
This replacement guide provides step by step instructions with pictures to help replace the Sony Vaio PCG-3C2L motherboard. The motherboard retains the majority of computer hardware and might need to be replaced if there are multiple components on your laptop that need replacing (graphics card, CPU, RAM, damaged pins, etc.). Replacing your motherboard will increase the processing speed and speed of data transfer. You can find a replacement motherboard here.
O que você precisa
-
-
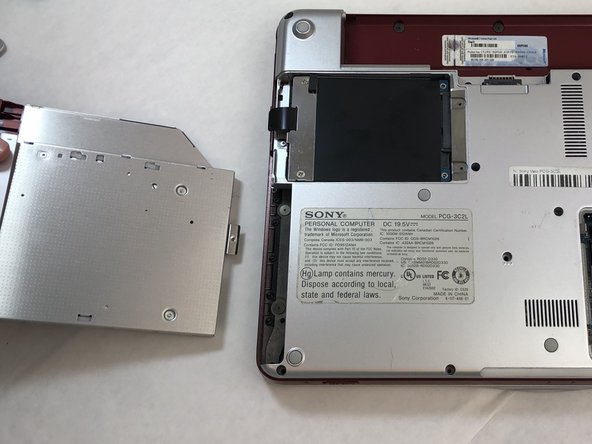
Turn your computer over so the bottom is facing up.
-
The battery should be in the top on the back of the computer.
-
-
-
-
Remove the six 8 mm edge screws from the back panel using a Phillips #0 screwdriver.
-
Remove the two 8 mm corner screws from the back panel using a Phillips #0 screwdriver.
-
Remove the four 8 mm middle screws from the back panel using a Phillips #0 screwdriver.
-
Remove the three 2 mm screws from the back panel using a Phillips #0 screwdriver.
-
-
-
Use the Phillips #0 screwdriver to remove the five 3.8 mm screws.
-
Use the Phillips #0 screwdriver to remove the two 3.3 mm screws.
-
-
-
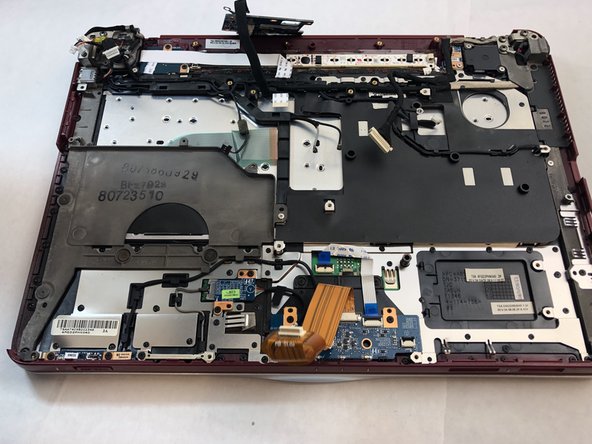
Use the Phillips #0 screwdriver to remove the four 3.8 mm screws.
-
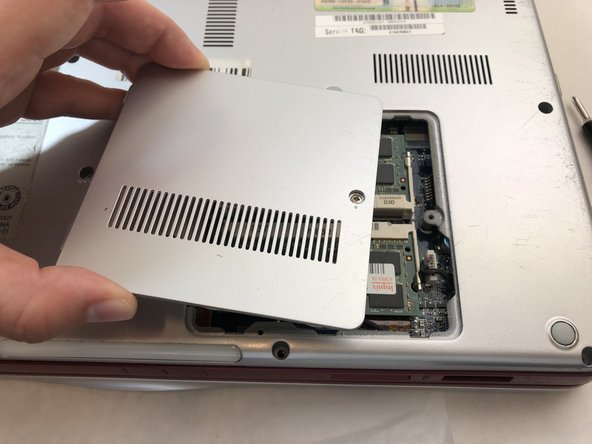
Use the Phillips #0 screwdriver to remove the single 2 mm screw.
-
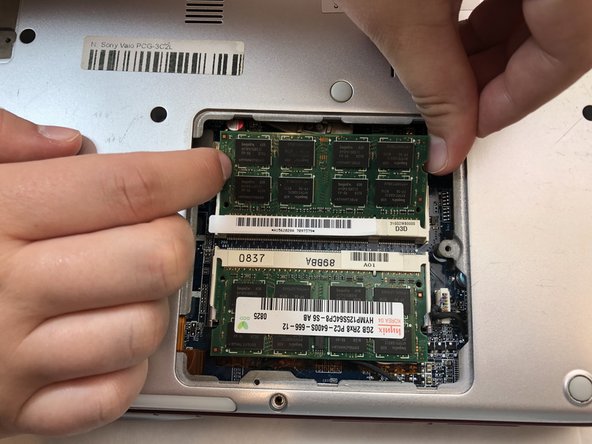
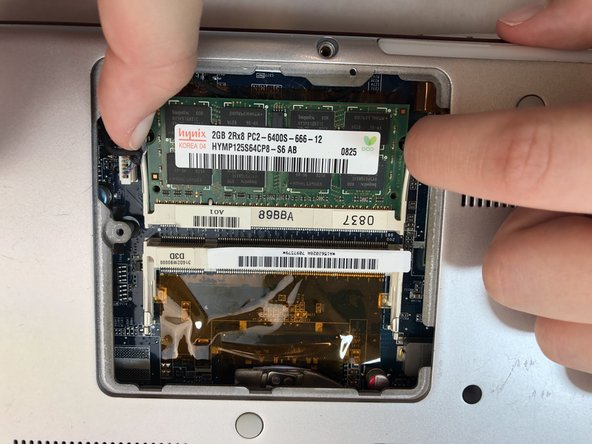
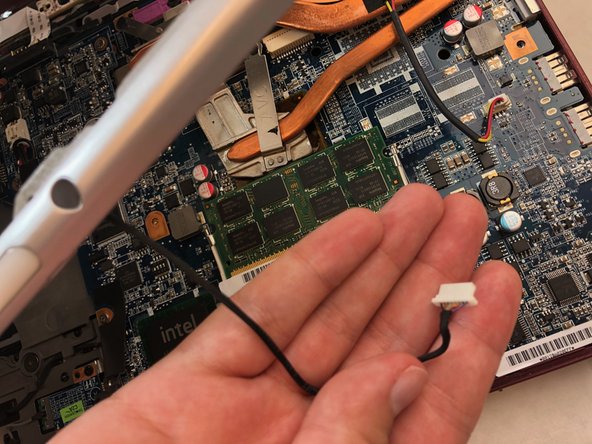
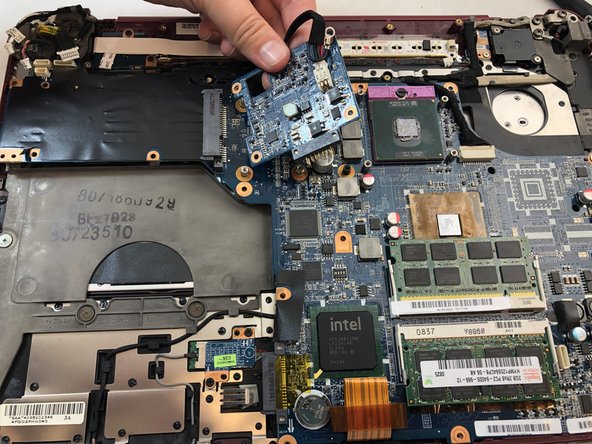
Remove the MD16 from the motherboard by gently pulling up. The MD16 is the small raised panel which is the same blue as the motherboard. It is attached to a black cord and should remain attached to the black cord.
-
Place the MD16 to the side.
-


To reassemble your device, follow these instructions in reverse order.
To reassemble your device, follow these instructions in reverse order.
Cancelar: não concluí este guia.
Uma outra pessoa concluiu este guia.

Equipe

Embry-Riddle Aeronautical University, Team S8-G3, Salas Fall 2019 Membro de Embry-Riddle Aeronautical University, Team S8-G3, Salas Fall 2019
ERAU-SALAS-F19S8G3
Membros da 4
Autoria de 12 guias