O que você precisa
-
-
-
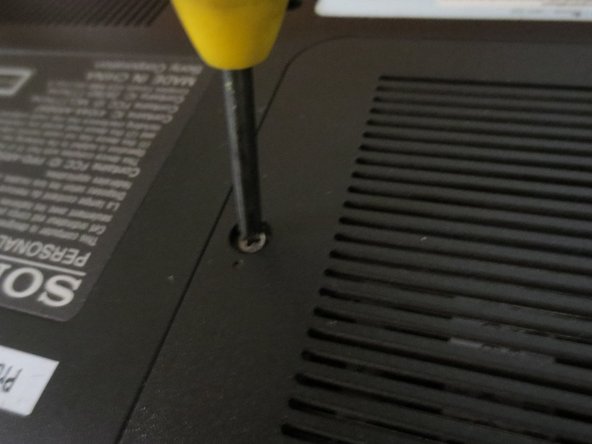
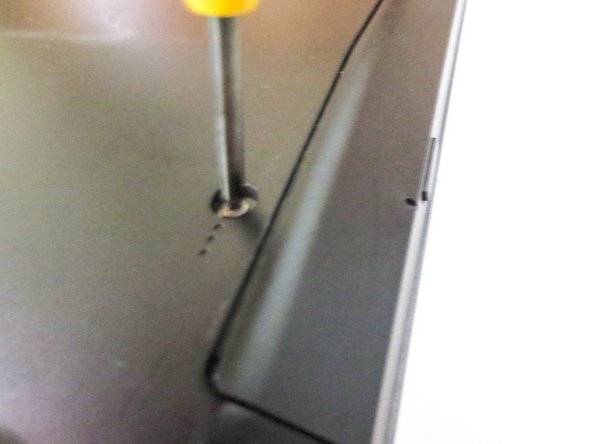
Remove the screws.
-
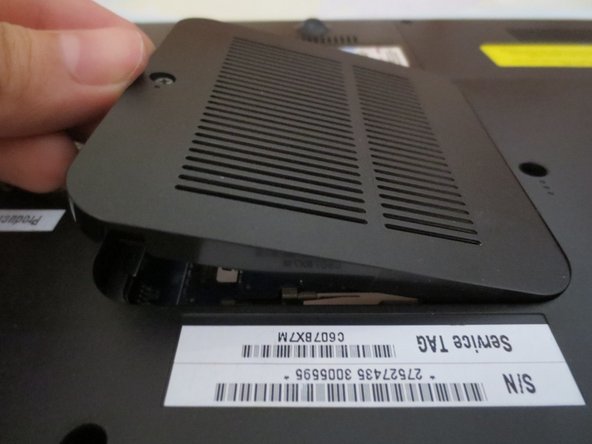
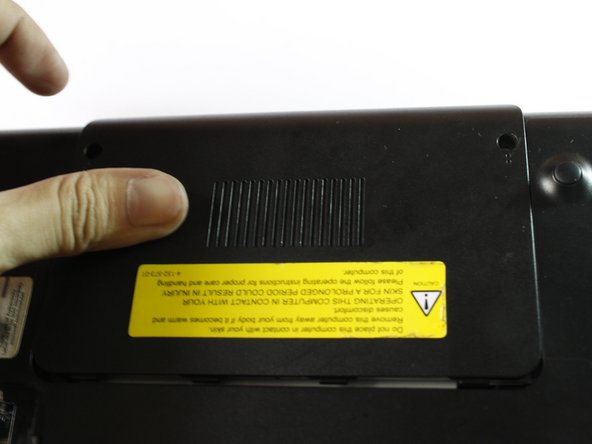
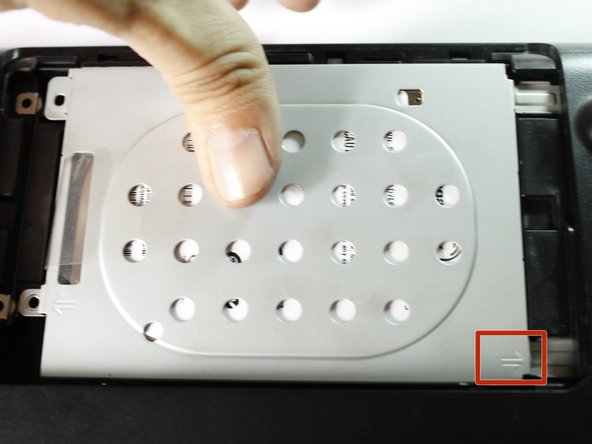
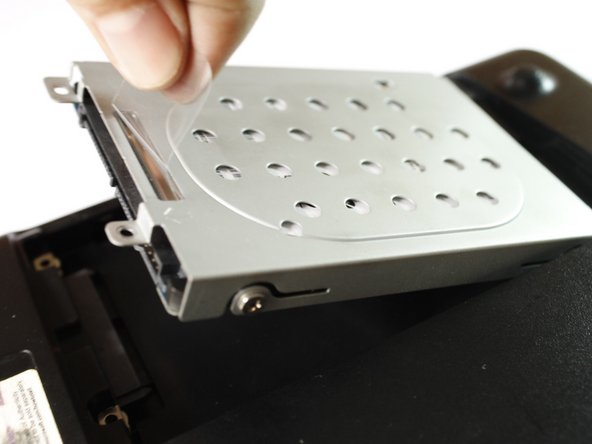
Slide the HD cover outward then lift.
-
-
-
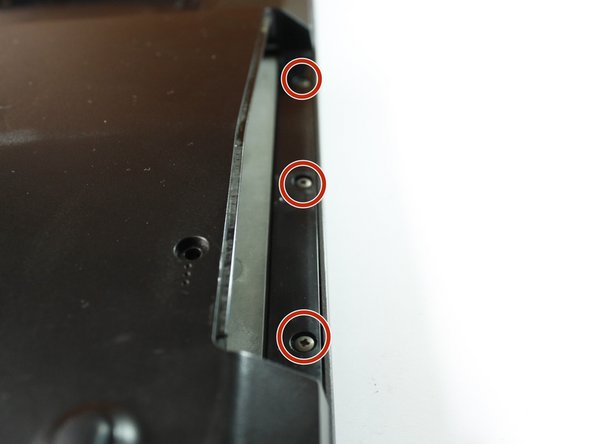
Remove all the other screws.
-
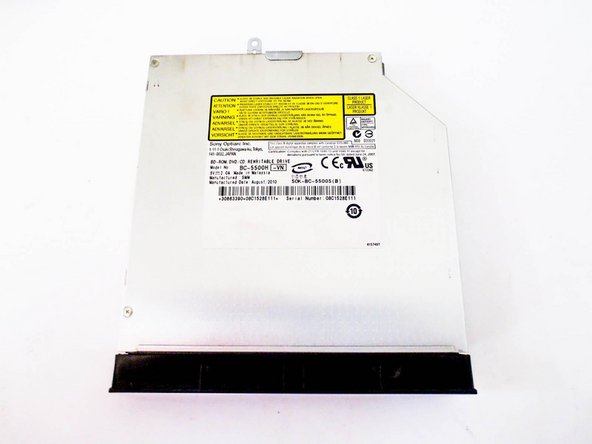
Dont forget the 3 screws after you remove the CD/DVD Drive.
-


Quase terminado!
To reassemble your device, follow these instructions in reverse order.
Conclusão
To reassemble your device, follow these instructions in reverse order.
Cancelar: não concluí este guia.
Uma outra pessoa concluiu este guia.