Ir para o conteúdo principal

Sony VAIO PCG-F360 Speaker Replacement

O que você precisa

  1. Sony VAIO PCG-F360 Speaker Replacement, Battery: passo 1, imagem 1 %32
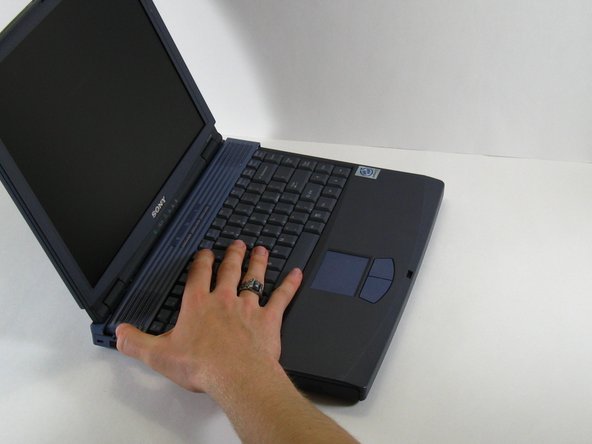
    • Position the laptop screen-side down as shown.

    • In this position the battery housing will be located on the right hand side.

  2. Sony VAIO PCG-F360 Speaker Replacement: passo 2, imagem 1 %32
    • Lift the panel up and then out to gain access to the battery.

  3. Sony VAIO PCG-F360 Speaker Replacement: passo 3, imagem 1 %32
    • Use the indentations to pull the old battery out.

  4. Sony VAIO PCG-F360 Speaker Replacement: passo 4, imagem 1 %32
    • The battery is now removed and it is safe to move on to uninstalling other components.

  5. Sony VAIO PCG-F360 Speaker Replacement, Speaker Panel: passo 5, imagem 1 %32 Sony VAIO PCG-F360 Speaker Replacement, Speaker Panel: passo 5, imagem 2 %32 Sony VAIO PCG-F360 Speaker Replacement, Speaker Panel: passo 5, imagem 3 %32
    • There are two screws on the left hand side of the laptop near the IR receiver. remove them using a #00 Philips head screwdriver.

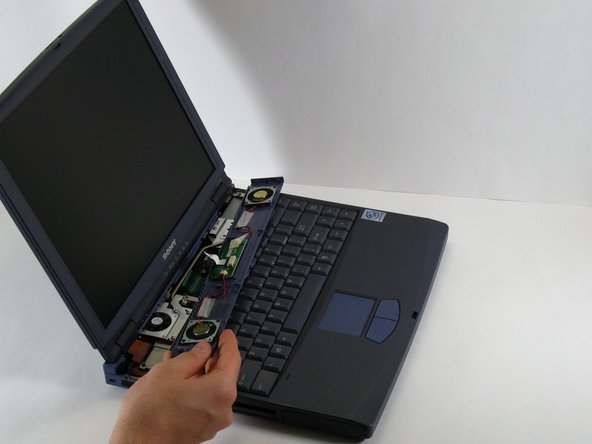
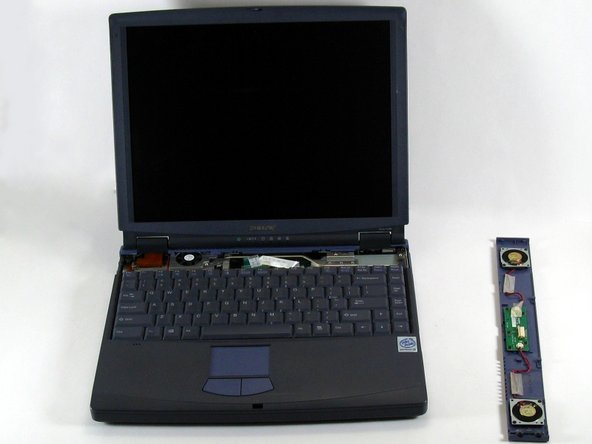
    • Slide the speaker panel towards the left, then carefully flip it over onto the keyboard.

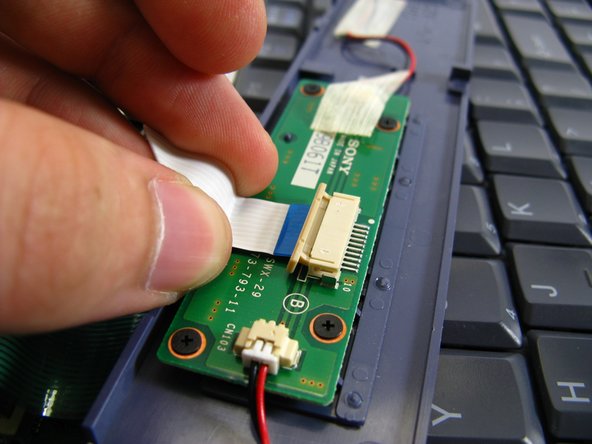
    • Make sure not to pull the speaker panel away from the computer just yet - it is still connected!

  6. Sony VAIO PCG-F360 Speaker Replacement: passo 6, imagem 1 %32 Sony VAIO PCG-F360 Speaker Replacement: passo 6, imagem 2 %32 Sony VAIO PCG-F360 Speaker Replacement: passo 6, imagem 3 %32
    • Push the beige tab in the direction of the ribbon. it should only move a small amount

    • Remove the ribbon by gently pulling on it, there should be little or no resistance.

    • Now the speaker panel can be set aside.

  7. Sony VAIO PCG-F360 Speaker Replacement, Speaker: passo 7, imagem 1 %32 Sony VAIO PCG-F360 Speaker Replacement, Speaker: passo 7, imagem 2 %32
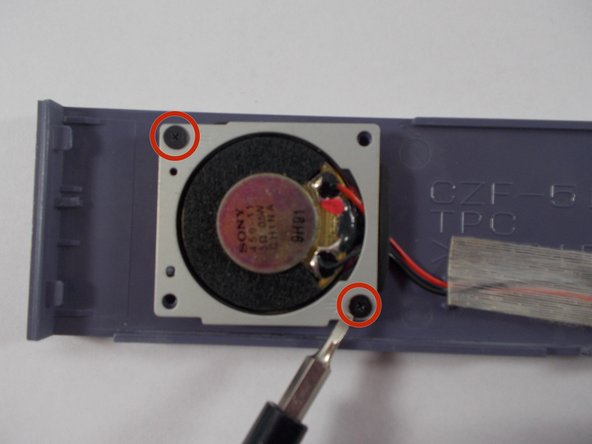
    • The two speakers are located on the ends of the panel.

    • There are two screws holding each speaker. Remove them using a #00 Philips head screw driver.

  8. Sony VAIO PCG-F360 Speaker Replacement: passo 8, imagem 1 %32
    • Carefully flip the speaker over and replace or clean the needed parts.

Conclusão

To reassemble your device, follow these instructions in reverse order.

Hannah Millea

Membro desde: 03/11/14

401 Reputação

Autoria de 4 guias

Equipe

UMass Dartmouth, Team 3-5, Calaway Spring 2014 Membro de UMass Dartmouth, Team 3-5, Calaway Spring 2014

UMASSD-CALAWAY-S14S3G5

Membros da 2

Autoria de 4 guias

0 comentários

Adicione um comentário

Exibir estatísticas:

Últimas 24 horas: 1

Últimos 7 dias: 1

Últimos 30 dias: 1

Duração total: 178