Esta versão pode conter edições incorretas. Mude para o último instantâneo verificado.
O que você precisa
-
Este passo não foi traduzido. Ajude a traduzi-lo
-
Turn the laptop upside down so that the top is sitting on a flat surface.
-
If you are looking at the bottom of the laptop the battery is located on the front right side of the laptop; the opposite side from the floppy disk drive.
-
-
Este passo não foi traduzido. Ajude a traduzi-lo
-
As shown by the arrow, slide the plastic cover up and then pull out and downwards.
-
You should now be able to pull the battery out.
-
-
Este passo não foi traduzido. Ajude a traduzi-lo
-
Remove the four 16 mm screws bordering the edge of the laptop using a Phillips #0 screwdriver.
-
-
-
Este passo não foi traduzido. Ajude a traduzi-lo
-
Remove the 4mm screw on the right rear side of the laptop next to the audio ports using a Phillips #0 screwdriver.
-
-
Este passo não foi traduzido. Ajude a traduzi-lo
-
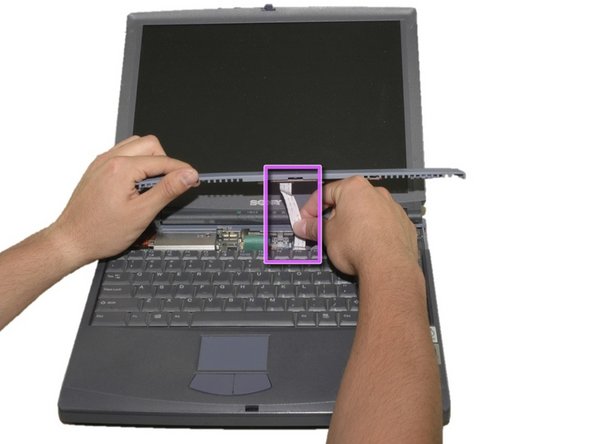
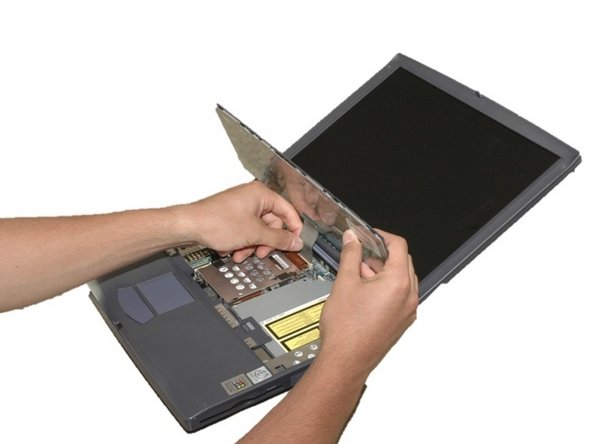
Slide the blue speaker grille (located above the keyboard) to the right and gently pull upward. The grille will still be connected by a white electrical strip.
-
Carefully pull out the white electrical strip. By doing this you will remove the speaker grille.
-
-
Este passo não foi traduzido. Ajude a traduzi-lo
-
Remove the 4mm screw in the center using a Phillips screwdriver.
-
Carefully and slowly pull the green strip straight up (away from the laptop) to disconnect it. Make sure not to pull too hard to avoid breaking.
-
The keyboard can now be removed.
-
-
Este passo não foi traduzido. Ajude a traduzi-lo
-
Remove the 4mm Phillips screw that connects the hard drive cage to the DVD drive.
-
Carefully remove the copper wire strip.
-


Equipe

Cal Poly, Team 12-36, Maness Spring 2011 Membro de Cal Poly, Team 12-36, Maness Spring 2011
CPSU-MANESS-S11S12G36
Membros da 4
Autoria de 16 guias