Introdução
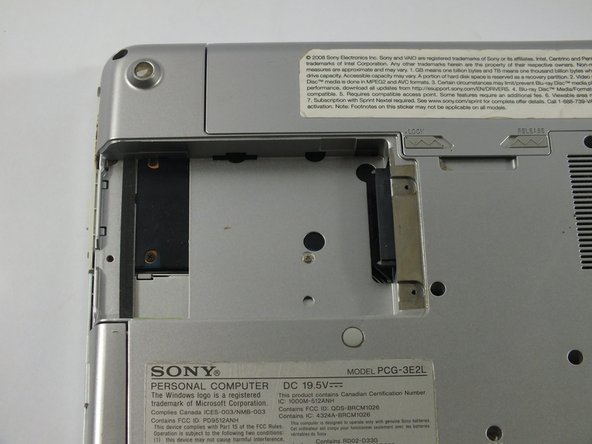
This guide will aid readers to replace or upgrade Hard Drive of the device when the Hard Drive is not functioning properly.
O que você precisa


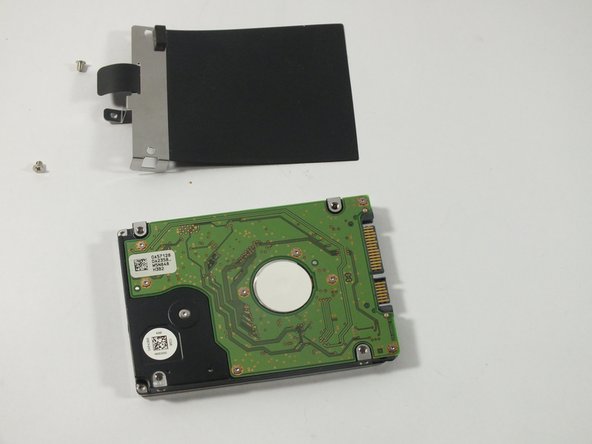
Quase terminado!
To reassemble your device, follow these instructions in reverse order.
Conclusão
To reassemble your device, follow these instructions in reverse order.
Equipe

UMass Dartmouth, Team 5-2, Kish Spring 2015 Membro de UMass Dartmouth, Team 5-2, Kish Spring 2015
UMASSD-KISH-S15S5G2
Membros da 4
Autoria de 10 guias