Esta versão pode conter edições incorretas. Mude para o último instantâneo verificado.
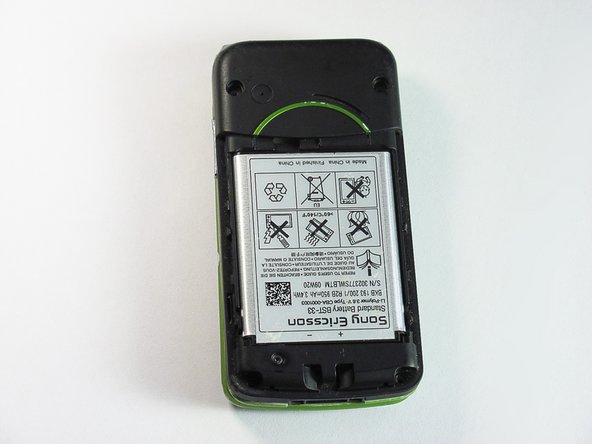
O que você precisa
-
Este passo não foi traduzido. Ajude a traduzi-lo
-
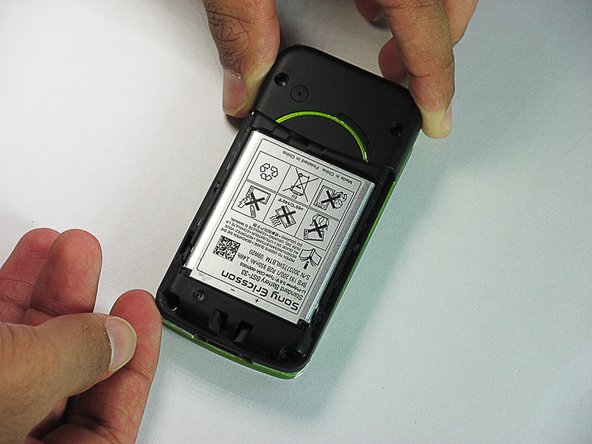
Firmly hold the phone between your fingers with your thumb on the battery cover.
-
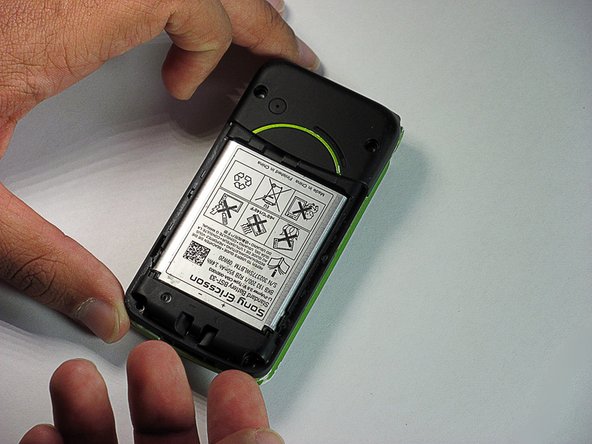
Push down with your thumb until the battery cover comes off.
-
-
Este passo não foi traduzido. Ajude a traduzi-lo
-
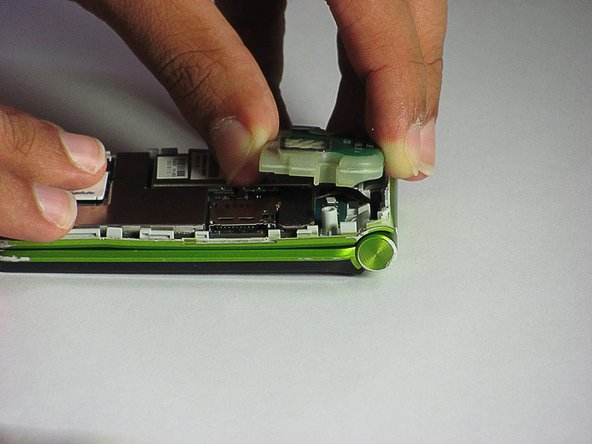
Unscrew the bottom two 5.4mm screws with a Torx T6 screwdriver.
-
-
Este passo não foi traduzido. Ajude a traduzi-lo
-
Remove the two rubber casings for the top two screws with a plastic opening tool.
-
-
Este passo não foi traduzido. Ajude a traduzi-lo
-
Unscrew these two 5.4mm screws with a Torx T6 screwdriver.
-
-
Este passo não foi traduzido. Ajude a traduzi-lo
-
There are eight snap hooks located around the outer case. Carefully snap these to remove the outer case.
-
-
Este passo não foi traduzido. Ajude a traduzi-lo
-
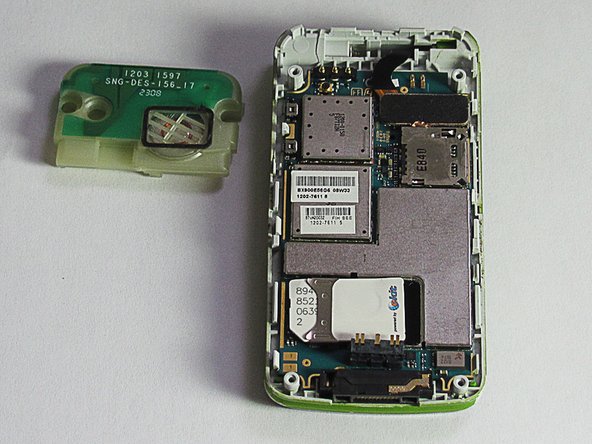
The sound box is attached to the case by two snap hooks.
-
Lift the sound box up to remove it from the case.
-
-
-
Este passo não foi traduzido. Ajude a traduzi-lo
-
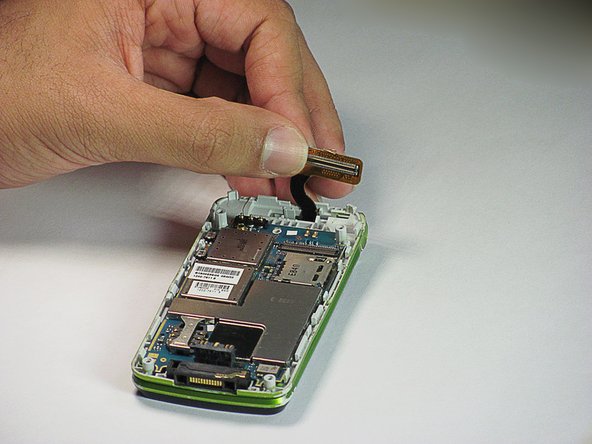
Locate the 80-pin connector.
-
Carefully, lift up on the connector to separate it from the board.
-
-
Este passo não foi traduzido. Ajude a traduzi-lo
-
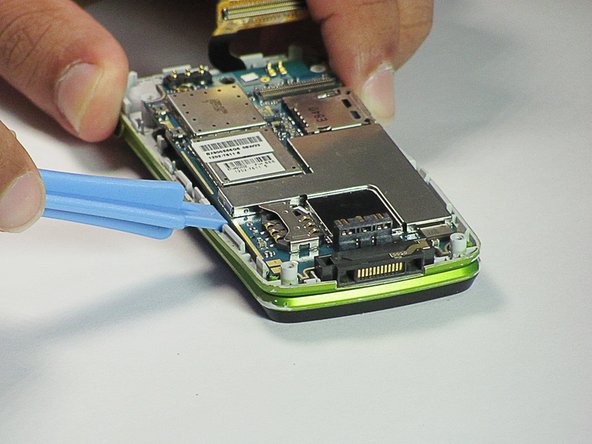
There are two snap hooks that attach the motherboard to the case.
-
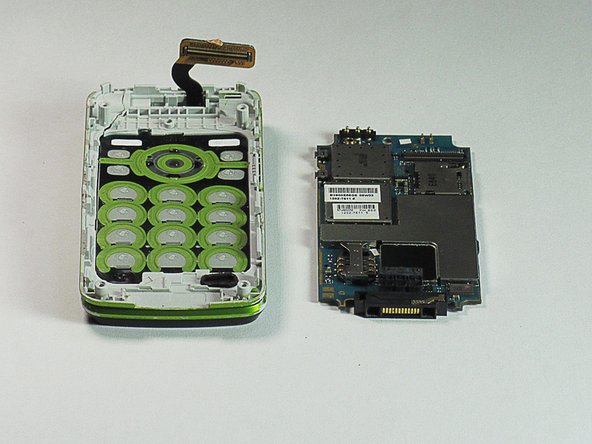
Using a plastic opening tool, carefully lift up on the motherboard to detach it.
-
-
Este passo não foi traduzido. Ajude a traduzi-lo
-
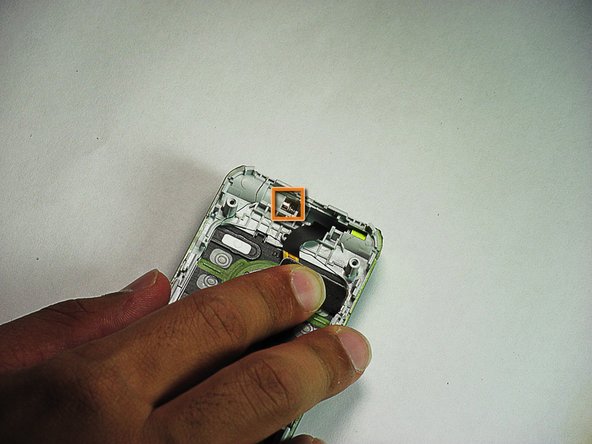
Use tweezers to push the hinge stopper in until it can no longer be moved.
-
The hinge stopper should be about 5.5mm in.
-
-
Este passo não foi traduzido. Ajude a traduzi-lo
-
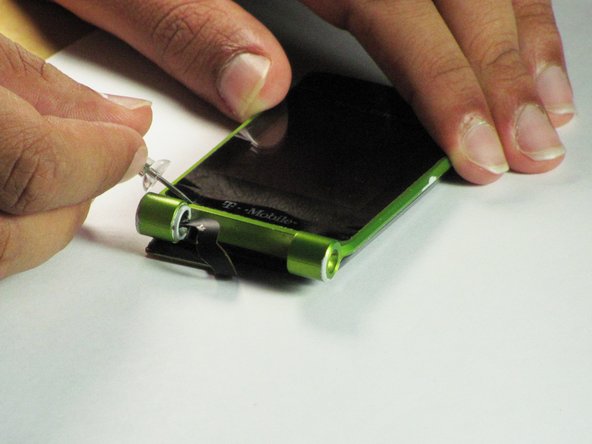
Separate the bottom and top half of the phone from the hinge they are connected by.
-
-
Este passo não foi traduzido. Ajude a traduzi-lo
-
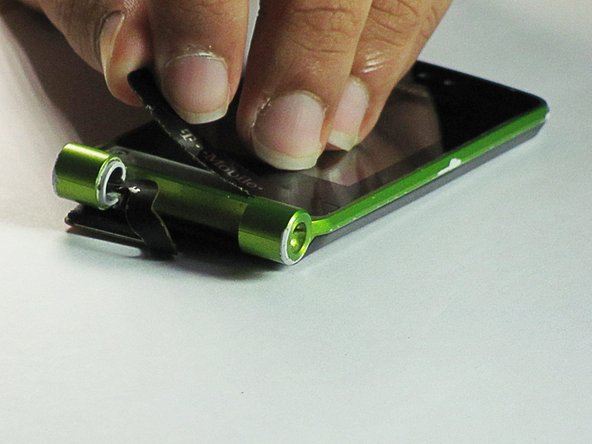
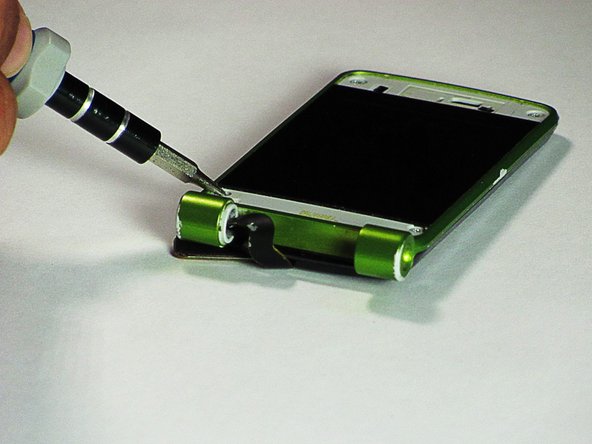
Pull the ribbon through the opening in the hinge to completely separate the upper and lower halves of the phone.
-
-
Este passo não foi traduzido. Ajude a traduzi-lo
-
The top and bottom covers are held in place by adhesive. To remove them, use a pushpin in the four indentations indicated to remove.
-
-
Este passo não foi traduzido. Ajude a traduzi-lo
-
Remove the four 5.4 mm screws with a Torx T5 screwdriver.
-
-
Este passo não foi traduzido. Ajude a traduzi-lo
-
Use a plastic opening tool in the indicated location and apply pressure until the case hook is detached. Then lift the case up until the two pieces are detached.
-
-
Este passo não foi traduzido. Ajude a traduzi-lo
-
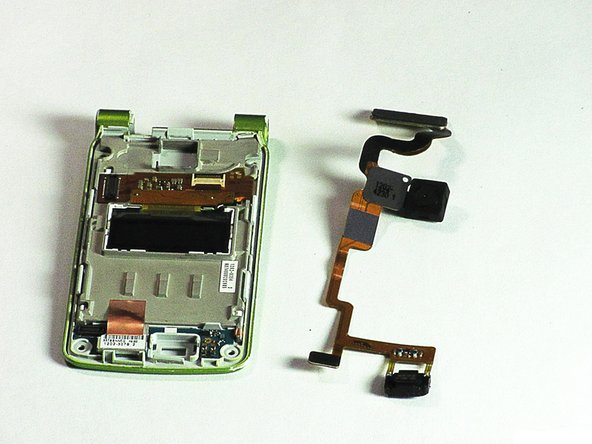
Use a paperclip to detach the speaker from the case.
-
Detach the GPS from the case by carefully lifting it up from the case.
-
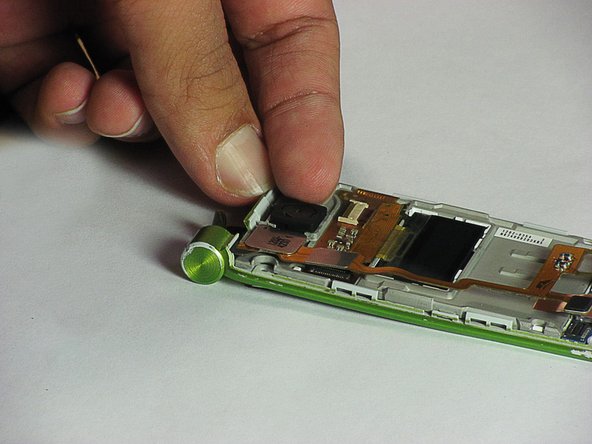
Detach the camera with your hands or by using a paperclip similar to the way the speaker was removed.
-
-
Este passo não foi traduzido. Ajude a traduzi-lo
-
Once the three components are detached, removing the ribbon is possible.
-
Simply, move the ribbon to the right and it will be completely detached from the case.
-


Equipe

Cal Poly, Team 1-1, Regan SU 2012 Membro de Cal Poly, Team 1-1, Regan SU 2012
CPSU-REGAN-SU12S1G1
Membros da 2
Autoria de 16 guias