Esta versão pode conter edições incorretas. Mude para o último instantâneo verificado.
O que você precisa
-
Este passo não foi traduzido. Ajude a traduzi-lo
-
Locate the cover on the bottom of the camera.
-
Slide the cover towards the back of the camera.
-
-
Este passo não foi traduzido. Ajude a traduzi-lo
-
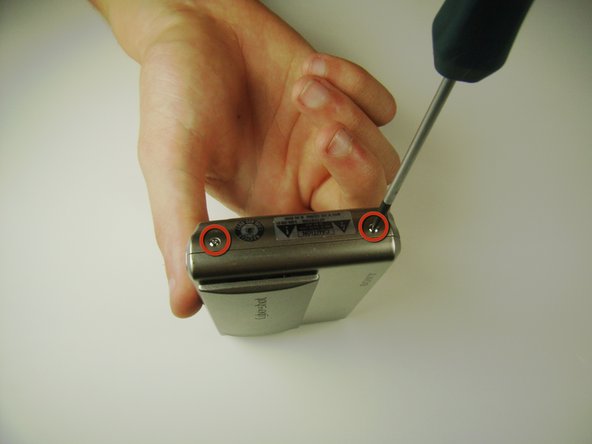
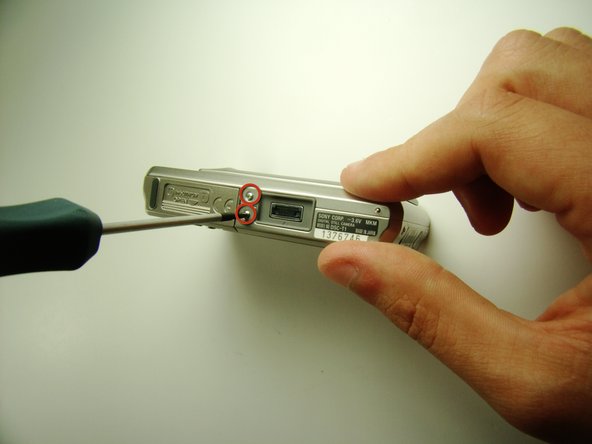
Locate and remove the 3mm screws on the bottom and sides of the camera with a JIS size #0 screwdriver.
-
-
-
Este passo não foi traduzido. Ajude a traduzi-lo
-
Pull the two halves of the camera apart.
-
Place the two halves down with the insides facing you.
-
-
Este passo não foi traduzido. Ajude a traduzi-lo
-
Find the two clips holding the motherboard to the black lens box.
-
Slide the plastic opening tool in between the ribbon and the black part of the clip, then flip it up. (If difficult, your fingernail can also be used)
-
-
Este passo não foi traduzido. Ajude a traduzi-lo
-
After releasing the clips, pull out the black lens box.
-
-
Este passo não foi traduzido. Ajude a traduzi-lo
-
Locate and unscrew the two 3mm screws on the bottom of the black lens box with the JIS #0 screwdriver.
-
-
Este passo não foi traduzido. Ajude a traduzi-lo
-
With the tweezers remove the black tape to detach the chip from the lens box.
-
-
Este passo não foi traduzido. Ajude a traduzi-lo
-
Grab the chip with your thumbs and carefully pull it off.
-


Cancelar: não concluí este guia.
3 outras pessoas executaram este guia.

Equipe

Cal Poly, Team 7-35, Maness Spring 2012 Membro de Cal Poly, Team 7-35, Maness Spring 2012
CPSU-MANESS-S12S7G35
Membros da 4
Autoria de 3 guias