Introdução
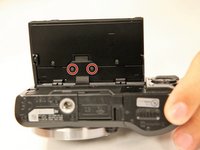
The LCD screen is a helpful display when taking photos. A cracked or damaged screen needs replacement.
O que você precisa
-
-
-
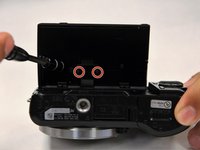
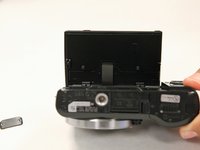
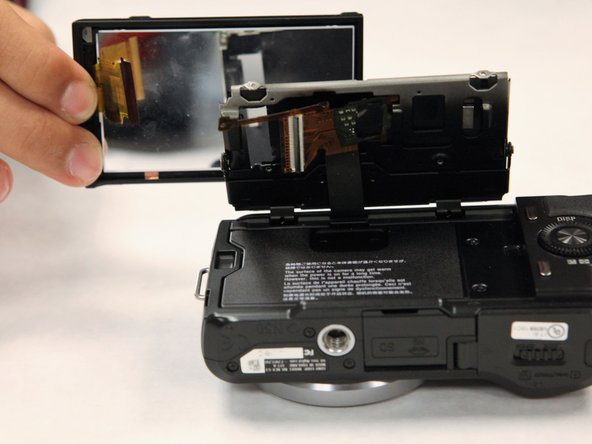
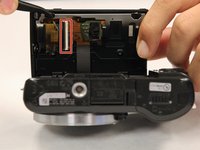
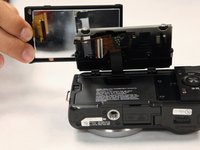
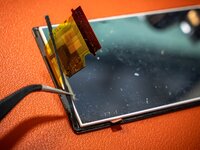
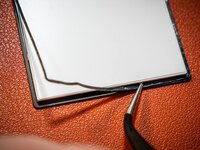
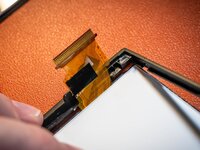
The screen is attached to a frame, via a thin strip of adhesive. Press gently on a corner of the backside of the screen, to detach it from the frame.
-
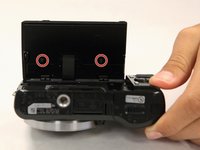
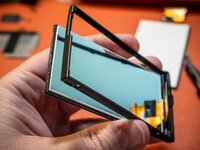
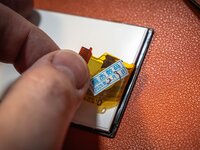
If your replacement screen did not come with it's own adhesive, carefully peel the original adhesive strip from the original screen, and apply it to the new screen.
-


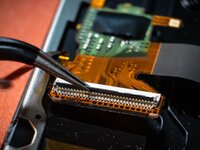


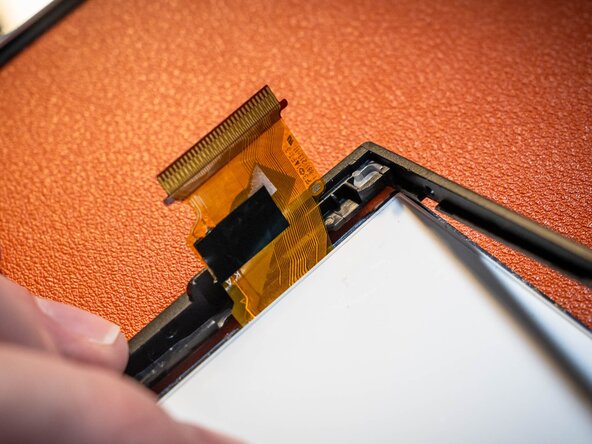

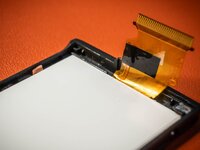
To reassemble your device, follow these instructions in reverse order. However, when installing the ribbon cable, the connector has a specific step. The connector has a tiny flap that clamps down onto the ribbon cable in order to make it secure.
Cancelar: não concluí este guia.
Uma outra pessoa concluiu este guia.
Equipe

UC Santa Barbara, Team S1-G1, Weedon Fall 2017 Membro de UC Santa Barbara, Team S1-G1, Weedon Fall 2017
UCSB-WEEDON-F17S1G1
3 Membros
Autoria de 13 guias
2Comentários do guia
Sir, my unit has many lines that appear on the screen. However, the lcd glass is pristine & has no cracks. Which part is defective? Is the lcd mother board the culprit? Thank you.
Sorry this is probably a little late, but this may mean the ribbon cable for the lcd is damaged, or not properly connected! Follow the screen replacement guide until you have access to the ribbon cable. See if it's damaged or not inserted completely!