Ir para o conteúdo principal

Solid-State Drive Replacement in ThinkPad E14 Gen 2 (AMD)

O que você precisa

  1. Solid-State Drive Replacement in ThinkPad E14 Gen 2 (AMD), Solid-State Drive: passo 1, imagem 1 %32
    • Ensure the laptop is powered off.

  2. Solid-State Drive Replacement in ThinkPad E14 Gen 2 (AMD): passo 2, imagem 1 %32 Solid-State Drive Replacement in ThinkPad E14 Gen 2 (AMD): passo 2, imagem 2 %32 Solid-State Drive Replacement in ThinkPad E14 Gen 2 (AMD): passo 2, imagem 3 %32
    • Unscrew all 7 of the Phillips #0 back plate screws on the bottom of the laptop.

    • These will be "captive" and will not come out of the backplate, so you do not need to worry about them getting lost.

    • Separate the back from the laptop assembly using the opening pick tool.

    • If you have trouble with just using one pick tool, feel free to use multiple ones to keep sections of the back plate separated.

  3. Solid-State Drive Replacement in ThinkPad E14 Gen 2 (AMD): passo 3, imagem 1 %32 Solid-State Drive Replacement in ThinkPad E14 Gen 2 (AMD): passo 3, imagem 2 %32
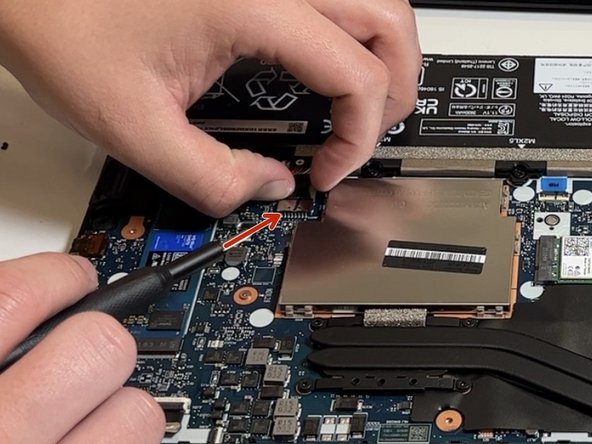
    • Unplug the battery connector and press the power button to ensure the device has no power running.

  4. Solid-State Drive Replacement in ThinkPad E14 Gen 2 (AMD): passo 4, imagem 1 %32 Solid-State Drive Replacement in ThinkPad E14 Gen 2 (AMD): passo 4, imagem 2 %32
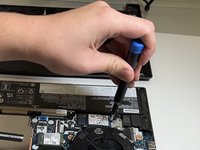
    • Use a Phillips #0 screwdriver to remove the single 4 mm screw that secures the solid-state drive.

  5. Solid-State Drive Replacement in ThinkPad E14 Gen 2 (AMD): passo 5, imagem 1 %32 Solid-State Drive Replacement in ThinkPad E14 Gen 2 (AMD): passo 5, imagem 2 %32 Solid-State Drive Replacement in ThinkPad E14 Gen 2 (AMD): passo 5, imagem 3 %32
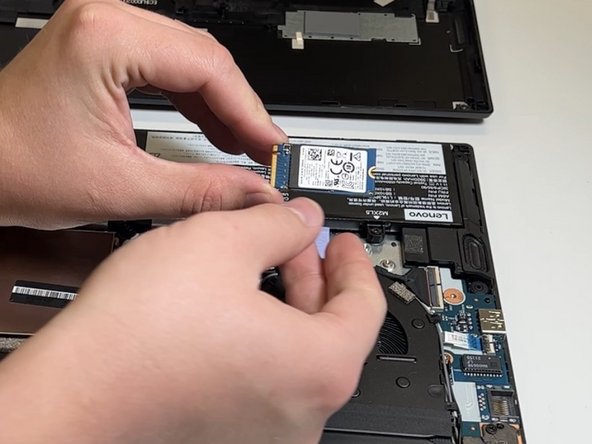
    • Slide the Solid-State Drive out of its slot.

  6. Solid-State Drive Replacement in ThinkPad E14 Gen 2 (AMD): passo 6, imagem 1 %32 Solid-State Drive Replacement in ThinkPad E14 Gen 2 (AMD): passo 6, imagem 2 %32 Solid-State Drive Replacement in ThinkPad E14 Gen 2 (AMD): passo 6, imagem 3 %32
    • Replace the Solid-State Drive with the new one.

  7. Solid-State Drive Replacement in ThinkPad E14 Gen 2 (AMD): passo 7, imagem 1 %32
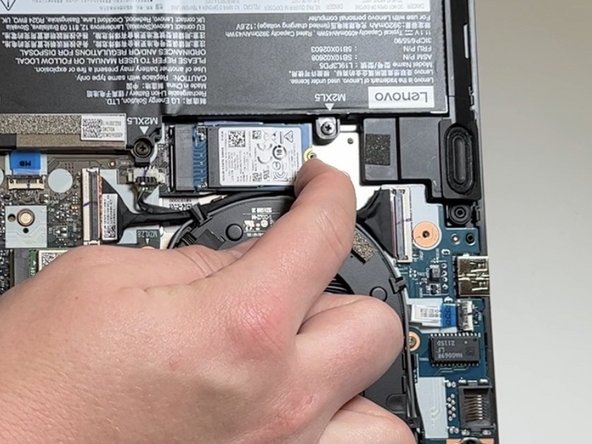
    • Screw in the Solid-State Drive 4 mm Retaining screw in the new Solid-State Drive using the phillips #0 screwdriver.

  8. Solid-State Drive Replacement in ThinkPad E14 Gen 2 (AMD): passo 8, imagem 1 %32
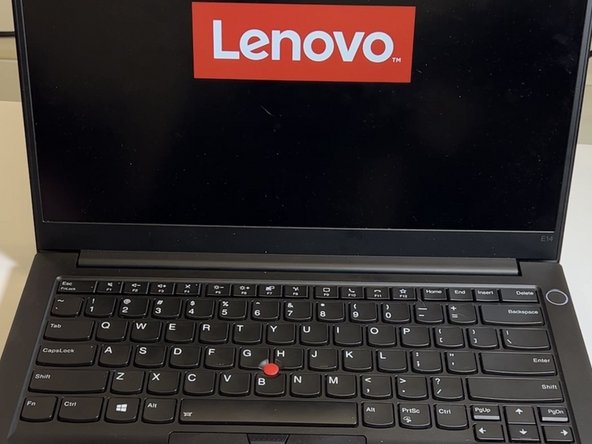
    • Power the laptop back on to ensure the computer starts up without issues.

Conclusão

A good end of repair practice is to check to make sure that your laptop powers up safely and is able to boot into the new drive that has been installed in your laptop. Following this repair if your Operating System has not been installed, the next step is to install Windows / whichever Operating System you prefer.

Ahmed Alrimawi

Membro desde: 10/06/22

157 Reputação

Autoria de 1 guia

0 comentários

Adicione um comentário

Exibir estatísticas:

Últimas 24 horas: 5

Últimos 7 dias: 22

Últimos 30 dias: 112

Duração total: 1,512