Ir para o conteúdo principal

Smartab STJR700 Home Button Replacement

O que você precisa

  1. Smartab STJR700 Home Button Replacement, Home Button: passo 1, imagem 1 %32 Smartab STJR700 Home Button Replacement, Home Button: passo 1, imagem 2 %32
    • Power off device. Place it face down. Unscrew the four perimeter screws using a PH000.

  2. Smartab STJR700 Home Button Replacement: passo 2, imagem 1 %32
    • Using a plastic opening tool or metal spudger, begin to gently pry the rear case down and away from the display. Slowly wiggle the tool up and down to pry open the tablet. Once the rear case is fully removed, place it to the side.

  3. Smartab STJR700 Home Button Replacement: passo 3, imagem 1 %32 Smartab STJR700 Home Button Replacement: passo 3, imagem 2 %32 Smartab STJR700 Home Button Replacement: passo 3, imagem 3 %32
    Ferramenta utilizada nesse passo:
    Tweezers
    $4.99
    Comprar
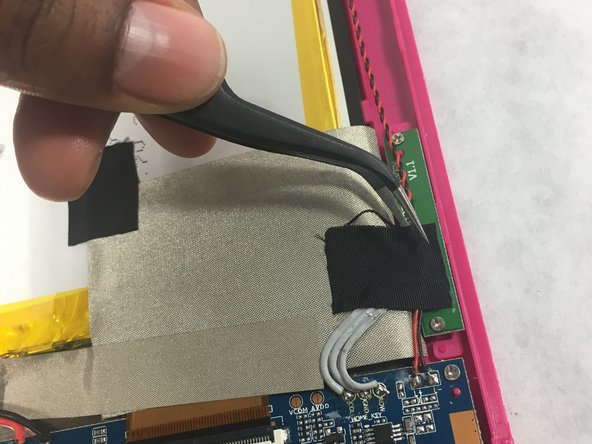
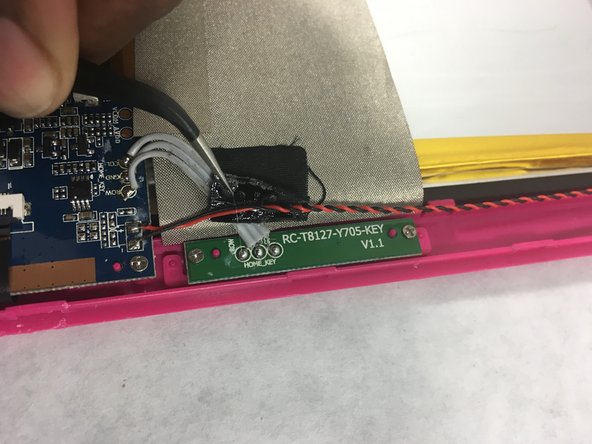
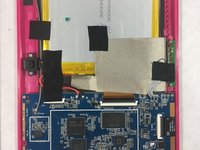
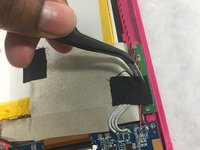
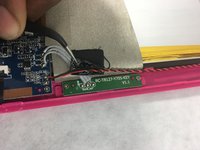
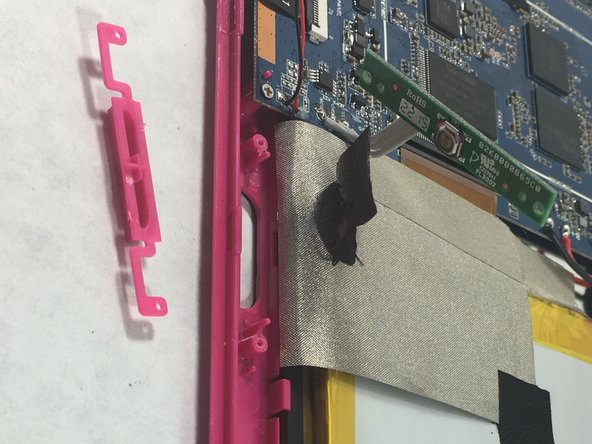
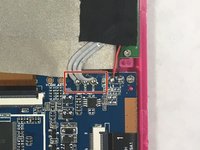
    • Using tweezers, carefully remove the tape that is holding the black and red intertwined cables to the motherboard. Place tape to the side as it will be needed for reassembly.

  4. Smartab STJR700 Home Button Replacement: passo 4, imagem 1 %32
    • Remove the two Phillips #000 screws holding the home button board to the front panel.

  5. Smartab STJR700 Home Button Replacement: passo 5, imagem 1 %32 Smartab STJR700 Home Button Replacement: passo 5, imagem 2 %32
    • Using tweezers, slowly and carefully remove the end of the cable that connects the home button to the main motherboard.

Conclusão

To ensure a successful replacement make sure to follow all steps carefully .

Moriah Wiggins

Membro desde: 03/08/17

201 Reputação

Autoria de 2 guias

Equipe

0 comentários

Adicione um comentário

Exibir estatísticas:

Últimas 24 horas: 0

Últimos 7 dias: 1

Últimos 30 dias: 8

Duração total: 306