Ir para o conteúdo principal

Skullcandy Lowrider Wiring Repair

O que você precisa

  1. Skullcandy Lowrider Wiring Repair, Repairing a Severed or Damaged Wire: passo 1, imagem 1 %32 Skullcandy Lowrider Wiring Repair, Repairing a Severed or Damaged Wire: passo 1, imagem 2 %32 Skullcandy Lowrider Wiring Repair, Repairing a Severed or Damaged Wire: passo 1, imagem 3 %32
    • If your wire is severed, the first step is removing the rubber coating to expose both ends of the severed wire.

    • Do this by wedging it in a sharp crevice and pulling at the rubber coating. It should strip just the rubber coating. The small wedge in a spudger should suffice.

  2. Skullcandy Lowrider Wiring Repair: passo 2, imagem 1 %32 Skullcandy Lowrider Wiring Repair: passo 2, imagem 2 %32
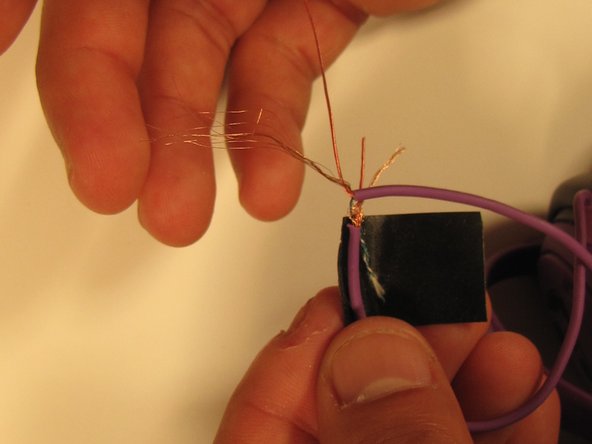
    • Now that the internal wires have been exposed, take one end and group all similarly colored wires together.

    • Do the same for the other severed wire.

  3. Skullcandy Lowrider Wiring Repair: passo 3, imagem 1 %32 Skullcandy Lowrider Wiring Repair: passo 3, imagem 2 %32 Skullcandy Lowrider Wiring Repair: passo 3, imagem 3 %32
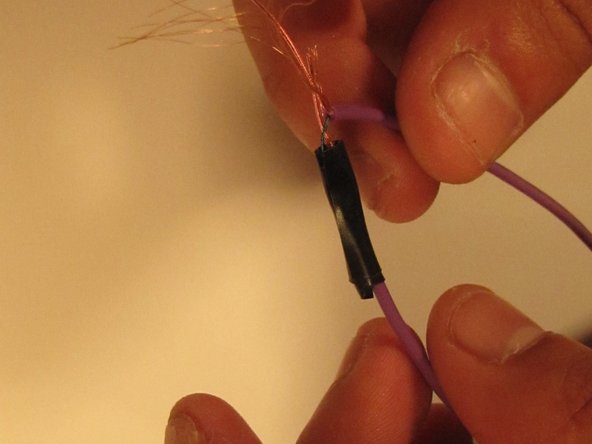
    • Twist the green wires from both ends of the severed wire together.

    • Cover in electrical tape.

  4. Skullcandy Lowrider Wiring Repair: passo 4, imagem 1 %32
    • Do the same for all matching wires on both ends.

    • Cover completely in electrical tape.

Conclusão

To reassemble your device, follow these instructions in reverse order.

Ryley

Membro desde: 01/16/15

273 Reputação

Autoria de 3 guias

Equipe

0 comentários

Adicione um comentário

Exibir estatísticas:

Últimas 24 horas: 2

Últimos 7 dias: 5

Últimos 30 dias: 14

Duração total: 634