Esta versão pode conter edições incorretas. Mude para o último instantâneo verificado.
O que você precisa
-
Este passo não foi traduzido. Ajude a traduzi-lo
-
On the front of the drill, remove the three 2" flathead screws connecting the front housing to the rear housing.
-
-
-
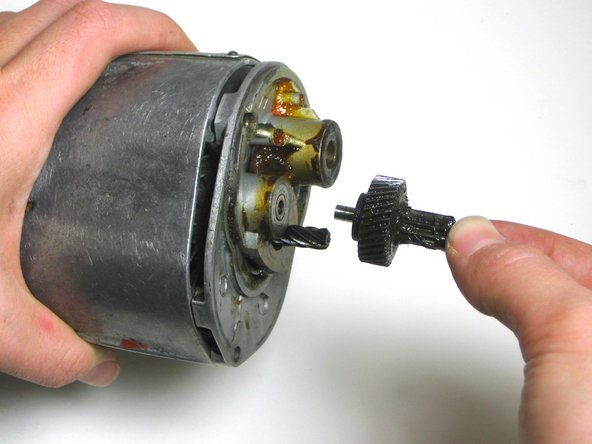
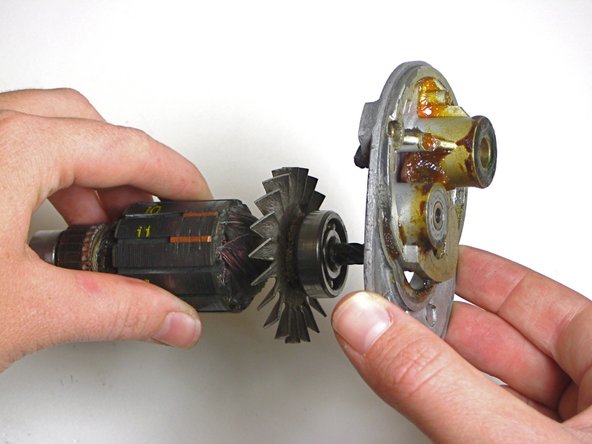
Este passo não foi traduzido. Ajude a traduzi-lo
-
For reassembly, remove the orange cap on top using your flathead screwdriver. A bushing should come out with it.
-
Depress the bushing on bottom using the tweezers. To reach the bushing you will have to put the tweezers through the "Skil" lettering. Insert the motor as it is depressed.
-
Using the tweezers, place the other bushing back in through the hole in the top. Screw the orange cap back on.
-


Equipe

Cal Poly, Team 5-17, Maness Fall 2010 Membro de Cal Poly, Team 5-17, Maness Fall 2010
CPSU-MANESS-F10S5G17
Membros da 3
Autoria de 7 guias