Ir para o conteúdo principal
Skateboard Hanger  Replacement

Skateboard Hanger Replacement

Mark Stieber

Mark Stieber e um outro colaborador

Última atualização em September 4, 2020

5 minutos
Fácil

Is your skateboard veering off in the wrong direction or are you not going in a straight path? Then it’s time to replace the hanger of your skateboard. This guide will teach you how to disassemble & replace a skateboard hanger if it's damaged or broken.

O que você precisa

A iFixit ganha comissão quando você compra por estes links.
  1. Skateboard Hanger  Replacement, Hanger: passo 1, imagem 1 %32 Skateboard Hanger  Replacement, Hanger: passo 1, imagem 2 %32
    • Using the T-tool, unscrew the nut securing the wheel and remove it, setting it and the wheel aside.

  2. Skateboard Hanger  Replacement: passo 2, imagem 1 %32 Skateboard Hanger  Replacement: passo 2, imagem 2 %32 Skateboard Hanger  Replacement: passo 2, imagem 3 %32
    • Using the T-Tool, unscrew the Kingpin nut, washer and top bushing so that the hanger itself can be taken off.

  3. Skateboard Hanger  Replacement: passo 3, imagem 1 %32 Skateboard Hanger  Replacement: passo 3, imagem 2 %32
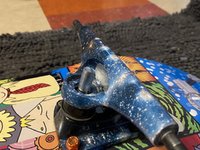
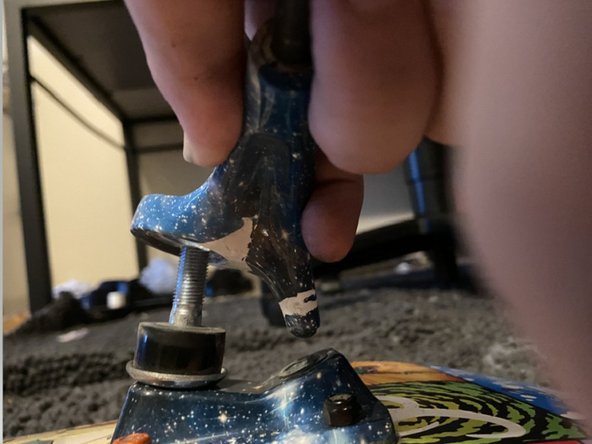
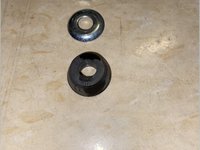
    • Pull straight up to remove the hanger. Remove the lower bushing and the lower cup washer just to check on the riser.

  4. Skateboard Hanger  Replacement: passo 4, imagem 1 %32 Skateboard Hanger  Replacement: passo 4, imagem 2 %32
    • To reassemble, take the lower cup washer, then the lower bushing and put it on the kingpin. Next, set the replacement hanger on top of the lower bushing.

  5. Skateboard Hanger  Replacement: passo 5, imagem 1 %32 Skateboard Hanger  Replacement: passo 5, imagem 2 %32 Skateboard Hanger  Replacement: passo 5, imagem 3 %32
    • After the hanger is added, put the the top bushing, the top cup washer and then the Kingpin nut back.

  6. Skateboard Hanger  Replacement: passo 6, imagem 1 %32 Skateboard Hanger  Replacement: passo 6, imagem 2 %32 Skateboard Hanger  Replacement: passo 6, imagem 3 %32
    • After the kingpin nut is secured, take your T-Tool and add the wheels back onto and secure them in place.

Conclusão

To reassemble your device, follow these instructions in reverse order.

0 comentários

Adicione um comentário

Exibir estatísticas:

Últimas 24 horas: 0

Últimos 7 dias: 1

Últimos 30 dias: 4

Duração total: 478