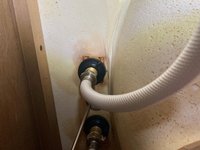
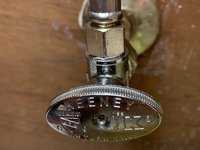
Ir para o conteúdo principal

Sink Faucet Water Supply Line Replacement

O que você precisa

  1. Sink Faucet Water Supply Line Replacement, Water Supply Line: passo 1, imagem 1 %32 Sink Faucet Water Supply Line Replacement, Water Supply Line: passo 1, imagem 2 %32
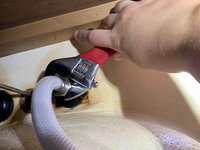
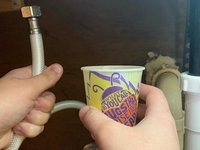
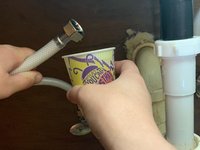
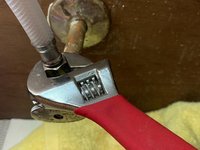
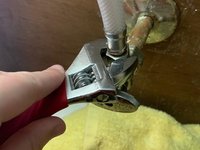
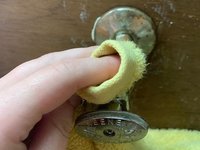
    • Clear the cabinet of any items to provide adequate workspace.

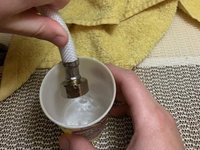
    • Place a towel down under the supply lines to absorb any dripping water.

  2. Sink Faucet Water Supply Line Replacement: passo 2, imagem 1 %32 Sink Faucet Water Supply Line Replacement: passo 2, imagem 2 %32 Sink Faucet Water Supply Line Replacement: passo 2, imagem 3 %32
    • Rotate the valve to shut off the water supply to the faucet.

    • A valve is typically considered to be "shut off" when it is perpendicular to the supply line itself. The third photo shows a completely shut off valve.

  3. Sink Faucet Water Supply Line Replacement: passo 3, imagem 1 %32 Sink Faucet Water Supply Line Replacement: passo 3, imagem 2 %32 Sink Faucet Water Supply Line Replacement: passo 3, imagem 3 %32
    • Begin unfastening the water supply line, starting with the top of the line attached to the faucet.

    • Place the crescent wrench on the fastening nut, and rotate until the supply line detaches completely from the faucet.

  4. Sink Faucet Water Supply Line Replacement: passo 4, imagem 1 %32 Sink Faucet Water Supply Line Replacement: passo 4, imagem 2 %32 Sink Faucet Water Supply Line Replacement: passo 4, imagem 3 %32
    • Now that the top of the supply line is detached, hold it upright as there will still be some water left in the line from before the valve was shut off.

    • Pour the remaining water from the supply line into a cup to prevent water from spilling elsewhere in the future steps.

  5. Sink Faucet Water Supply Line Replacement: passo 5, imagem 1 %32 Sink Faucet Water Supply Line Replacement: passo 5, imagem 2 %32 Sink Faucet Water Supply Line Replacement: passo 5, imagem 3 %32
    • Adjust the crescent wrench to fit the bottom nut of the water supply line.

    • Rotate the nut until the water supply line is completely detached from the water supply valve.

  6. Sink Faucet Water Supply Line Replacement: passo 6, imagem 1 %32 Sink Faucet Water Supply Line Replacement: passo 6, imagem 2 %32 Sink Faucet Water Supply Line Replacement: passo 6, imagem 3 %32
    • Wipe off the connections where the water supply line was previously attached.

    • Completely peel the old Teflon tape from both the top and bottom connections if there is any.

  7. Sink Faucet Water Supply Line Replacement: passo 7, imagem 1 %32 Sink Faucet Water Supply Line Replacement: passo 7, imagem 2 %32
    • Wrap the threads of both the top and bottom connections with new Teflon tape.

    • After 2-4 wraps of Teflon tape, tear the tape and secure to the threads.

    • Teflon tape is added to the threads as an effort to reduce the likelihood of leaking at the threads.

  8. Sink Faucet Water Supply Line Replacement: passo 8, imagem 1 %32 Sink Faucet Water Supply Line Replacement: passo 8, imagem 2 %32 Sink Faucet Water Supply Line Replacement: passo 8, imagem 3 %32
    • Take the new water supply line and connect the bottom fastener first. The connection should be started by hand.

    • After tightening the new water supply line by hand, use the crescent wrench from before to tighten the nut more.

    • A tighter connection means less likelihood of leaks.

  9. Sink Faucet Water Supply Line Replacement: passo 9, imagem 1 %32 Sink Faucet Water Supply Line Replacement: passo 9, imagem 2 %32 Sink Faucet Water Supply Line Replacement: passo 9, imagem 3 %32
    • Place the top portion of the new water supply line to the top fastener. Start reconnecting it by screwing it on by hand.

    • Tighten the connection with the crescent wrench to decrease the likelihood of a future leak.

  10. Sink Faucet Water Supply Line Replacement: passo 10, imagem 1 %32 Sink Faucet Water Supply Line Replacement: passo 10, imagem 2 %32
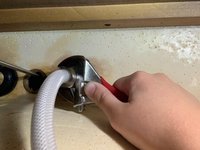
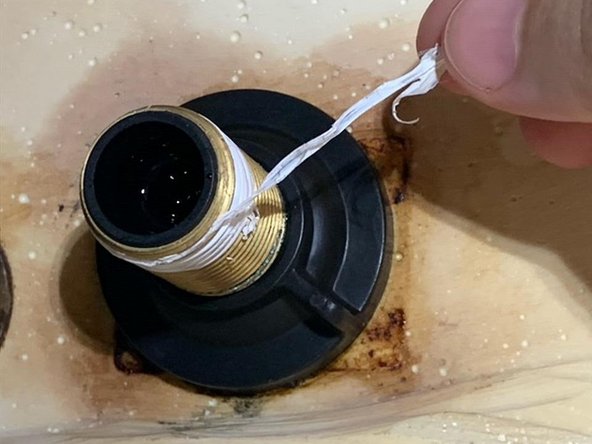
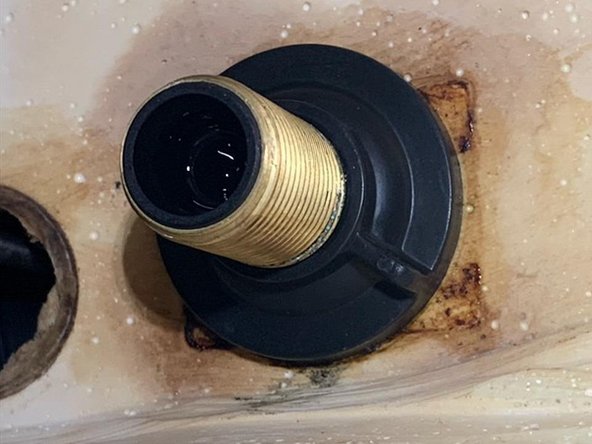
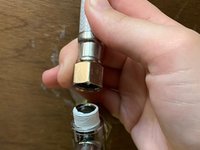
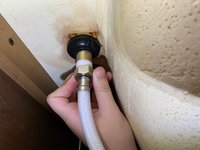
    • Once the new water supply line is placed and properly fastened, the water valve can be switched back on.

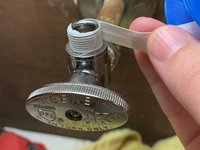
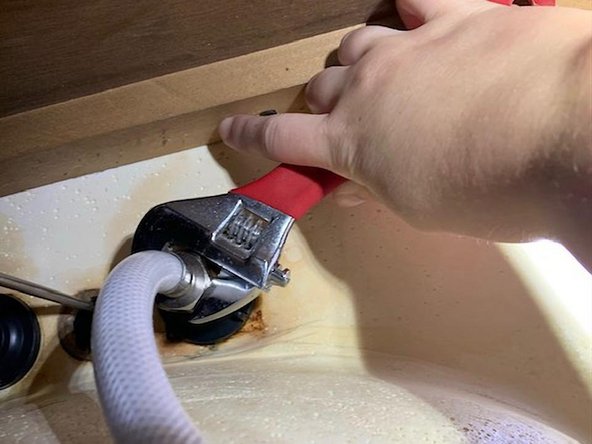
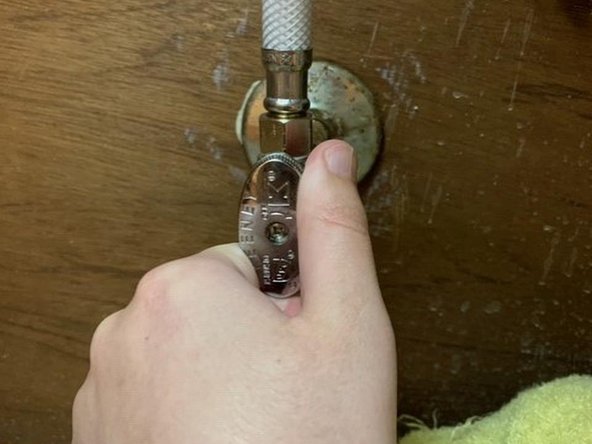
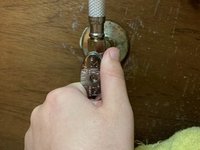
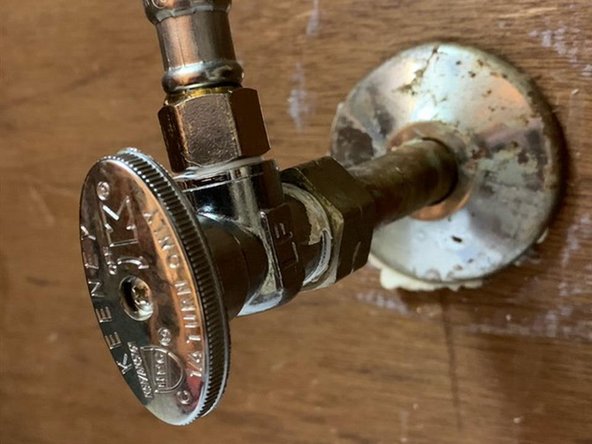
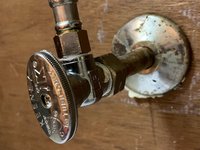
    • Grab the water valve and rotate it to the open position, which is typically in parallel to the water line, in contrast to earlier where a valve in the off position was perpendicular to the water line.

  11. Sink Faucet Water Supply Line Replacement: passo 11, imagem 1 %32 Sink Faucet Water Supply Line Replacement: passo 11, imagem 2 %32
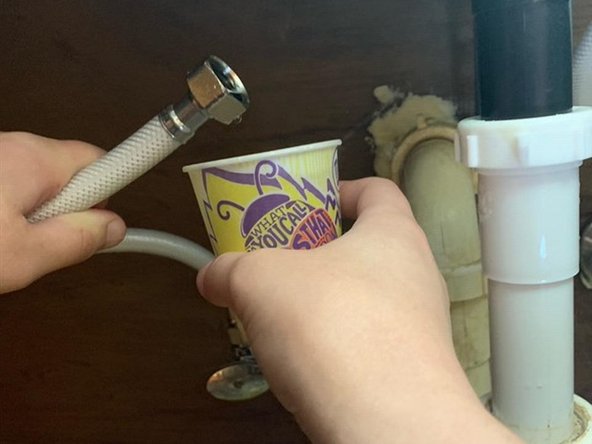
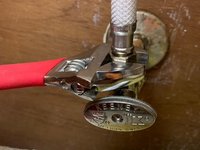
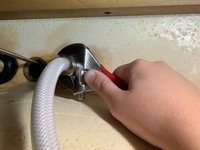
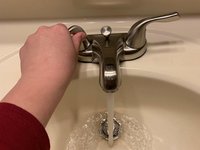
    • To ensure no leaks arise from your newly connected water supply lines, proper practice would be to turn on the water faucet and check both connections to ensure no water is dripping or leaking out.

    • If no water is seen leaking from your line or your connections, then you have successfully replaced your old water supply line!

    • Should you need to replace the other water supply line under your sink, the same process can be used for both supply lines.

Conclusão

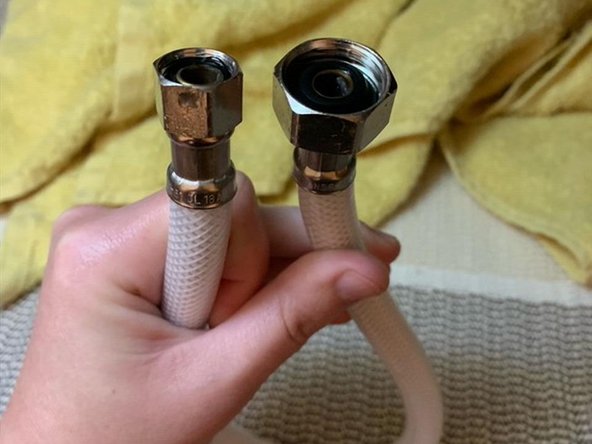
The process for reassembling the water line is included in the guide as it is a crucial component of the guide. Should you need to replace both water supply lines, then simply follow the same guide steps for the other line.

2 outras pessoas executaram este guia.

0 comentários

Adicione um comentário

Exibir estatísticas:

Últimas 24 horas: 28

Últimos 7 dias: 156

Últimos 30 dias: 853

Duração total: 33,631