Ir para o conteúdo principal

Siemens Siwatherm 7400 Series IQ Pump/Floater switch Replacement

  1. Siemens Siwatherm 7400 Series IQ Pump/Floater switch Replacement, Condensation Water Pump/Floater replacement: passo 1, imagem 1 %32 Siemens Siwatherm 7400 Series IQ Pump/Floater switch Replacement, Condensation Water Pump/Floater replacement: passo 1, imagem 2 %32 Siemens Siwatherm 7400 Series IQ Pump/Floater switch Replacement, Condensation Water Pump/Floater replacement: passo 1, imagem 3 %32
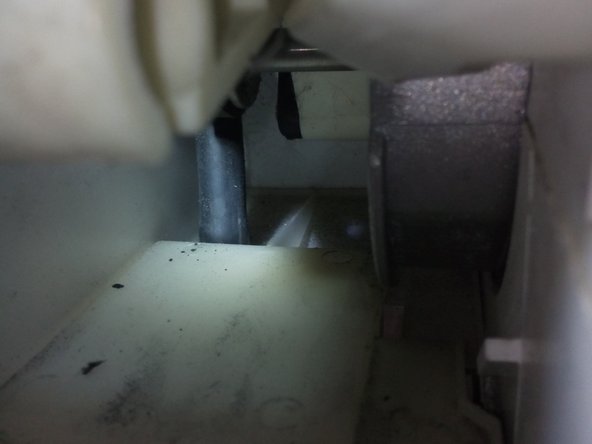
    • After removing the side cover (if you are standing in front of it on the right) the motor of the drum becomes visible. The pump of the condensation water tank and the float are located directly underneath. The drive tensioner must be loosened for removal/exchange.

  2. Siemens Siwatherm 7400 Series IQ Pump/Floater switch Replacement, Remove Placeholder next to the motor: passo 2, imagem 1 %32 Siemens Siwatherm 7400 Series IQ Pump/Floater switch Replacement, Remove Placeholder next to the motor: passo 2, imagem 2 %32 Siemens Siwatherm 7400 Series IQ Pump/Floater switch Replacement, Remove Placeholder next to the motor: passo 2, imagem 3 %32
    • Remove all plugs from the drive (not shown in the picture!) and remove the placeholder. Unlock the lock with your thumb.

  3. Siemens Siwatherm 7400 Series IQ Pump/Floater switch Replacement, Disconnecting pump and float: passo 3, imagem 1 %32 Siemens Siwatherm 7400 Series IQ Pump/Floater switch Replacement, Disconnecting pump and float: passo 3, imagem 2 %32
    • Remove the cable from the float and the pump and pull off the hose at the back. The motor can be folded upwards.

  4. Siemens Siwatherm 7400 Series IQ Pump/Floater switch Replacement, Removing pump and float: passo 4, imagem 1 %32 Siemens Siwatherm 7400 Series IQ Pump/Floater switch Replacement, Removing pump and float: passo 4, imagem 2 %32 Siemens Siwatherm 7400 Series IQ Pump/Floater switch Replacement, Removing pump and float: passo 4, imagem 3 %32
    • Once the cover is removed, the pump and float can be easily removed.

    • In this step, the tank should be cleaned to prevent the pump from clogging up quickly.

    • The rear part of the container can be reached from the other side. Remove the left side panel and pull out the condenser to the front.

Conclusão

To reassemble your device, follow these instructions in reverse order.

3 outras pessoas executaram este guia.

Um agradecimento especial a esses tradutores:

de en

100%

Estes tradutores estão nos ajudando a consertar o mundo! Quer contribuir?
Comece a traduzir ›

Newbe

Membro desde: 02/14/15

85 Reputação

Autoria de 1 guia

Um comentário

Danke vielmals für die Hilfestellung. Ohne das Entfernen der Motorhalterung hatte ich die Abdeckung zunächst nicht rausbekommen. Das Hauptproblem war aber dies. Siehe mein Beitrag :

https://forum.teamhack.de/thread/72671-w...

wodipo - Responder

Adicione um comentário

Exibir estatísticas:

Últimas 24 horas: 1

Últimos 7 dias: 9

Últimos 30 dias: 47

Duração total: 5,516