Introdução
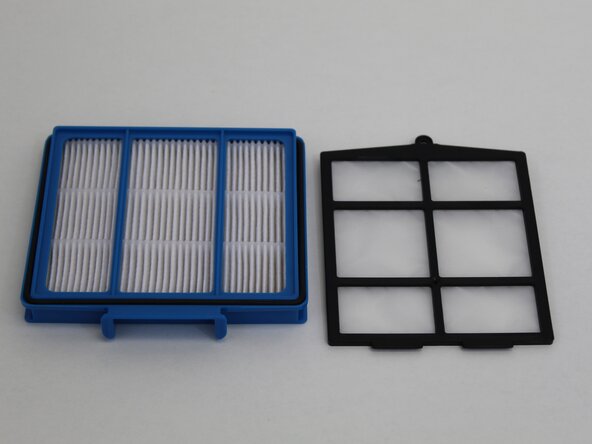
This guide demonstrates how to replace the two dust filters for the Shark RV754. The filters are responsible for catching fine dust particles that would otherwise float into the air as the vacuum operates. The filters may become clogged over time with regular use. Dirty or overused filters restrict airflow, reducing suction power and the capability to pick up debris. Filters can be cleaned manually to improve effectiveness; however, if they are damaged, they may need to be replaced with new filters.
The vacuum comes with only 1 set of filters, so extras will need to be purchased from Shark's website or third-party retailers like Amazon.
Before you begin, make sure that the device is powered off and disconnected from the charging dock.
O que você precisa
-
-
Flip the robot vacuum upside down so the wheels are facing up.
-
Press the dust bin removal latch and slide out the dust bin.
 Pergunte ao FixBot
-
-
-
-
To access the second filter, open the debris tray.
-
Hold the tray with two fingers at the indicated holes, and use your other hand to pull from the opposite side of the tray.
-
-
-
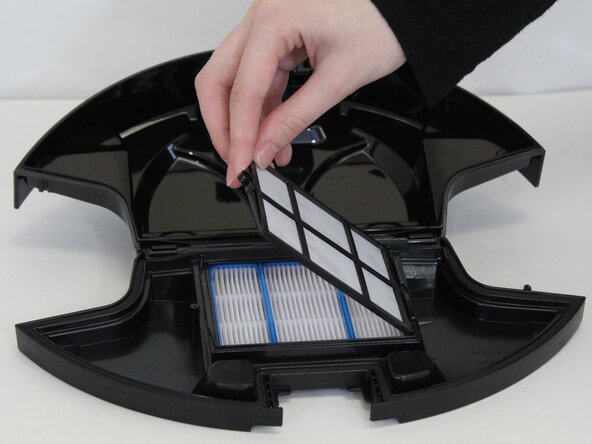
Use a Phillips #0 screwdriver to remove the 7.3 mm screw securing the second filter.
-
Lift the filter out from the same side where you removed the screw.
-


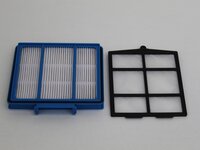
To reassemble your device, follow these instructions in reverse order.
Cancelar: não concluí este guia.
Uma outra pessoa concluiu este guia.

Equipe

Tennessee Tech University, Team 1-1, Pickering Spring 2025 Membro de Tennessee Tech University, Team 1-1, Pickering Spring 2025
TNTECH-PICKERING-S25S1G1
4 Membros
Autoria de 7 guias
