Esta versão pode conter edições incorretas. Mude para o último instantâneo verificado.
O que você precisa
-
Este passo não foi traduzido. Ajude a traduzi-lo
-
Turn over the phone and make sure the slider is closed.
-
-
Este passo não foi traduzido. Ajude a traduzi-lo
-
Using your thumb(s) slide the battery cover up to remove it.
-
-
-
Este passo não foi traduzido. Ajude a traduzi-lo
-
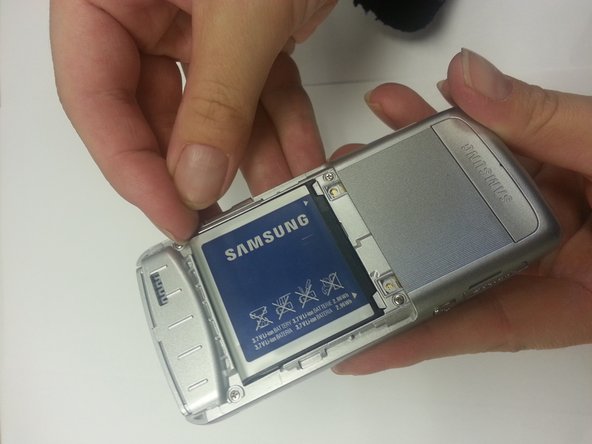
Using your finger, grasp the corner on either side of the battery and pull up.
-
-
Este passo não foi traduzido. Ajude a traduzi-lo
-
Unscrew the four corner .4cm Phillips head screws and the two middle .3 cm Phillips head screws.
-
-
Este passo não foi traduzido. Ajude a traduzi-lo
-
Gently insert a pair of tweezers under the Samsung logo on the bottom of the phone. Then unscrew the two .4 cm Phillips head screws underneath.
-
-
Este passo não foi traduzido. Ajude a traduzi-lo
-
Gently insert the plastic opening tool into the seam where the battery was located. Work the opening tool around until the back cover comes off. Make sure to be careful of the side buttons that pop off.
-


Equipe

WRI115, Team 1-2, Ruszkiewicz Spring 2013 Membro de WRI115, Team 1-2, Ruszkiewicz Spring 2013
WRI115-RUSZKIEWICZ-S13S1G2
Membros da 4
Autoria de 6 guias