Ir para o conteúdo principal

Samsung SPH-M360 Keyboard Replacement

O que você precisa

  1. Samsung SPH-M360 Keyboard Replacement, Battery: passo 1, imagem 1 %32 Samsung SPH-M360 Keyboard Replacement, Battery: passo 1, imagem 2 %32 Samsung SPH-M360 Keyboard Replacement, Battery: passo 1, imagem 3 %32
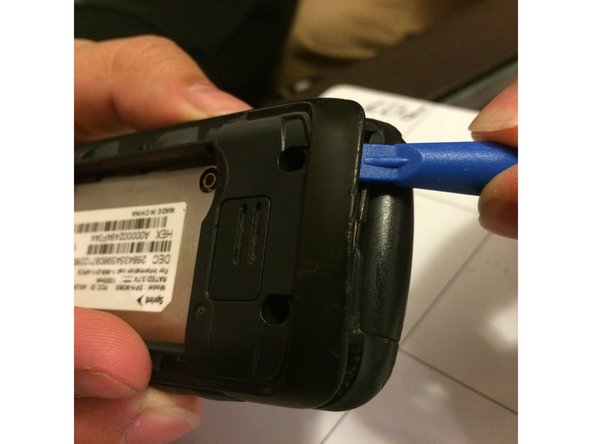
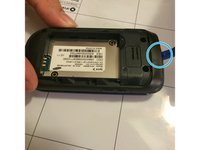
    • Locate the arrow on the panel of the rear side of the phone.

    • Use one or two fingers to apply light pressure downwards on the rear panel and push or pull in the direction of the arrow.

  2. Samsung SPH-M360 Keyboard Replacement: passo 2, imagem 1 %32 Samsung SPH-M360 Keyboard Replacement: passo 2, imagem 2 %32 Samsung SPH-M360 Keyboard Replacement: passo 2, imagem 3 %32
    • Place finger inside the small semi-spherical slot near the top of the battery.

    • Lightly pull the battery away from the phone. This should not require much effort.

  3. Samsung SPH-M360 Keyboard Replacement, Casing: passo 3, imagem 1 %32
    • Remove the four screws on the corners of the casing.

    • The volume and camera buttons may fall out

  4. Samsung SPH-M360 Keyboard Replacement: passo 4, imagem 1 %32 Samsung SPH-M360 Keyboard Replacement: passo 4, imagem 2 %32
    • Starting near the top of the casing, use the plastic opening tool to gently pry the casing open.

    • The case should require some effort to pry open, but do not use excessive force for risk of breaking the rear panel.

    • Slowly work the plastic opening tool around the edge of the casing, gently prying it around at all sides.

  5. Samsung SPH-M360 Keyboard Replacement: passo 5, imagem 1 %32 Samsung SPH-M360 Keyboard Replacement: passo 5, imagem 2 %32
    • Once the casing has been fully pried off of the phone, it should be easily removed by hand.

    • The buttons for the camera and volume may fall out while removing the casing. Be careful not to lose the small pieces.

  6. Samsung SPH-M360 Keyboard Replacement, Keyboard: passo 6, imagem 1 %32
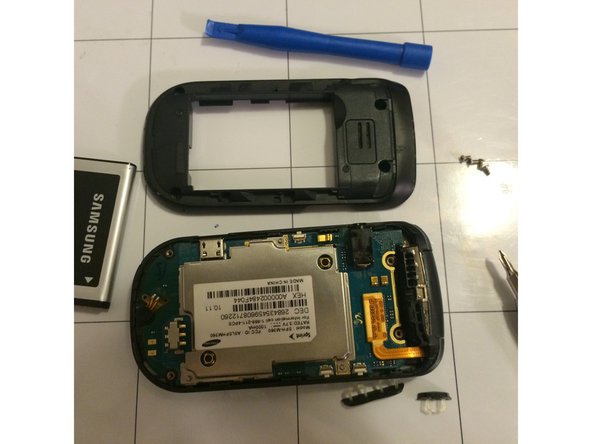
    • Flip open the phone so that the text on the keyboard is visible.

    • Push from the text side until the keyboard comes completely out of the phone casing.

Conclusão

To reassemble your device, follow these instructions in reverse order.

Hunter Parker

Membro desde: 10/22/15

475 Reputação

Autoria de 4 guias

Equipe

0 comentários

Adicione um comentário

Exibir estatísticas:

Últimas 24 horas: 0

Últimos 7 dias: 1

Últimos 30 dias: 2

Duração total: 74