Esta versão pode conter edições incorretas. Mude para o último instantâneo verificado.
O que você precisa
-
Este passo não foi traduzido. Ajude a traduzi-lo
-
Press on the markings on the cover and pull it down to reveal the battery.
-
-
Este passo não foi traduzido. Ajude a traduzi-lo
-
Use your fingers to pull the battery out of its position. You may also flip the phone and the battery will fall out.
-
-
Este passo não foi traduzido. Ajude a traduzi-lo
-
Unscrew the six screws on the back of the phone using the Phillips #0 screw driver.
-
-
Este passo não foi traduzido. Ajude a traduzi-lo
-
Use the prying tool the pry off the phone's plastic frame.
-
-
-
Este passo não foi traduzido. Ajude a traduzi-lo
-
Use the prying tool to disconnect the rectangular connector.
-
-
Este passo não foi traduzido. Ajude a traduzi-lo
-
Use the prying tool to disconnect the small connector.
-
-
Este passo não foi traduzido. Ajude a traduzi-lo
-
Use the Phillips #0 screw driver to remove the two screws.
-
Place the screws in a safe place.
-
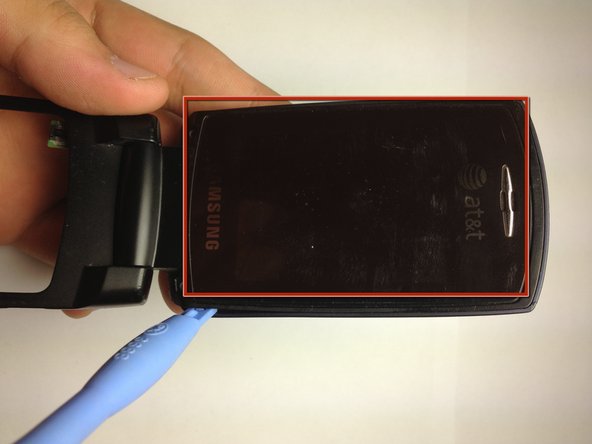
Use the prying tool to gently pry the screen off, by slowly moving the prying tool around the entire edge of the screen (roughly highlighted with a red rectangle). You must be very gentle, otherwise the screen will crack.
-
-
Este passo não foi traduzido. Ajude a traduzi-lo
-
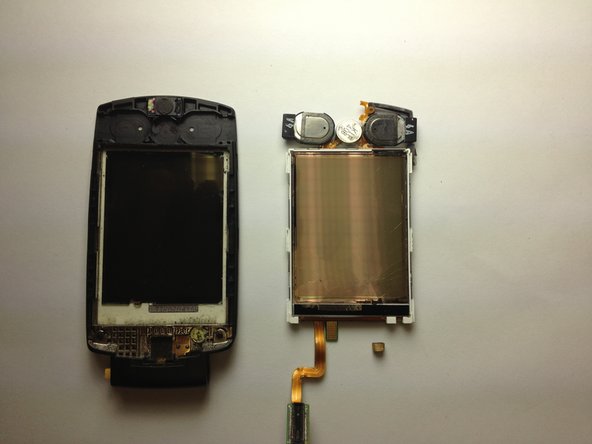
Now we have access to the camera.
-
We also have access to the speakers.
-
Disconnect the flat cable to separate the two pieces.
-
-
Este passo não foi traduzido. Ajude a traduzi-lo
-
Separate the two flaps to make handling easier.
-
Use a screw driver to press a latch in along the axis of the hinge and simultaneously pull the pieces apart.
-
Gently pull the flat cable through the hinge.
-
-
Este passo não foi traduzido. Ajude a traduzi-lo
-
Use the prying tool to separate the screen from the rest of the phone.
-
Be careful not to lose the little cube of foam and wire that is under the circuit board. It is important in connecting two different circuits and must be placed back when the phone is reassembled.
-


Equipe

University of Maryland, Team 1-1, Calloway Fall 2012 Membro de University of Maryland, Team 1-1, Calloway Fall 2012
UMD-CALLOWAY-F12S1G1
Membros da 4
Autoria de 14 guias