Ir para o conteúdo principal
Participe da comunidade de reparos - Criar conta

Samsung Rogue Keyboard Replacement

O que você precisa

  1. Samsung Rogue Keyboard Replacement, Battery: passo 1, imagem 1 %32 Samsung Rogue Keyboard Replacement, Battery: passo 1, imagem 2 %32
    • Before disassembling your Samsung Rogue, make sure it is powered off.

    • With your thumbs, push down on the back cover of your phone and slide it away from the camera.

    Pergunte ao FixBot
  2. Samsung Rogue Keyboard Replacement: passo 2, imagem 1 %32 Samsung Rogue Keyboard Replacement: passo 2, imagem 2 %32
    • You can now remove the battery by prying it up with your finger.

    Pergunte ao FixBot
  3. Samsung Rogue Keyboard Replacement, Motherboard: passo 3, imagem 1 %32
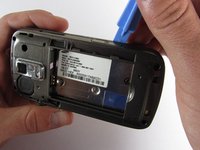
    • Use a plastic opening tool to carefully pry the back cover surrounding the camera up from the phone.

    Pergunte ao FixBot
  4. Samsung Rogue Keyboard Replacement: passo 4, imagem 1 %32
    • Remove the five 3.4mm Philips screws securing the backing of the phone.

    Pergunte ao FixBot
  5. Samsung Rogue Keyboard Replacement: passo 5, imagem 1 %32 Samsung Rogue Keyboard Replacement: passo 5, imagem 2 %32 Samsung Rogue Keyboard Replacement: passo 5, imagem 3 %32
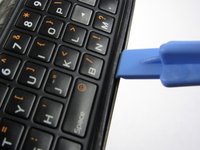
    • Use a plastic opening tool to carefully pry off the back cover.

    • Make sure you are prying along the edge and not between the two halves of the phone that slide away from each other.

    • Be careful to not drop the volume changing piece, for it can easily slip out.

    Pergunte ao FixBot
  6. Samsung Rogue Keyboard Replacement: passo 6, imagem 1 %32
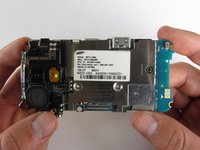
    • Remove the two 3.45 mm Philips screws below the white sticker.

    Pergunte ao FixBot
  7. Samsung Rogue Keyboard Replacement: passo 7, imagem 1 %32 Samsung Rogue Keyboard Replacement: passo 7, imagem 2 %32
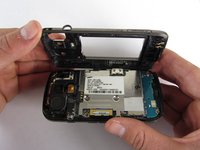
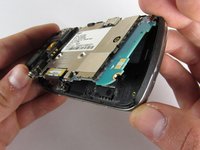
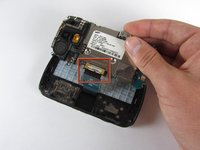
    • Carefully lift the motherboard up from the bottom edge.

    • The film of wires is still attached to the motherboard, so do not completely remove the motherboard just yet or you may damage it.

    Pergunte ao FixBot
  8. Samsung Rogue Keyboard Replacement: passo 8, imagem 1 %32 Samsung Rogue Keyboard Replacement: passo 8, imagem 2 %32
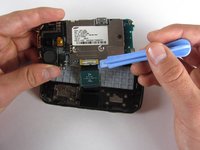
    • Use a plastic opening tool to disconnect the film from the motherboard.

    Pergunte ao FixBot
  9. Samsung Rogue Keyboard Replacement, Keyboard: passo 9, imagem 1 %32
    • Remove the eight 1.7mm Philips screws above the keyboard.

    Pergunte ao FixBot
  10. Samsung Rogue Keyboard Replacement: passo 10, imagem 1 %32
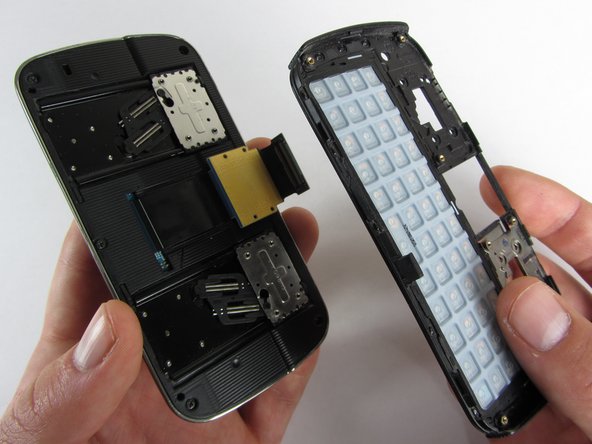
    • Carefully remove keyboard holder from the slider mechanisms underneath.

    Pergunte ao FixBot
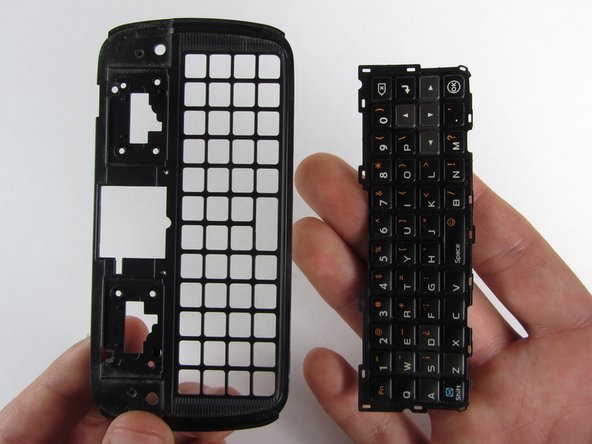
  11. Samsung Rogue Keyboard Replacement: passo 11, imagem 1 %32 Samsung Rogue Keyboard Replacement: passo 11, imagem 2 %32
    • Turn keyboard holder over and allow the keyboard to simply fall out into your hand.

    Pergunte ao FixBot
Conclusão

To reassemble your device, follow these instructions in reverse order.

Equipe

Cal Poly, Team 7-32, Maness Spring 2012 Membro de Cal Poly, Team 7-32, Maness Spring 2012

CPSU-MANESS-S12S7G32

4 Membros

Autoria de 20 guias

0Comentários do guia

Comentar

Visualizações:

Últimas 24 horas: 3

Últimos 7 dias: 13

Últimos 30 dias: 64

Ao todo: 536