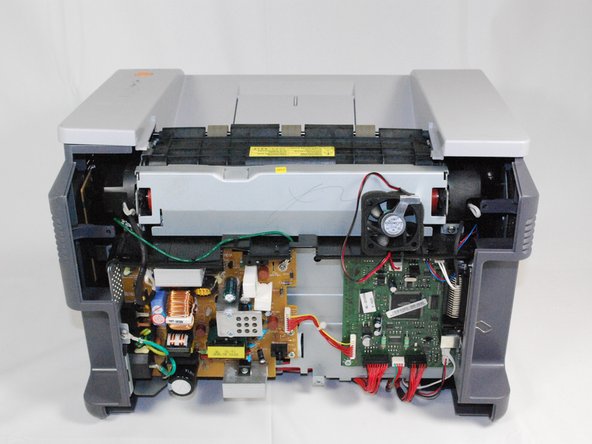
Ir para o conteúdo principal

Samsung ML2510 Side Cooling Fan Replacement

O que você precisa

  1. Samsung ML2510 Side Cooling Fan Replacement, Removing Samsung ML2510 Back Panel: passo 1, imagem 1 %32 Samsung ML2510 Side Cooling Fan Replacement, Removing Samsung ML2510 Back Panel: passo 1, imagem 2 %32 Samsung ML2510 Side Cooling Fan Replacement, Removing Samsung ML2510 Back Panel: passo 1, imagem 3 %32
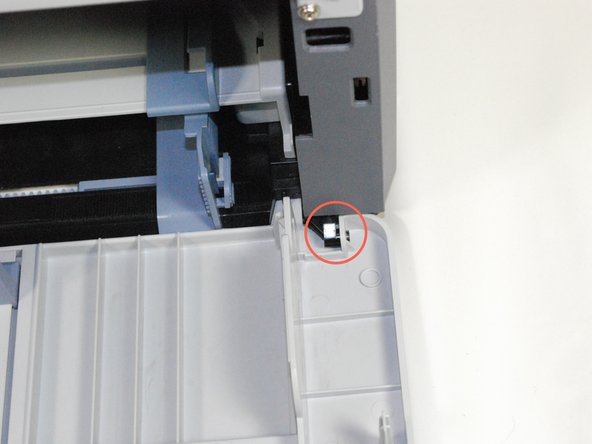
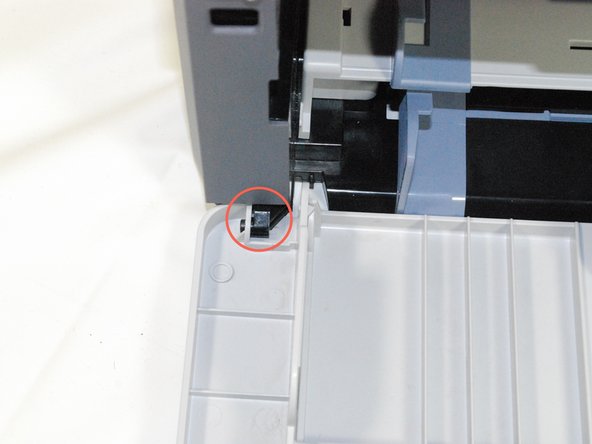
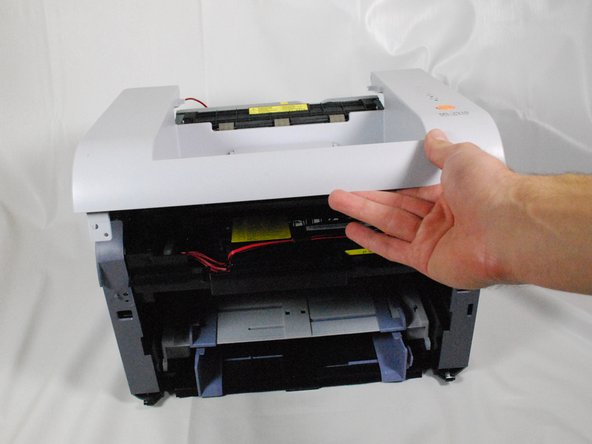
    • Remove the top hinged panel by taking out the pins at the bottom of this panel.

  2. Samsung ML2510 Side Cooling Fan Replacement: passo 2, imagem 1 %32
    • Using a Phillips #2 screwdriver, remove the four screws on the back of the printer.

  3. Samsung ML2510 Side Cooling Fan Replacement: passo 3, imagem 1 %32 Samsung ML2510 Side Cooling Fan Replacement: passo 3, imagem 2 %32 Samsung ML2510 Side Cooling Fan Replacement: passo 3, imagem 3 %32
    • Gently lift the top panel while simultaneously pulling off the back panel.

    • Before pulling out the back panel entirely, make sure to remove the rear cooling fan from its slot.

  4. Samsung ML2510 Side Cooling Fan Replacement, Side Cooling Fan: passo 4, imagem 1 %32 Samsung ML2510 Side Cooling Fan Replacement, Side Cooling Fan: passo 4, imagem 2 %32 Samsung ML2510 Side Cooling Fan Replacement, Side Cooling Fan: passo 4, imagem 3 %32
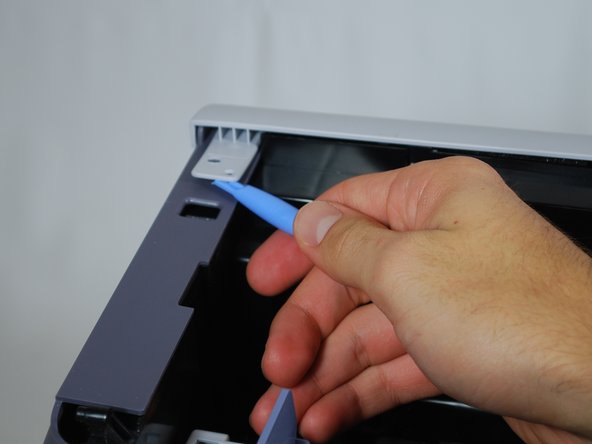
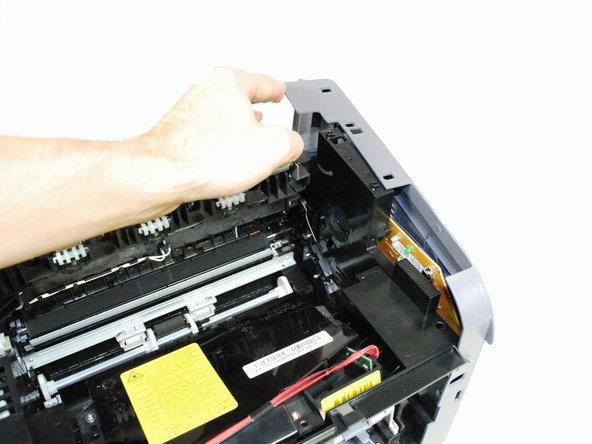
    • Locate the holes on the panel that are attached to the main body.

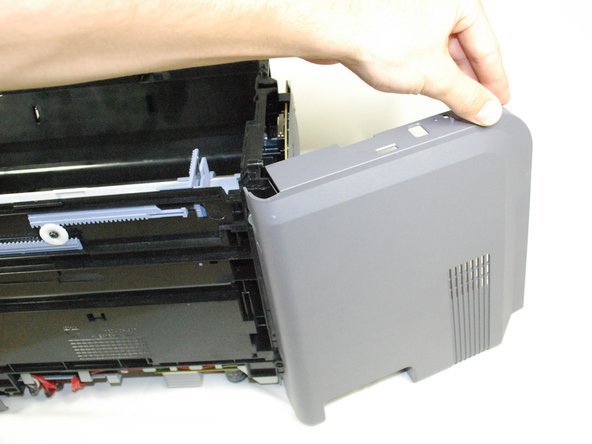
    • Remove the front panel by gently moving the holes from the pegs one by one.

  5. Samsung ML2510 Side Cooling Fan Replacement: passo 5, imagem 1 %32
    • Using a Phillips #2 screwdriver, remove the two 1" screws on the front face of the printer.

  6. Samsung ML2510 Side Cooling Fan Replacement: passo 6, imagem 1 %32 Samsung ML2510 Side Cooling Fan Replacement: passo 6, imagem 2 %32 Samsung ML2510 Side Cooling Fan Replacement: passo 6, imagem 3 %32
    • Using a plastic opening tool, gently lift one side of the top panel from its peg.

    • Repeat process for the other side.

    • Lift the top panel from the front to remove it entirely.

  7. Samsung ML2510 Side Cooling Fan Replacement: passo 7, imagem 1 %32 Samsung ML2510 Side Cooling Fan Replacement: passo 7, imagem 2 %32 Samsung ML2510 Side Cooling Fan Replacement: passo 7, imagem 3 %32
    • Lift the right side-panel up from the raised stops.

    • Gently rotate the panel as indicated in the picture to remove the panel entirely.

  8. Samsung ML2510 Side Cooling Fan Replacement: passo 8, imagem 1 %32
    • Poke out the side fan from the inside of the printer.

  9. Samsung ML2510 Side Cooling Fan Replacement: passo 9, imagem 1 %32
    • Unplug the fan's wires from the side circuit board.

    • Replace the fan and reassemble the printer using reverse procedures.

Conclusão

To reassemble your device, follow these instructions in reverse order.

2 outras pessoas executaram este guia.

bbaustin

Membro desde: 10/12/11

268 Reputação

Autoria de 6 guias

Equipe

Cal Poly, Team 17-18, Regan Fall 2011 Membro de Cal Poly, Team 17-18, Regan Fall 2011

CPSU-REGAN-F11S17G18

Membros da 4

Autoria de 12 guias

0 comentários

Adicione um comentário

Exibir estatísticas:

Últimas 24 horas: 0

Últimos 7 dias: 0

Últimos 30 dias: 1

Duração total: 2,515