Ir para o conteúdo principal

Samsung Gusto 2 Keypad Replacement

O que você precisa

  1. Samsung Gusto 2 Keypad Replacement, Battery: passo 1, imagem 1 %32
    • Place the phone screen down like this.

  2. Samsung Gusto 2 Keypad Replacement: passo 2, imagem 1 %32 Samsung Gusto 2 Keypad Replacement: passo 2, imagem 2 %32
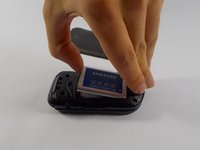
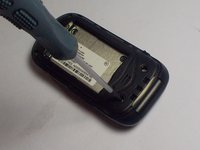
    • Find the little slit on the side of the phone and stick your fingernail in between the slit and push your thumb upwards towards your hand.

    • Look at the next picture for the slit.

  3. Samsung Gusto 2 Keypad Replacement: passo 3, imagem 1 %32 Samsung Gusto 2 Keypad Replacement: passo 3, imagem 2 %32 Samsung Gusto 2 Keypad Replacement: passo 3, imagem 3 %32
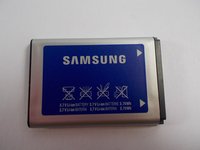
    • Pop out the battery by placing your finger in between the open slit.

  4. Samsung Gusto 2 Keypad Replacement, Keypad: passo 4, imagem 1 %32 Samsung Gusto 2 Keypad Replacement, Keypad: passo 4, imagem 2 %32
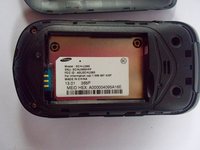
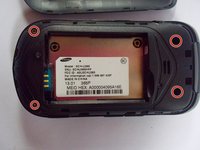
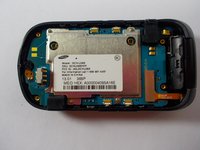
    • Identify the screws as follows and take your screwdriver and unscrew these screws.

    • The screws highlighted in the picture do not need to come out, in fact it is really hard to remove them. Simply unscrewing them will loosen the back of the phone.

  5. Samsung Gusto 2 Keypad Replacement: passo 5, imagem 1 %32
    • Once you have unscrewed the four screws, take your spudger/plastic opening tool and wedge it in the back of the phone as shown in the picture.

    • Find a very thin crevice which seems to run around the phone itself and assertively wedge the spudger into the crevice.

    • Once you have successfully inserted the spudger follow through by sliding the spudger assertively around the phone frame.

    • Apply moderate force while trying to wedge the tool in.

  6. Samsung Gusto 2 Keypad Replacement: passo 6, imagem 1 %32 Samsung Gusto 2 Keypad Replacement: passo 6, imagem 2 %32 Samsung Gusto 2 Keypad Replacement: passo 6, imagem 3 %32
    • The back should now be exposed like the first picture after the case was removed.

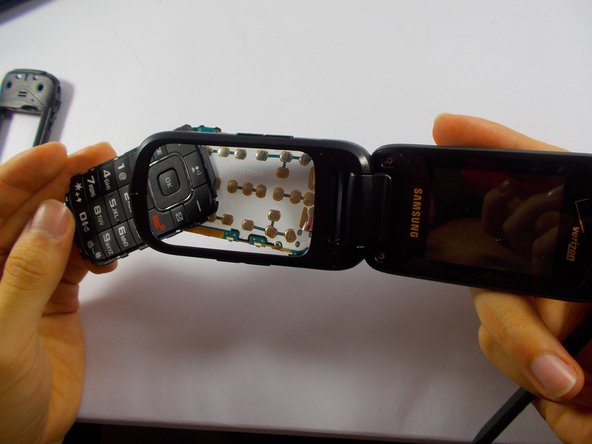
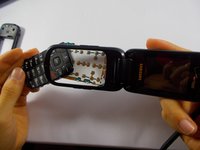
    • Flip open the phone, main screen facing up.

    • Push the keypad and slide it out.

Conclusão

To reassemble your device, follow these instructions in reverse order.

Uma outra pessoa concluiu este guia.

Michael Huang

Membro desde: 03/30/15

403 Reputação

Autoria de 3 guias

Equipe

UMass Dartmouth, Team 2-5, Shastany Spring 2015 Membro de UMass Dartmouth, Team 2-5, Shastany Spring 2015

UMASSD-SHASTANY-S15S2G5

Membros da 3

Autoria de 10 guias

0 comentários

Adicione um comentário

Exibir estatísticas:

Últimas 24 horas: 0

Últimos 7 dias: 0

Últimos 30 dias: 2

Duração total: 446