Ir para o conteúdo principal

Samsung Gravity TXT Screen Replacement

O que você precisa

  1. Samsung Gravity TXT Screen Replacement, Battery: passo 1, imagem 1 %32 Samsung Gravity TXT Screen Replacement, Battery: passo 1, imagem 2 %32
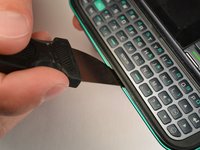
    • Pry the back cover off with a plastic opening tool, or your fingernail, in the indentation on the bottom of the device.

  2. Samsung Gravity TXT Screen Replacement: passo 2, imagem 1 %32
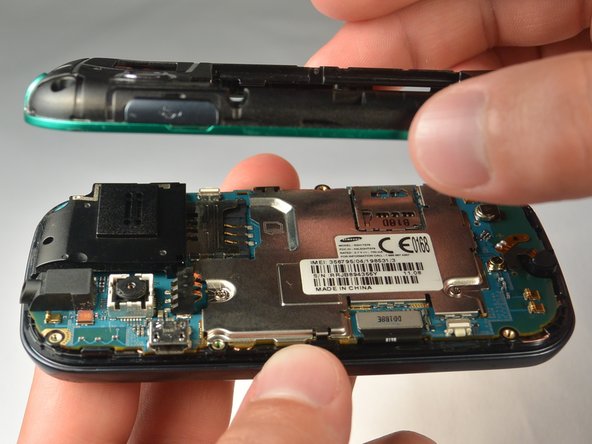
    • Lift the back cover away from the main body of the phone.

  3. Samsung Gravity TXT Screen Replacement: passo 3, imagem 1 %32
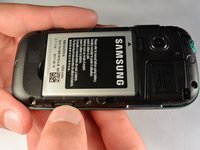
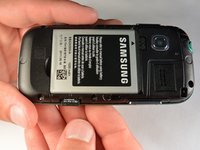
    • Insert your finger in the groove below the battery.

    • Press the battery toward the audio jack while lifting upward and away from the phone.

    • Remember to place the battery back with the copper contacts on the battery lined up with those on the phone.

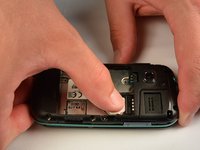
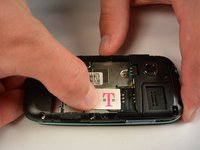
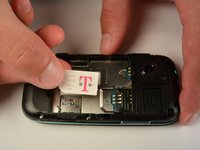
  4. Samsung Gravity TXT Screen Replacement, SIM Card: passo 4, imagem 1 %32 Samsung Gravity TXT Screen Replacement, SIM Card: passo 4, imagem 2 %32 Samsung Gravity TXT Screen Replacement, SIM Card: passo 4, imagem 3 %32
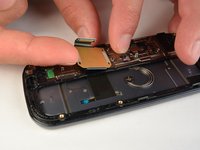
    • Using your finger, push the SIM Card down and slide out of the slot.

    • Slide the SIM card out enough to grab it firmly.

    • Remove the SIM card away from the phone.

    • Follow the visual on the bottom of the SIM card slot to put the SIM card back in the correct orientation.

    • When sliding the SIM Card back in the slot, make sure the card goes all the way in the slot until it hits the stopper.

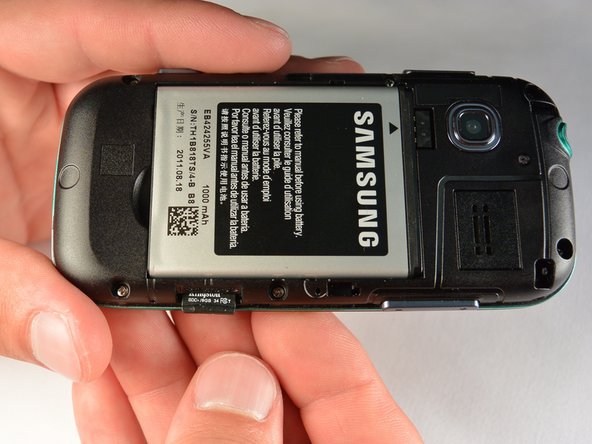
  5. Samsung Gravity TXT Screen Replacement, microSD Card: passo 5, imagem 1 %32 Samsung Gravity TXT Screen Replacement, microSD Card: passo 5, imagem 2 %32 Samsung Gravity TXT Screen Replacement, microSD Card: passo 5, imagem 3 %32
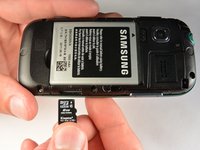
    • Using your fingernail, push the microSD card slightly deeper into the slot, until you hear a click.

    • The removal of the battery is not required for this operation; therefore, step 3 can be skipped if just replacing the microSD card.

    • After the click, release the microSD card to allow it to pop out.

    • Remove the microSD card from its slot

    • When placing the microSD card back in the phone, make sure the card clicks in place.

  6. Samsung Gravity TXT Screen Replacement, Plastic Back Frame: passo 6, imagem 1 %32
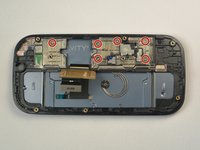
    • Remove the six 3 mm #00 Phillips screws in the plastic back frame.

  7. Samsung Gravity TXT Screen Replacement: passo 7, imagem 1 %32 Samsung Gravity TXT Screen Replacement: passo 7, imagem 2 %32 Samsung Gravity TXT Screen Replacement: passo 7, imagem 3 %32
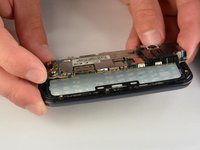
    • Slide the keyboard out.

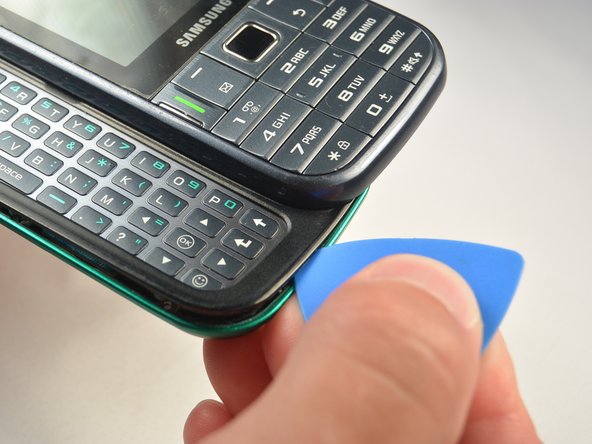
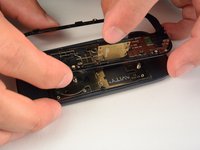
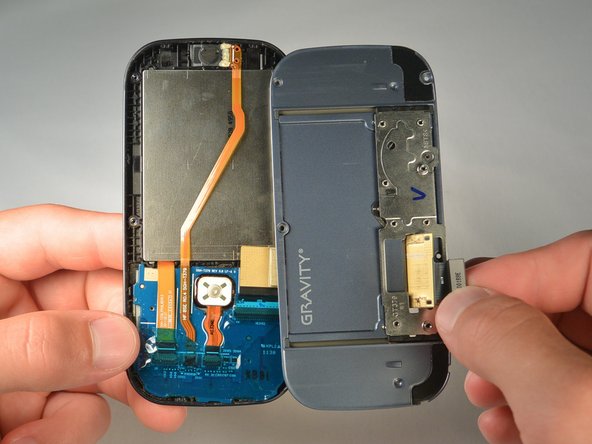
    • Use a Jimmy to separate a small segment of the plastic back frame from rest of the phone.

    • Starting at the bottom of the keyboard is recommended.

    • Slide an opening pick around the rest of the seam, starting at the gap just created with the Jimmy.

    • You will have to slide the keyboard back in to separate the back frame from the top have of the keyboard slider.

    • Lift the plastic back frame away.

  8. Samsung Gravity TXT Screen Replacement, Motherboard: passo 8, imagem 1 %32
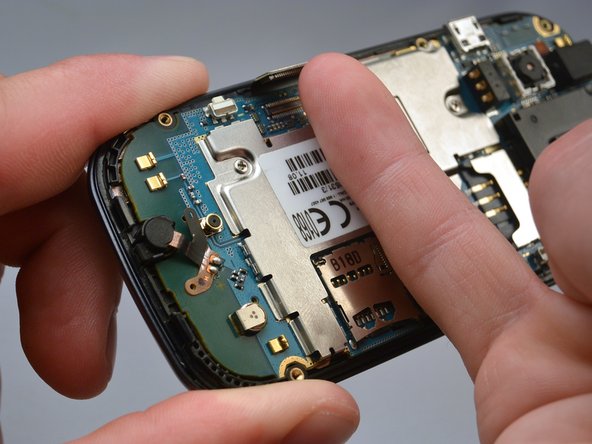
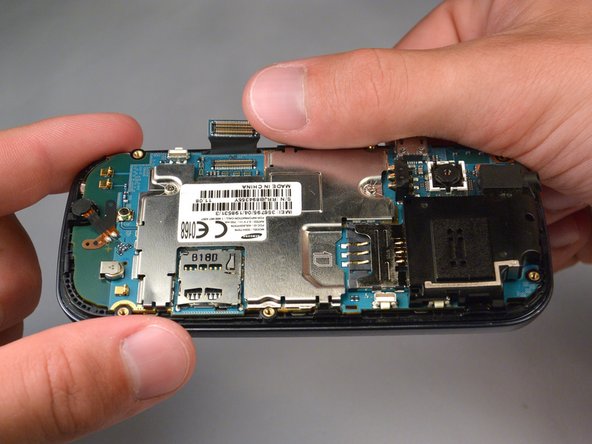
    • Remove the two 3 mm Phillips #00 screws securing the motherboard to the front panel.

    • Do not try to pull the motherboad out just yet. The display data cable needs to be disconnected from the motherboad first.

  9. Samsung Gravity TXT Screen Replacement: passo 9, imagem 1 %32 Samsung Gravity TXT Screen Replacement: passo 9, imagem 2 %32 Samsung Gravity TXT Screen Replacement: passo 9, imagem 3 %32
    • Use your finger nail to disconnect the display data cable from the motherboard.

  10. Samsung Gravity TXT Screen Replacement: passo 10, imagem 1 %32 Samsung Gravity TXT Screen Replacement: passo 10, imagem 2 %32
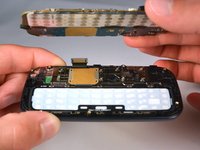
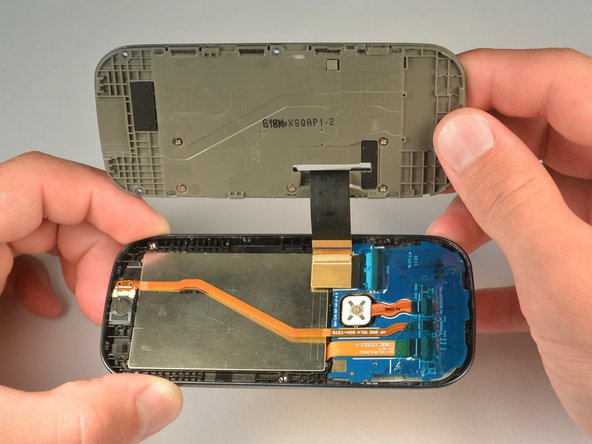
    • Carefully lift the main motherboard assembly away from the front panel.

  11. Samsung Gravity TXT Screen Replacement, Keyboard: passo 11, imagem 1 %32
    • Take the keyboard off of the phone.

  12. Samsung Gravity TXT Screen Replacement, Screen: passo 12, imagem 1 %32 Samsung Gravity TXT Screen Replacement, Screen: passo 12, imagem 2 %32 Samsung Gravity TXT Screen Replacement, Screen: passo 12, imagem 3 %32
    • Lift the ribbon off the plastic inner frame.

    • You may have to warm the adhesive using an iOpener to avoid damaging the ribbon.

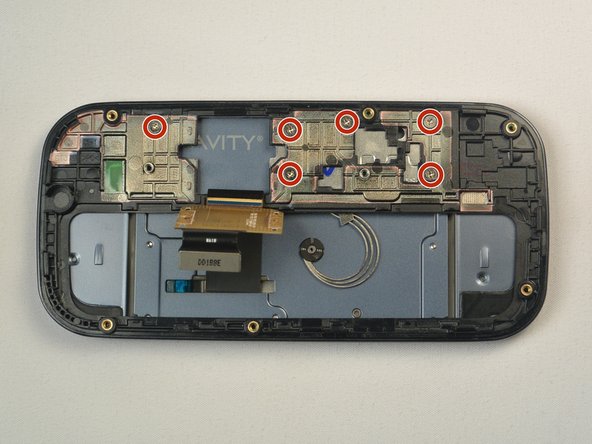
    • Remove the six 1.2 mm #00 screws from the inner plastic frame.

    • Slide the ribbon through the slot on the inner frame while pulling the frame away.

  13. Samsung Gravity TXT Screen Replacement: passo 13, imagem 1 %32
    • Remove the four 2.4 mm #00 Phillips screws.

  14. Samsung Gravity TXT Screen Replacement: passo 14, imagem 1 %32 Samsung Gravity TXT Screen Replacement: passo 14, imagem 2 %32 Samsung Gravity TXT Screen Replacement: passo 14, imagem 3 %32
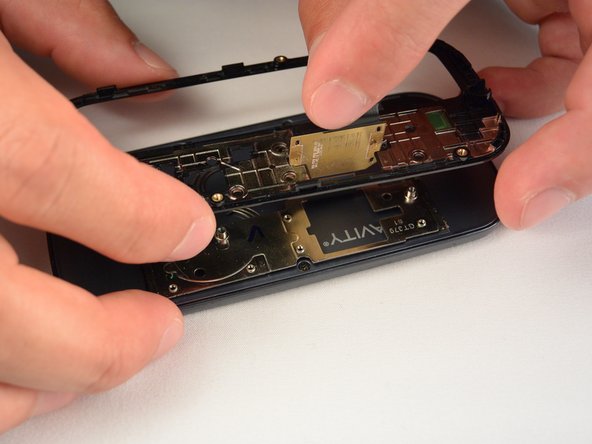
    • Use a opening pick to separate the plastic back casing from the front of the phone by running it along the seam between the two.

    • Lift casing slightly away while sliding the ribbon through the slot in the casing.

  15. Samsung Gravity TXT Screen Replacement: passo 15, imagem 1 %32 Samsung Gravity TXT Screen Replacement: passo 15, imagem 2 %32
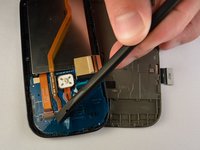
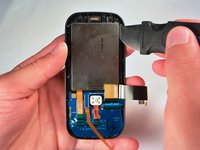
    • Use a spudger to get underneath and remove the call speaker.

  16. Samsung Gravity TXT Screen Replacement: passo 16, imagem 1 %32 Samsung Gravity TXT Screen Replacement: passo 16, imagem 2 %32
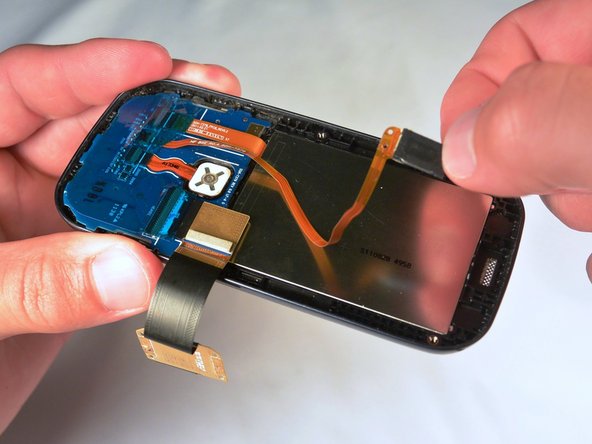
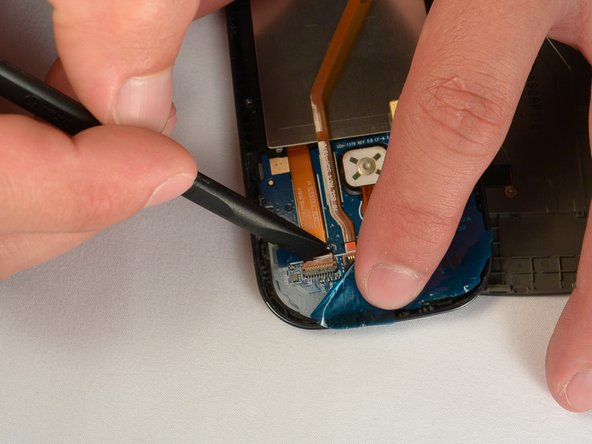
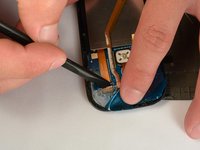
    • Remove the plastic adhesive sheet to expose the ribbon cables

    • The use of an iOpener may be needed to soften the eadhesive

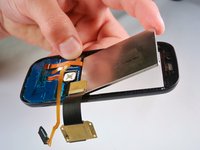
    • Use your finger or a spudger to pull the screen ribbon out of the connector

  17. Samsung Gravity TXT Screen Replacement: passo 17, imagem 1 %32 Samsung Gravity TXT Screen Replacement: passo 17, imagem 2 %32 Samsung Gravity TXT Screen Replacement: passo 17, imagem 3 %32
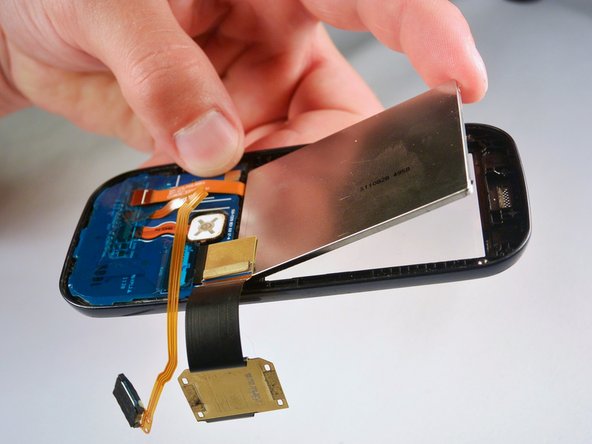
    • Use a Jimmy to separate the screen from the rest of the phone

    • You may need to heat the perimeter of the screen with an iOpener to soften the adhesive.

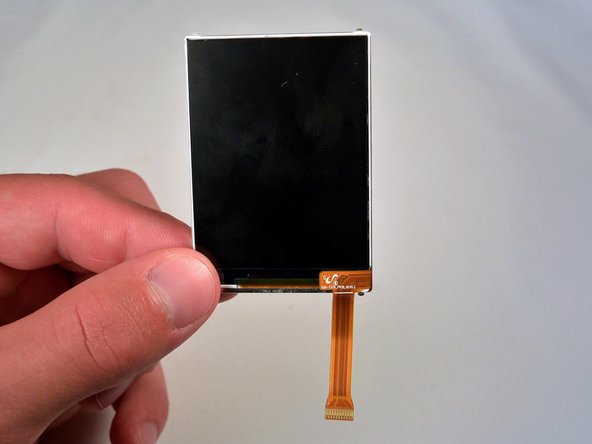
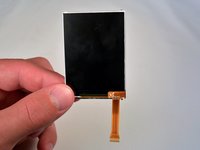
    • Lift the screen away

Conclusão

To reassemble your device, follow these instructions in reverse order.

Uma outra pessoa concluiu este guia.

Equipe

IUPUI, Team 1-1, Renguette SU 2015 Membro de IUPUI, Team 1-1, Renguette SU 2015

IUPUI-RENGUETTE-SU15S1G1

Membros da 5

Autoria de 16 guias

0 comentários

Adicione um comentário

Exibir estatísticas:

Últimas 24 horas: 0

Últimos 7 dias: 2

Últimos 30 dias: 8

Duração total: 872