Ir para o conteúdo principal

Samsung Gear VR with Controller Motherboard Replacement

O que você precisa

  1. Samsung Gear VR with Controller Motherboard Replacement, Controller Batteries: passo 1, imagem 1 %32 Samsung Gear VR with Controller Motherboard Replacement, Controller Batteries: passo 1, imagem 2 %32 Samsung Gear VR with Controller Motherboard Replacement, Controller Batteries: passo 1, imagem 3 %32
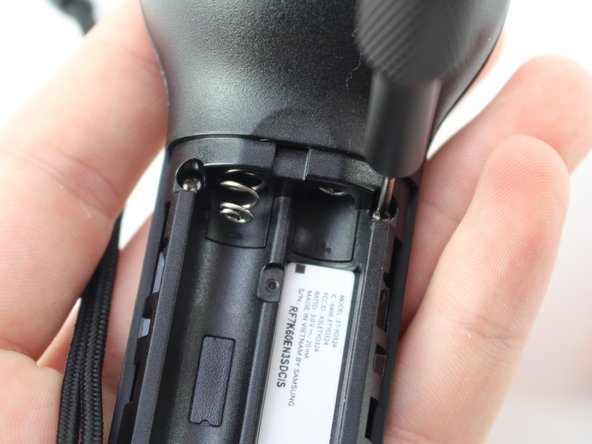
    • Turn the controller upside down to access the battery compartment.

    • The battery compartment is located on the opposite side of the buttons.

    • Press on the top of the battery plate and slide down to remove the cover.

  2. Samsung Gear VR with Controller Motherboard Replacement: passo 2, imagem 1 %32 Samsung Gear VR with Controller Motherboard Replacement: passo 2, imagem 2 %32 Samsung Gear VR with Controller Motherboard Replacement: passo 2, imagem 3 %32
    • Remove the AAA batteries using your fingers.

  3. Samsung Gear VR with Controller Motherboard Replacement, Controller Motherboard: passo 3, imagem 1 %32 Samsung Gear VR with Controller Motherboard Replacement, Controller Motherboard: passo 3, imagem 2 %32
    • Remove the four 5mm Phillips #000 screws.

  4. Samsung Gear VR with Controller Motherboard Replacement: passo 4, imagem 1 %32
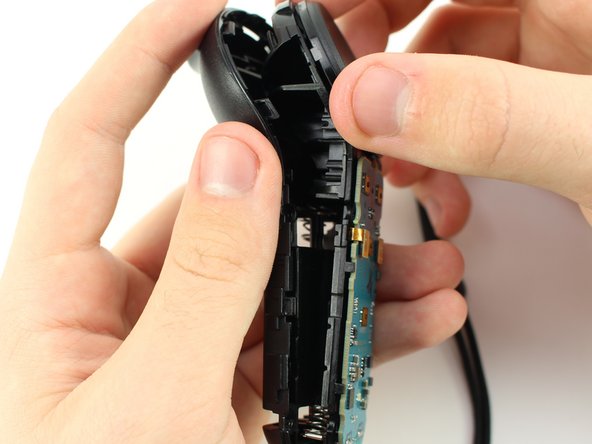
    • Use the metal spudger to pry the back side of the controller apart from the front.

    • You will have to use the spudger in many different spots along the divide before trying to separate the pieces.

  5. Samsung Gear VR with Controller Motherboard Replacement: passo 5, imagem 1 %32 Samsung Gear VR with Controller Motherboard Replacement: passo 5, imagem 2 %32
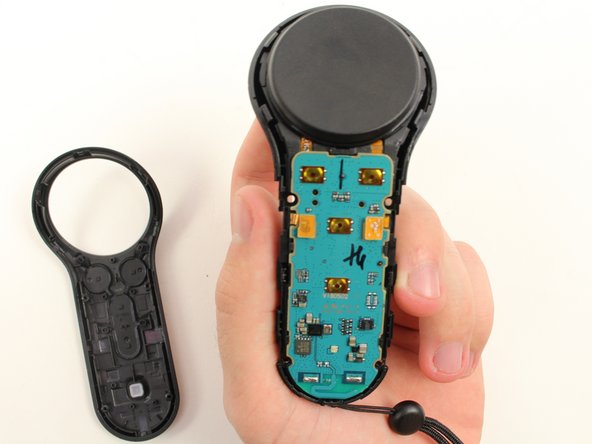
    • Pull apart the two halves of the controller to access the motherboard.

  6. Samsung Gear VR with Controller Motherboard Replacement: passo 6, imagem 1 %32 Samsung Gear VR with Controller Motherboard Replacement: passo 6, imagem 2 %32 Samsung Gear VR with Controller Motherboard Replacement: passo 6, imagem 3 %32
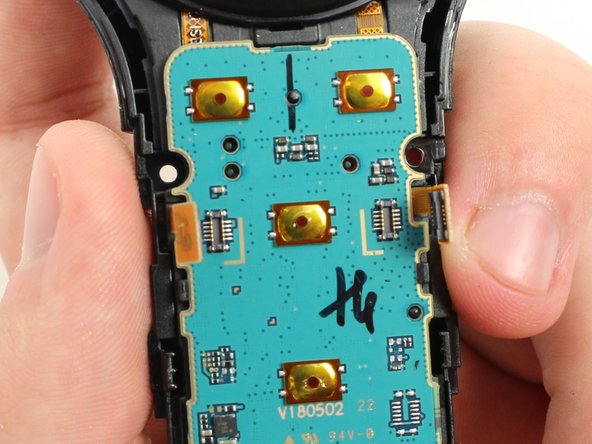
    • Pry on the two pop connectors with the plastic opening tool to detach the motherboard.

    • Separate the motherboard and trackpad from the rear part of the controller.

Conclusão

To reassemble your device, follow these instructions in reverse order.

2 outras pessoas executaram este guia.

Jake Criscione

Membro desde: 01/24/19

587 Reputação

Autoria de 3 guias

Equipe

Cal Poly, Team S18-G3, White Winter 2019 Membro de Cal Poly, Team S18-G3, White Winter 2019

CPSU-WHITE-W19S18G3

Membros da 4

Autoria de 7 guias

0 comentários

Adicione um comentário

Exibir estatísticas:

Últimas 24 horas: 1

Últimos 7 dias: 3

Últimos 30 dias: 11

Duração total: 951