Introdução
The vibrator motor is what allows your watch to vibrate to indicate incoming calls, texts, etc. An offset weight on the shaft of the motor causes it (and in turn, the watch) to vibrate when the motor spins. If your watch is set to vibrate and the vibration feature fails to function, you may need to replace the motor.
O que você precisa
-
-
Press the watchband down against the work surface.
-
Press the tip of a flathead screwdriver against the edge of the spring-loaded holding pin.
-
-
-
With the spring-loaded pin pressed in, the watch band should release easily.
-
Gently pull the band away from the body of the watch.
-
Repeat steps 2 and 3 for the opposite side.
-
-
-
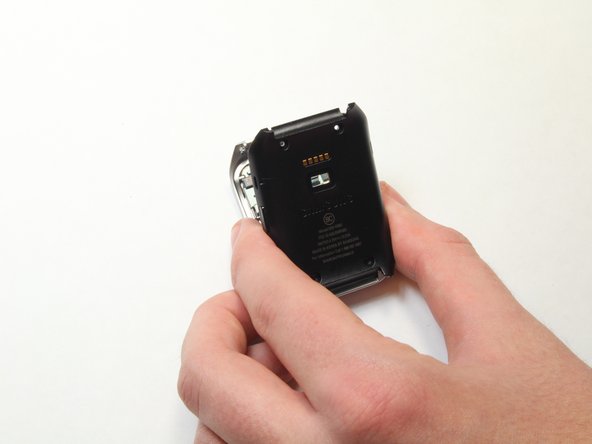
With the watch laying face-down, locate the four screws. They are located on the back of the watch, at the four corners.
-
-
-
-
Using a Torx-T5 screwdriver, remove each of the four 4mm screws and set them aside.
-
-
-
Gently work the plastic opening tool under the top edge of the watch’s back cover.
-
-
-
With the watch’s back cover pried loose, gently lift it away from the front half of the watch.
-
-
-
Lay both halves of the watch body assembly face down (with internal components facing up).
-
-
-
Locate the vibrator motor on the front half of the disassembled watch. It is located in the corner, at the end opposite the green circuit board.
-
-
-
Using the plastic prying tool, gently pry away the motor’s contacts and ribbon cable from the watch assembly
-


To reassemble your device, follow these instructions in reverse order.
To reassemble your device, follow these instructions in reverse order.
Cancelar: não concluí este guia.
2 outras pessoas executaram este guia.

Equipe

USF Tampa, Team 1-7, Brown Fall 2014 Membro de USF Tampa, Team 1-7, Brown Fall 2014
USFT-BROWN-F14S1G7
Membros da 3
Autoria de 6 guias