Ir para o conteúdo principal

Samsung Galaxy Tab A 8.0 Digitizer Replacement

O que você precisa

  1. Samsung Galaxy Tab A 8.0 Digitizer Replacement, Digitizer: passo 1, imagem 1 %32
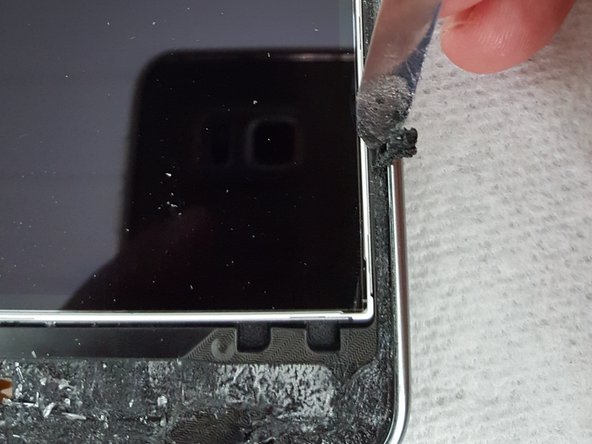
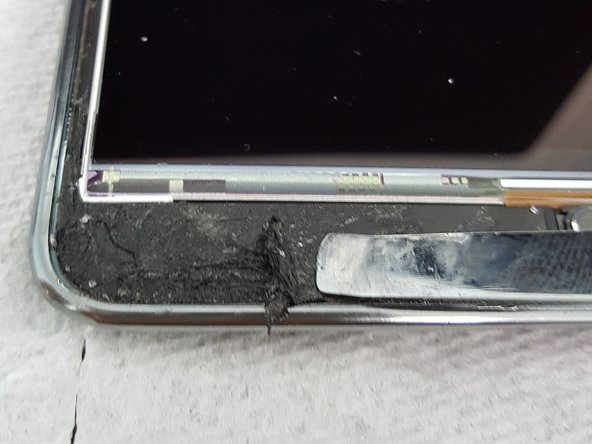
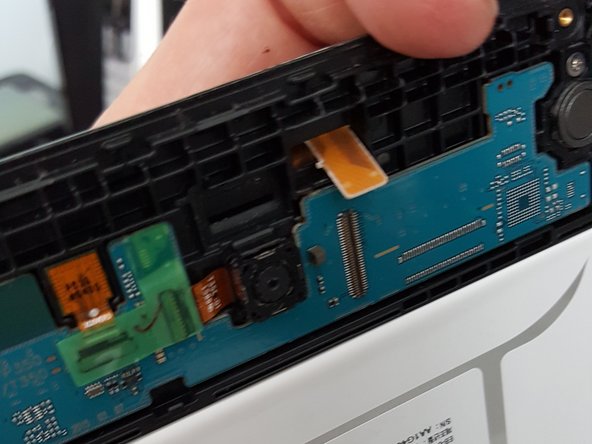
    • First thing I did was put Packing Tape on cracked screen so when I removed digitizer broken glass wouldnt go everywhere. I then used a Hairdryer to heat the tablet so I can remove the screen. Next time I will use a heat gun, will work much better.

  2. Samsung Galaxy Tab A 8.0 Digitizer Replacement: passo 2, imagem 1 %32
    • Screen finally came off, but I broke the cable from the old Digitizer. Thats ok, you dont need it anyway

  3. Samsung Galaxy Tab A 8.0 Digitizer Replacement: passo 3, imagem 1 %32 Samsung Galaxy Tab A 8.0 Digitizer Replacement: passo 3, imagem 2 %32 Samsung Galaxy Tab A 8.0 Digitizer Replacement: passo 3, imagem 3 %32
    • Removing adhesive with Metal Spudger. Tape was really sticky, took a good 20 minutes to clean off

  4. Samsung Galaxy Tab A 8.0 Digitizer Replacement: passo 4, imagem 1 %32 Samsung Galaxy Tab A 8.0 Digitizer Replacement: passo 4, imagem 2 %32
    • Next I removed Digitizer cable from back of tablet. Just pull it slightly and it comes right off.

  5. Samsung Galaxy Tab A 8.0 Digitizer Replacement: passo 5, imagem 1 %32 Samsung Galaxy Tab A 8.0 Digitizer Replacement: passo 5, imagem 2 %32 Samsung Galaxy Tab A 8.0 Digitizer Replacement: passo 5, imagem 3 %32
    • Time to put on new Digitizer. Stand up the Digitizer and Tablet and put the Digitizer cable through the hole to the back and plug in.

  6. Samsung Galaxy Tab A 8.0 Digitizer Replacement: passo 6, imagem 1 %32 Samsung Galaxy Tab A 8.0 Digitizer Replacement: passo 6, imagem 2 %32
    • Power on and test to see if it powers up ok.

  7. Samsung Galaxy Tab A 8.0 Digitizer Replacement: passo 7, imagem 1 %32 Samsung Galaxy Tab A 8.0 Digitizer Replacement: passo 7, imagem 2 %32
    • Test the touch to see if everything works ok.

  8. Samsung Galaxy Tab A 8.0 Digitizer Replacement: passo 8, imagem 1 %32
    • Install Digitizer with LCD on bottom cover and snap together, be careful when closing it.

  9. Samsung Galaxy Tab A 8.0 Digitizer Replacement: passo 9, imagem 1 %32
    • I pushed the Digitizer in gently and it cracked! Cant believe it. Looks like I need to get another Digitizer. I turned it on and everything works great though, but im back to square one.

Conclusão

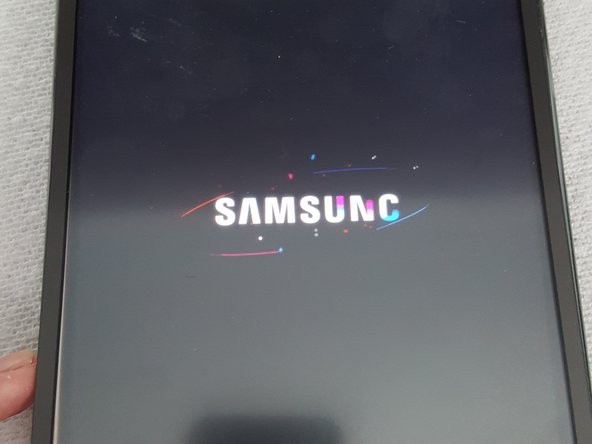
To reassemble your device, follow these instructions in reverse order.

15 outras pessoas executaram este guia.

nickc75

Membro desde: 11/20/15

621 Reputação

Autoria de 1 guia

14 comentários

where i can find the screen with the touch for samsung tab t350 ???

voskan iskhanian - Responder

www.lcdcycle.com, I got mine here, and you can also get one on Ebay, but make sure you pay at least $30 for it so its better quality

nickc75 -

Hye, is this the same with Galaxy Tab A 8" with S Pen

solihin sohs - Responder

If my glass isn't cracked, but the screen looks like it is cracked underneath the glass, is that the lcd digitizer or is it something else? Thank you.

brandonwmarsh - Responder

Ooh, I just found a combo on ebay for the glass, digitizer, and display all together for about $100. How difficult do you think it would be to remove the lcd? it looks like it would be easier to replace all of it instead of just the digitizer, and my problem isn't with the digitizer or the glass- just the LCD display, which is kind of strange. Where I am it's really really cold, and i kept getting in and out of the car last night, so I think the hot car to sub freezing temps over and over again might have done in the display.

brandonwmarsh - Responder

Adicione um comentário

Exibir estatísticas:

Últimas 24 horas: 0

Últimos 7 dias: 10

Últimos 30 dias: 34

Duração total: 24,546