Ir para o conteúdo principal

Samsung Galaxy Tab 3 7.0 Speaker Replacement

O que você precisa

  1. Samsung Galaxy Tab 3 7.0 Speaker Replacement, Battery: passo 1, imagem 1 %32 Samsung Galaxy Tab 3 7.0 Speaker Replacement, Battery: passo 1, imagem 2 %32
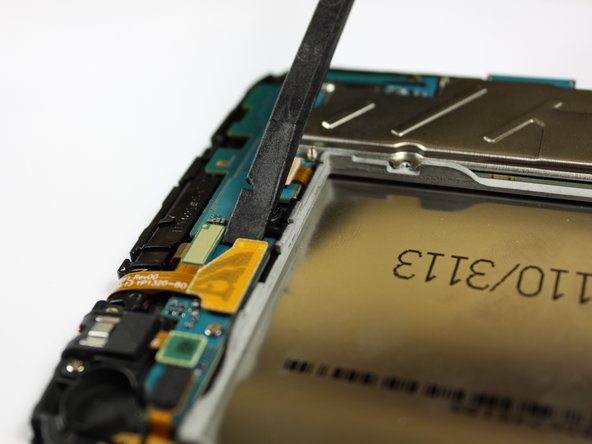
    • With a plastic opening tool, gently insert the prying end in between the glass digitizer and the silver frame from the front of the device.

  2. Samsung Galaxy Tab 3 7.0 Speaker Replacement: passo 2, imagem 1 %32 Samsung Galaxy Tab 3 7.0 Speaker Replacement: passo 2, imagem 2 %32 Samsung Galaxy Tab 3 7.0 Speaker Replacement: passo 2, imagem 3 %32
    • Working slowly and carefully, move around the entirety of the face of the device. Small plastic clips should release, if not, apply gentle outwards pressure until you hear the clips popping off.

  3. Samsung Galaxy Tab 3 7.0 Speaker Replacement: passo 3, imagem 1 %32 Samsung Galaxy Tab 3 7.0 Speaker Replacement: passo 3, imagem 2 %32 Samsung Galaxy Tab 3 7.0 Speaker Replacement: passo 3, imagem 3 %32
    • To begin actual removal of the battery itself, remove the four designated screws with your screwdriver.

    • Once the screws are removed, use either the tip of your screwdriver or a pair of tweezers to pull up the battery connector. Pull directly up and the connector should pop out.

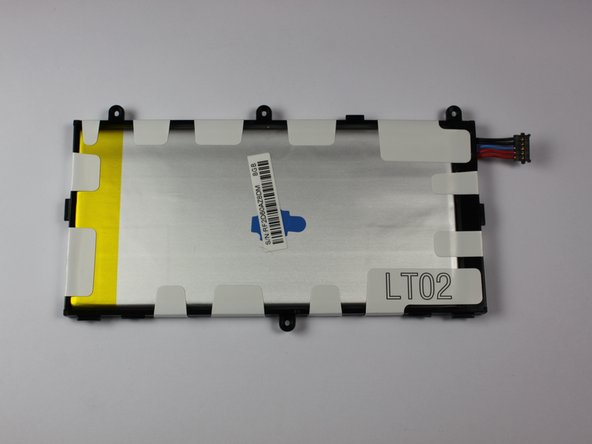
    • Once the battery is removed, it should look as it does in the third picture.

  4. Samsung Galaxy Tab 3 7.0 Speaker Replacement: passo 4, imagem 1 %32
    • To finish battery replacement, place your new battery where the old battery was in your device, as shown in the picture.

  5. Samsung Galaxy Tab 3 7.0 Speaker Replacement, Motherboard: passo 5, imagem 1 %32 Samsung Galaxy Tab 3 7.0 Speaker Replacement, Motherboard: passo 5, imagem 2 %32 Samsung Galaxy Tab 3 7.0 Speaker Replacement, Motherboard: passo 5, imagem 3 %32
    • Begin replacement of the motherboard by releasing all connections holding down the motherboard, shown in the first picture.

    • To do this, use your spudger, tweezers, or a plastic opening tool and gently lift the connections up from their ports.

    • Once you separate all connections, the back of your device should look as it does in the third picture.

  6. Samsung Galaxy Tab 3 7.0 Speaker Replacement: passo 6, imagem 1 %32 Samsung Galaxy Tab 3 7.0 Speaker Replacement: passo 6, imagem 2 %32 Samsung Galaxy Tab 3 7.0 Speaker Replacement: passo 6, imagem 3 %32
    • Once all connections have been released, begin removing the screws shown in the first two pictures.

    • Once all screws have been removed, the motherboard can now be removed and replaced with a new one.

  7. Samsung Galaxy Tab 3 7.0 Speaker Replacement, Left and Right Speaker: passo 7, imagem 1 %32 Samsung Galaxy Tab 3 7.0 Speaker Replacement, Left and Right Speaker: passo 7, imagem 2 %32 Samsung Galaxy Tab 3 7.0 Speaker Replacement, Left and Right Speaker: passo 7, imagem 3 %32
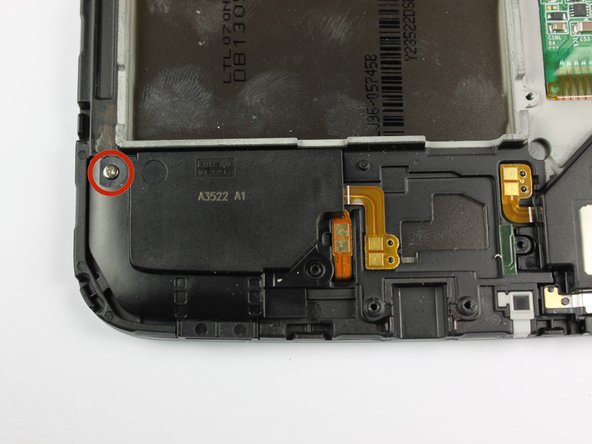
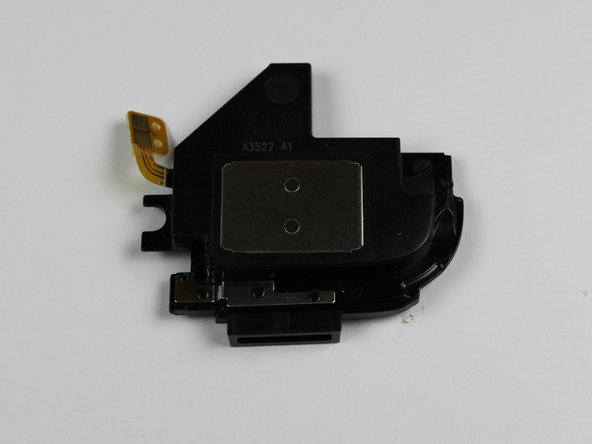
    • Release the right speaker's connection with either a spudger or tweezers as shown in the first picture. To do this, lift the wire directly up until the glued down wires come off.

    • Once the connection is released, remove the single screw holding down the speaker, shown in the second picture.

    • After removing the screw and releasing the connection, you should now be able to remove the right speaker and replace it with a new one.

  8. Samsung Galaxy Tab 3 7.0 Speaker Replacement: passo 8, imagem 1 %32 Samsung Galaxy Tab 3 7.0 Speaker Replacement: passo 8, imagem 2 %32
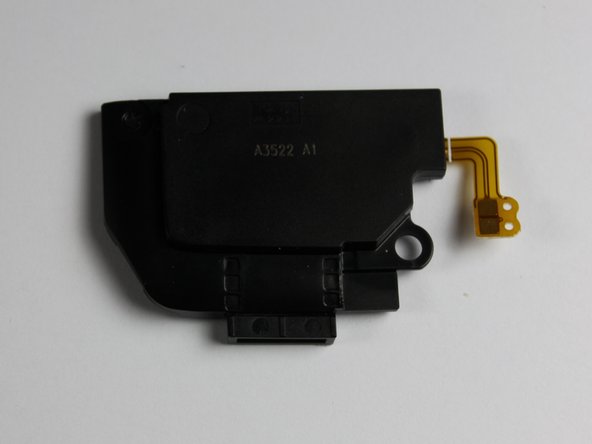
    • There is no screw that needs to be removed for the left speaker. All that must be done is to release the connection as done similarly with the right speaker.

    • Once the connection has been released, use your spudger or a plastic opening tool to lift the speaker up.

    • After completing this step, you can replace the left speaker with a new one.

Conclusão

To reassemble your device, follow these instructions in reverse order.

6 outras pessoas executaram este guia.

Brandon Dimaya

Membro desde: 04/22/14

2.866 Reputação

Autoria de 4 guias

Equipe

Cal Poly, Team 7-20, Regan Spring 2014 Membro de Cal Poly, Team 7-20, Regan Spring 2014

CPSU-REGAN-S14S7G20

Membros da 4

Autoria de 10 guias

0 comentários

Adicione um comentário

Exibir estatísticas:

Últimas 24 horas: 0

Últimos 7 dias: 0

Últimos 30 dias: 8

Duração total: 5,146