Esta versão pode conter edições incorretas. Mude para o último instantâneo verificado.
O que você precisa
-
Este passo não foi traduzido. Ajude a traduzi-lo
-
Using a nylon spudger or flat plastic opening tool, pry open the back of the device.
-
-
Este passo não foi traduzido. Ajude a traduzi-lo
-
Using a Phillips head screwdriver, remove the 6 4mm screws holding holding the battery on the device.
-
-
Este passo não foi traduzido. Ajude a traduzi-lo
-
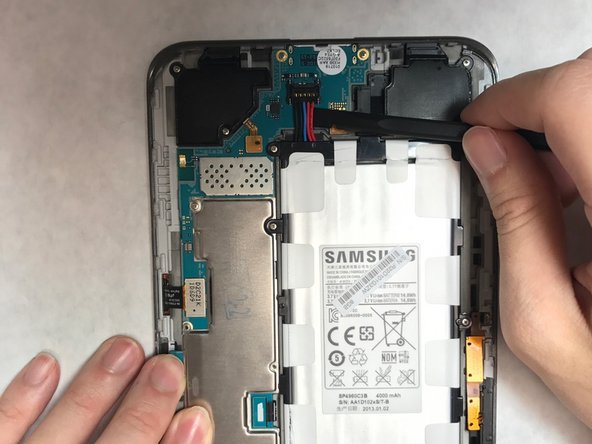
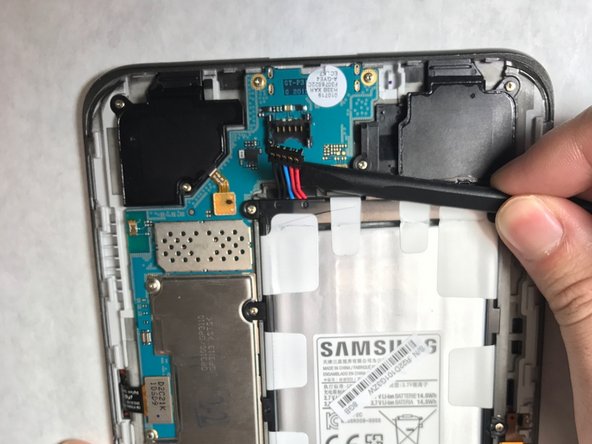
Gently detach the set of wires clips connecting the battery to the device using a nylon spudger.
-
Remove the battery and set it aside.
-
-
-
Este passo não foi traduzido. Ajude a traduzi-lo
-
Using a Phillips head screwdriver, remove the 6 4mm screws holding the motherboard in the device.
-
-
Este passo não foi traduzido. Ajude a traduzi-lo
-
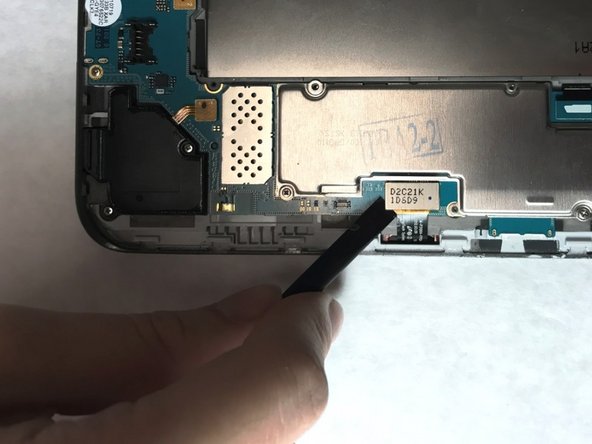
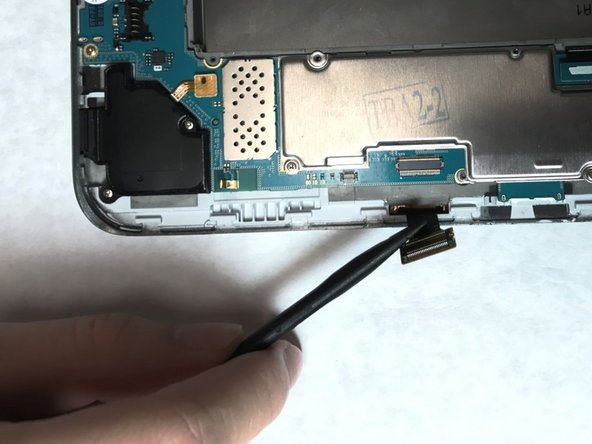
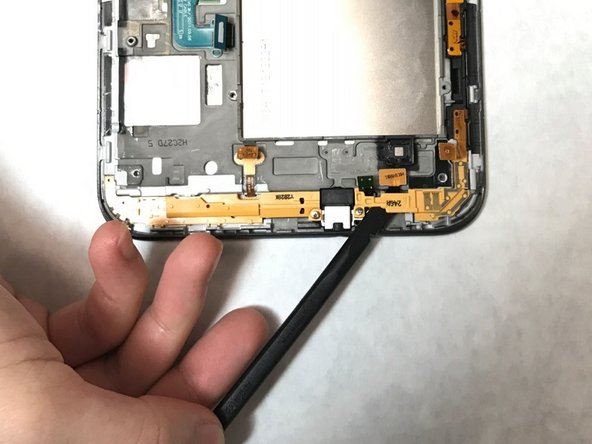
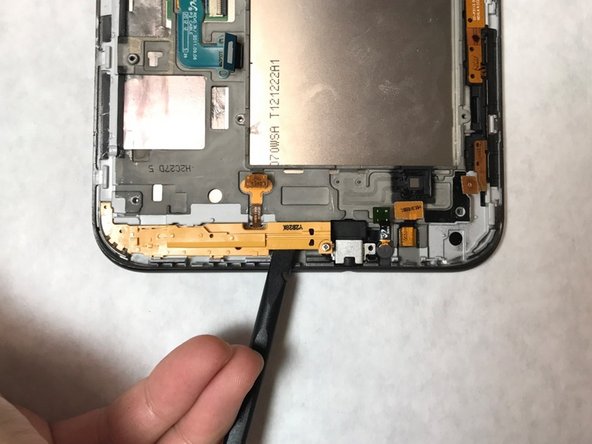
Locate the flex cables attached to the motherboard. Using a nylon spudger, gently detach each flex cable from the motherboard.
-
Lift the motherboard from the device and set it aside.
-
-
Este passo não foi traduzido. Ajude a traduzi-lo
-
Locate the yellow brackets at the bottom of the device.
-
Using a phillips head screwdriver, remove the single 4mm screw on each bracket, located on either side of the auxiliary port.
-
Lift the brackets from the device and set them aside.
-
-
Este passo não foi traduzido. Ajude a traduzi-lo
-
Using a nylon spudger, or any flat tool, gently pry and lift the small metal covering off of the auxiliary port.
-
-
Este passo não foi traduzido. Ajude a traduzi-lo
-
Using a nylon spudger, or any flat tool, gently pry and lift the small rubber covering to expose the auxiliary port.
-
-
Este passo não foi traduzido. Ajude a traduzi-lo
-
Lift the auxiliary port with a nylon spudger.
-
Remove the auxiliary component.
-


Cancelar: não concluí este guia.
5 outras pessoas executaram este guia.
Equipe

IUPUI, Team S3-G1, Harley Spring 2017 Membro de IUPUI, Team S3-G1, Harley Spring 2017
IUPUI-HARLEY-S17S3G1
Membros da 4
Autoria de 3 guias