Introdução
Use this guide to replace a damaged midframe assembly on your Samsung Galaxy S6 Edge.
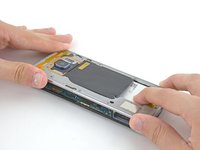
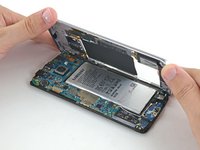
This guide involves removing the rear glass. Removing the rear glass destroys the adhesive holding it in place. Follow this guide to reinstall the rear glass.
O que você precisa
-
-
Insert a paper clip or SIM eject tool into the hole in the SIM card slot on top of the phone.
-
Press to eject the SIM card tray.
-
Remove the SIM card tray from the phone.
-
-
-
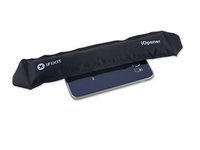
Fill a pot or pan with enough water to fully submerge an iOpener.
-
Heat the water to a boil. Turn off the heat.
-
Place an iOpener into the hot water for 2-3 minutes. Make sure the iOpener is fully submerged in the water.
-
Use tongs to extract the heated iOpener from the hot water.
-
Thoroughly dry the iOpener with a towel.
-
Your iOpener is ready for use! If you need to reheat the iOpener, heat the water to a boil, turn off the heat, and place the iOpener in the water for 2-3 minutes.
-
-
-
-
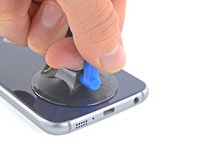
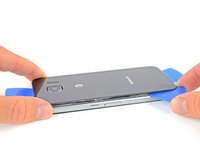
Lay the heated iOpener over the rear panel for about two minutes to loosen the adhesive around the edge of the glass.
-
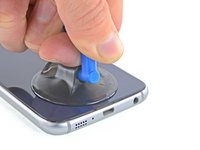
Shift the iOpener to heat the remaining section of the panel for another two minutes.
-
-
Ferramenta utilizada neste passo:Tweezers$4.99
-
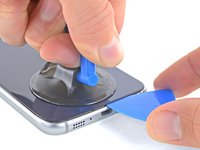
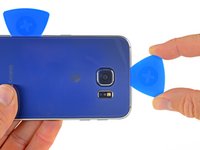
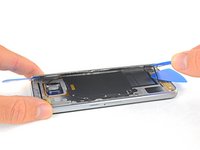
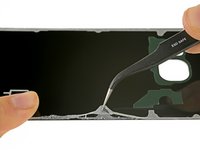
Use tweezers to peel away any remaining adhesive from the phone's chassis.
-
Clean the adhesion areas with high concentration isopropyl alcohol (at least 90%) and a lint-free cloth. Swipe in one direction only, not back and forth. This will help prep the surface for the new adhesive.
-
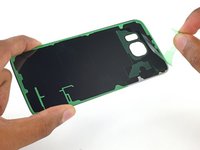
Peel the adhesive backing off of the new rear glass, carefully line up one edge of the glass against the phone chassis, and firmly press the glass onto the phone.
-


To reassemble your device, follow these instructions in reverse order. Follow this guide to reinstall the rear glass.
To reassemble your device, follow these instructions in reverse order. Follow this guide to reinstall the rear glass.
Cancelar: não concluí este guia.
8 outras pessoas executaram este guia.

