Esta versão pode conter edições incorretas. Mude para o último instantâneo verificado.
O que você precisa
-
Este passo não foi traduzido. Ajude a traduzi-lo
-
Insert a fingernail or plastic opening tool into the divot to the left of the rear-facing camera.
-
Gently pry and twist the flexible rear cover off the back of the phone.
-
-
Este passo não foi traduzido. Ajude a traduzi-lo
-
Insert a fingernail or plastic opening tool into the recess in the bottom right corner of the battery and lift upward.
-
Remove the battery.
-
-
Este passo não foi traduzido. Ajude a traduzi-lo
-
Remove the SIM card by first pushing the card slightly out of its housing, then pulling it the rest of the way.
-
-
-
Este passo não foi traduzido. Ajude a traduzi-lo
-
Remove the sixteen 4.0 mm Phillips #00 screws securing the midframe to the display assembly.
-
Grasp the cap of the S Pen and remove it from its slot in the midframe.
-
-
Este passo não foi traduzido. Ajude a traduzi-lo
-
Insert a plastic opening tool between the midframe and the display assembly.
-
Work the plastic opening tool around the perimeter of the phone to break the adhesive.
-
-
Este passo não foi traduzido. Ajude a traduzi-lo
-
Use a plastic opening tool to loosen the clasps around the battery housing.
-
-
Este passo não foi traduzido. Ajude a traduzi-lo
-
Push on the battery housing to separate the midframe from the display assembly.
-
-
Este passo não foi traduzido. Ajude a traduzi-lo
-
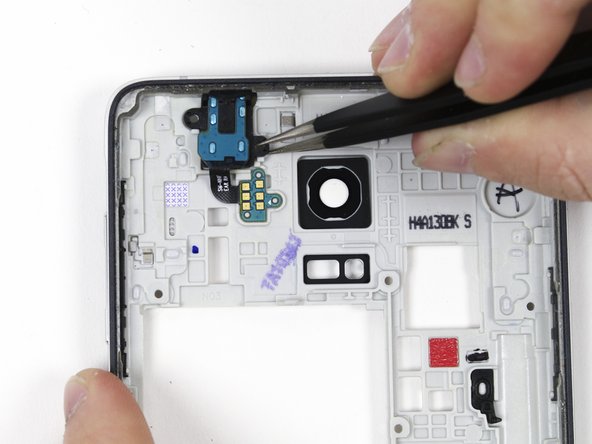
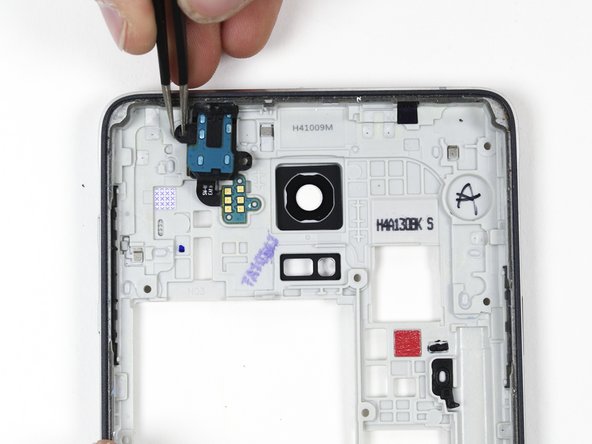
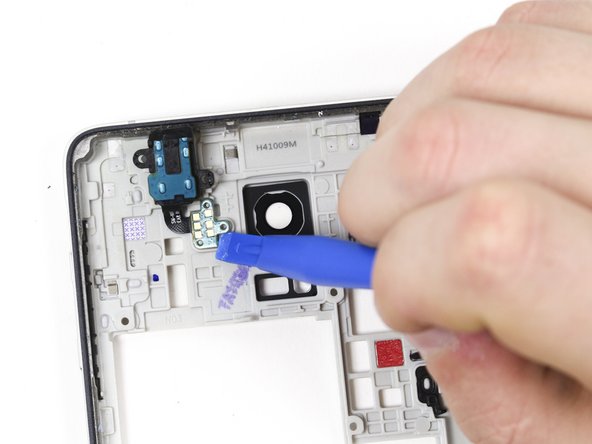
Use the plastic spudger and tweezers to remove the headphone jack from the middle housing.
-


Cancelar: não concluí este guia.
21 outras pessoas executaram este guia.
Equipe

Cal Poly, Team 70-6, Forte Winter 2015 Membro de Cal Poly, Team 70-6, Forte Winter 2015
CPSU-FORTE-W15S70G6
Membros da 4
Autoria de 16 guias