Esta versão pode conter edições incorretas. Mude para o último instantâneo verificado.
O que você precisa
-
Este passo não foi traduzido. Ajude a traduzi-lo
-
Using the nylon spudger or plastic opening tool along the edges of the screen, separate the back case off of the device.
-
-
Este passo não foi traduzido. Ajude a traduzi-lo
-
Remove the three 3mm screws on the top right side of the device with the Phillips PH000 screw head.
-
Remove the one 3mm screw on the top left side of the device with the same method.
-
-
Este passo não foi traduzido. Ajude a traduzi-lo
-
Remove the gray rubber piece.
-
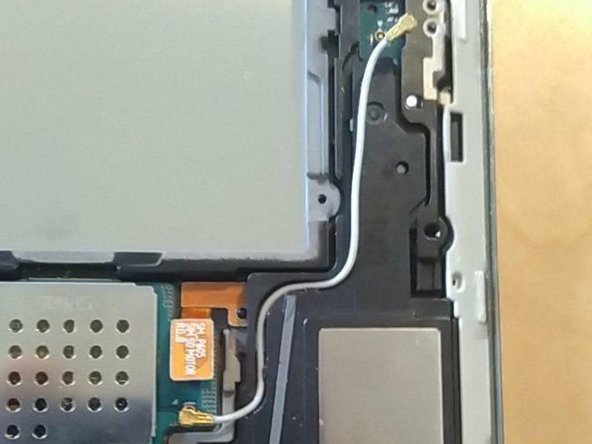
Use a spudger or fingernail to disconnect the blue antenna cable from the motherboard.
-
Remove the right speaker unit.
-
-
-
Este passo não foi traduzido. Ajude a traduzi-lo
-
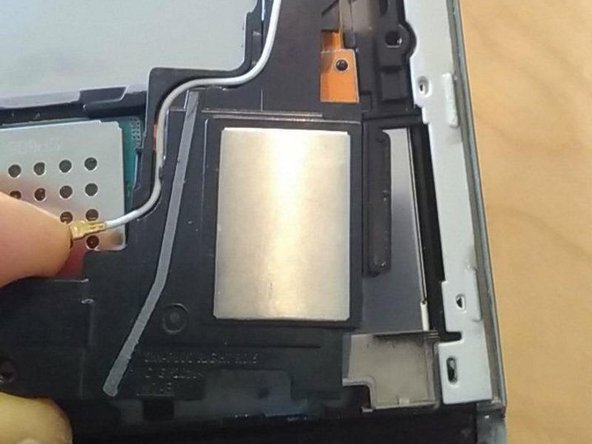
Remove the loudspeaker modules located on the parts where the screws were removed by using the black nylon spudger.
-
-
Este passo não foi traduzido. Ajude a traduzi-lo
-
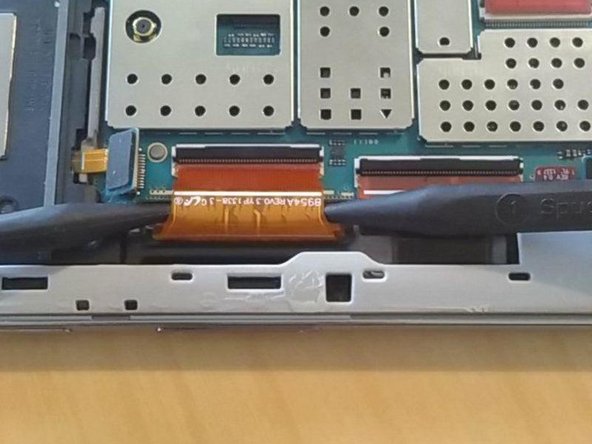
Place your finger on the thin black bar at the end of the ribbon tape and flip each one up.
-
Gently pull the ribbon tape on the battery away from the bar. Repeat this process for the second ribbon tape.
-
-
Este passo não foi traduzido. Ajude a traduzi-lo
-
Remove the six 3mm screws around the battery with the Phillips PH000 screwdriver.
-
-
Este passo não foi traduzido. Ajude a traduzi-lo
-
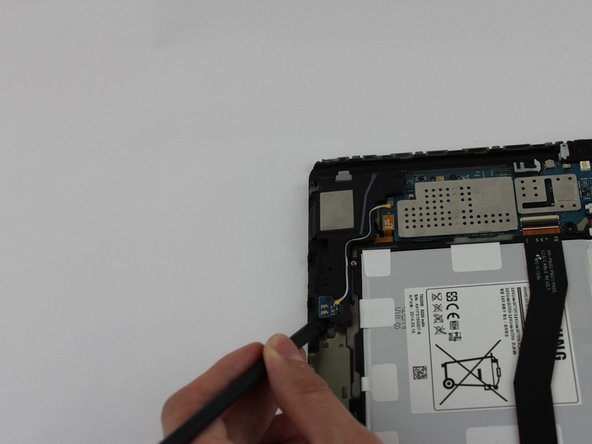
Lift up the battery from the bottom and situate the black nylon spudger underneath the battery.
-
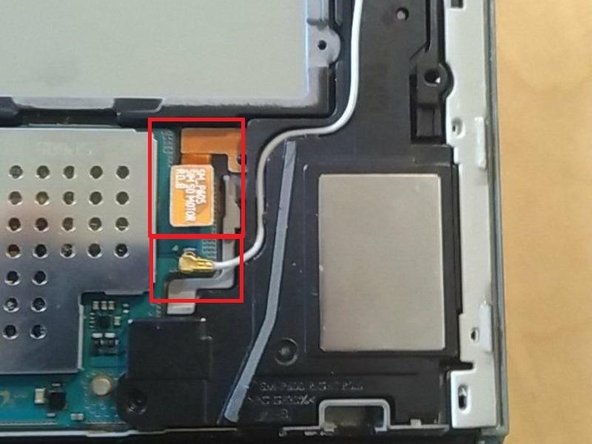
Use the black nylon spudger to disconnect the multi-colored wires from the rest of the device.
-
-
Este passo não foi traduzido. Ajude a traduzi-lo
-
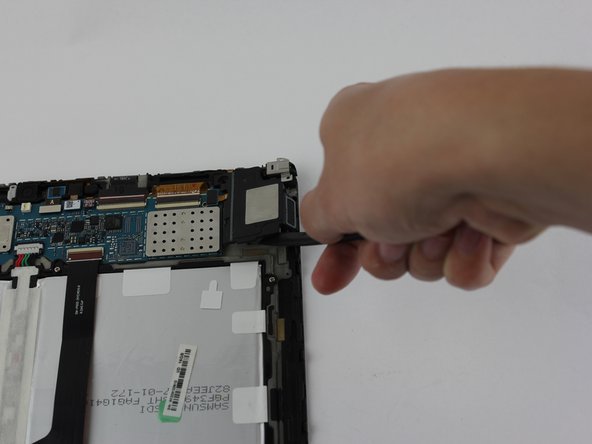
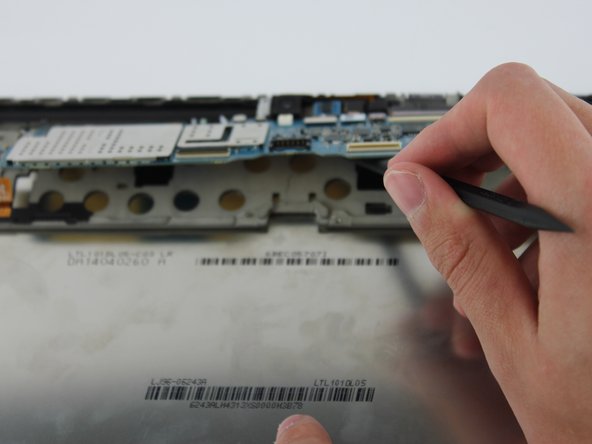
Use the black nylon spudger to gently lift the motherboard away from the frame.
-
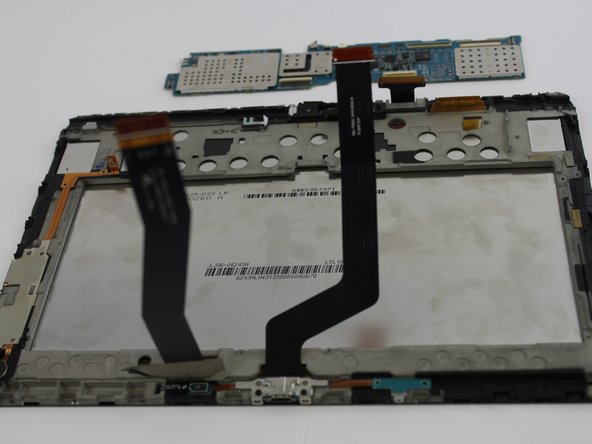
Remove the motherboard.
-


Cancelar: não concluí este guia.
7 outras pessoas executaram este guia.
Equipe

USF Tampa, Team S1-G6, Leahy Spring 2017 Membro de USF Tampa, Team S1-G6, Leahy Spring 2017
USFT-LEAHY-S17S1G6
Membros da 3
Autoria de 6 guias
5 comentários
hi. i have one of this tablets and i need a ic guide for it. something like this link :
Samsung Galaxy Note 10.1 Teardown
this like is for galaxy note 10.1 2012 but i need it for 2014 (SM-P601).
any documents or files to help me recognize which Chip do what ?
Can I use this motherboard with Galaxy note 10.1 GT-N8000 ? Plz reply fast
Can I use this motherboard with Galaxy Note 10.1 GT-N8000 ? Plz reply fast
miss 1 screw when removing the motherboard on the center right side