Esta versão pode conter edições incorretas. Mude para o último instantâneo verificado.
O que você precisa
-
Este passo não foi traduzido. Ajude a traduzi-lo
-
Use the opening tool or a fingernail to pry open the rear cover at the top left corner.
-
-
Este passo não foi traduzido. Ajude a traduzi-lo
-
After removing the back cover, remove the battery, the SIM card, and SD card (if present).
-
Remove the highlighted PH000 screws from the rear of the phone.
-
-
Este passo não foi traduzido. Ajude a traduzi-lo
-
Using the opening tool, gently pry the speaker upwards and remove it.
-
-
-
Este passo não foi traduzido. Ajude a traduzi-lo
-
Insert the pry tool along the side of the device. Pry gently until you hear clicks.
-
Repeat along all sides of the phone. You will continue hearing a clicking sound as the frame begins to release.
-
Gently pull the battery clip up (shown in photo 2). Then, twist the frame slightly clockwise, as there is a little clip around the camera that needs to be released.
-
-
Este passo não foi traduzido. Ajude a traduzi-lo
-
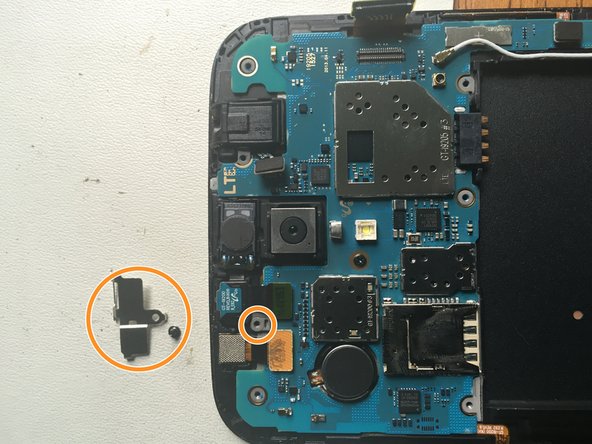
Use the opening tool to remove the LCD cable.
-
Remove the front camera by unscrewing the panel.
-
Disconnect the front camera cable.
-
-
Este passo não foi traduzido. Ajude a traduzi-lo
-
Use the heat gun to heat around the edges of the screen.
-
Insert three opening picks between the glass and the silver frame of the phone to pry it open.
-
-
Este passo não foi traduzido. Ajude a traduzi-lo
-
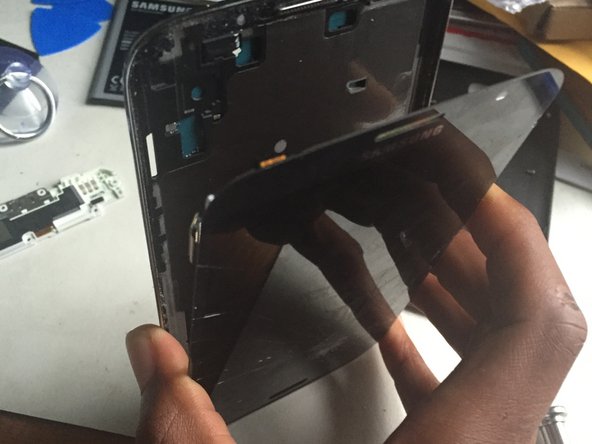
With the opening picks still inside the phone, lift the screen up toward you. Do not pull it off right away, but leave the screen at an angle.
-
Put the screen down along with the opening picks in order to keep it loose. Heat up the bottom to loosen the adhesive from the back and the menu button.
-
Carefully pull the screen towards you. Keep an eye on the bottom to make sure that the buttons are separating from the adhesive.
-
Cancelar: não concluí este guia.
45 outras pessoas executaram este guia.
3 comentários
check your antenna cable connection, it will not pick up a signal if not connected


