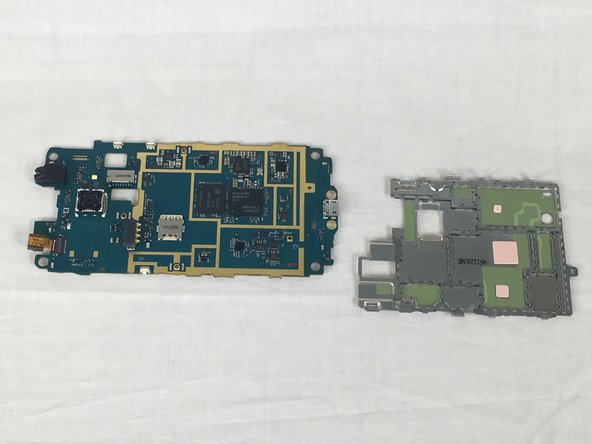
Ir para o conteúdo principal

Samsung Galaxy Luna Motherboard Replacement

O que você precisa

  1. Samsung Galaxy Luna Motherboard Replacement, SIM Card: passo 1, imagem 1 %32
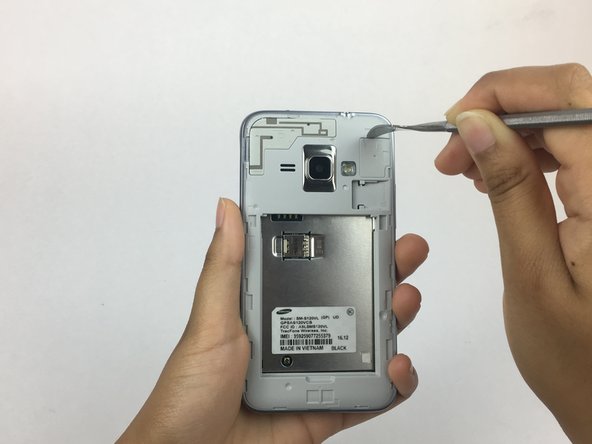
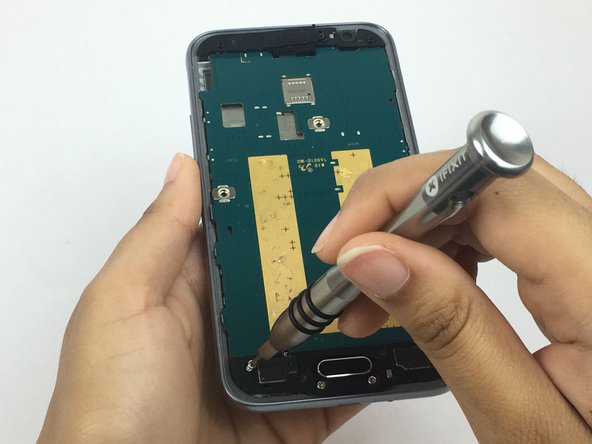
    • Using a plastic opening tool, pry the divot to the left of the camera to take off the rear case.

  2. Samsung Galaxy Luna Motherboard Replacement: passo 2, imagem 1 %32
    • Pull the corner nearest to the divot to remove the case from the phone.

  3. Samsung Galaxy Luna Motherboard Replacement: passo 3, imagem 1 %32 Samsung Galaxy Luna Motherboard Replacement: passo 3, imagem 2 %32
    • Place your fingernail or a prying tool at the bottom of the battery and pry it out of the case.

  4. Samsung Galaxy Luna Motherboard Replacement: passo 4, imagem 1 %32 Samsung Galaxy Luna Motherboard Replacement: passo 4, imagem 2 %32
    • By using your finger or a plastic opening tool, push the SIM card further into its container until a click is heard.

    • Once the click is heard grab the SIM card and slide it out of the container.

    • Remove the SIM card completely.

    • During reassembly, slide the new SIM card into the slot until a click is heard.

  5. Samsung Galaxy Luna Motherboard Replacement, Motherboard: passo 5, imagem 1 %32 Samsung Galaxy Luna Motherboard Replacement, Motherboard: passo 5, imagem 2 %32 Samsung Galaxy Luna Motherboard Replacement, Motherboard: passo 5, imagem 3 %32
    • Use a plastic opening tool, or your fingernail to to take off the rear case by prying the divot to the left of the camera.

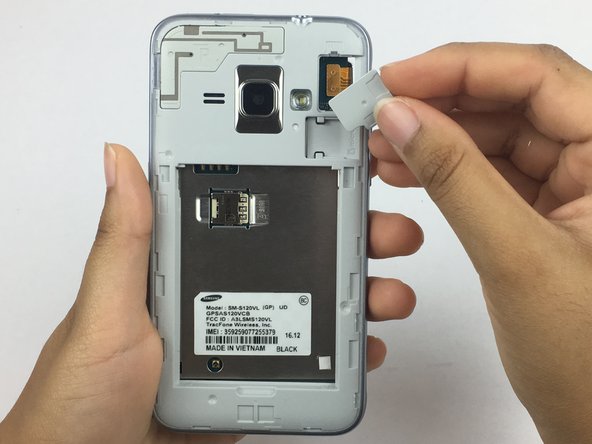
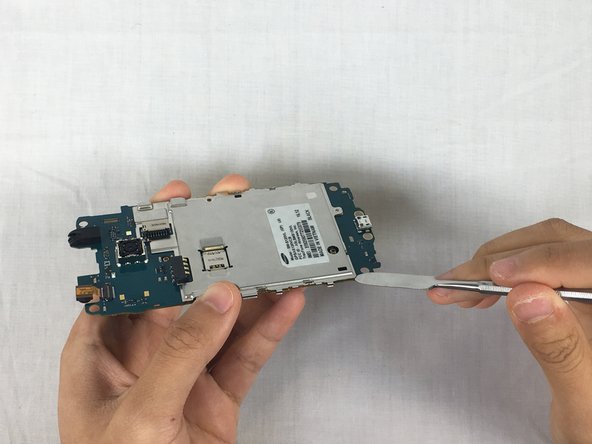
    • Lift the rear case by the corner nearest the divot and remove it from the phone.

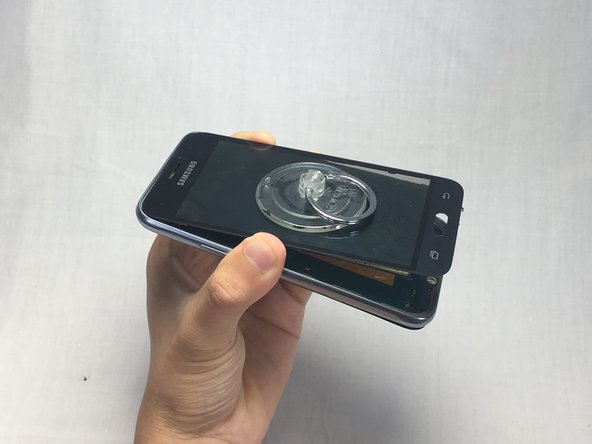
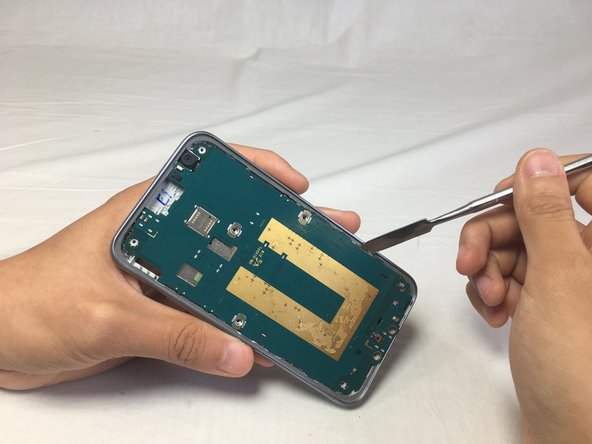
    • Using an opening tool, take off the cover for the digitizer connector.

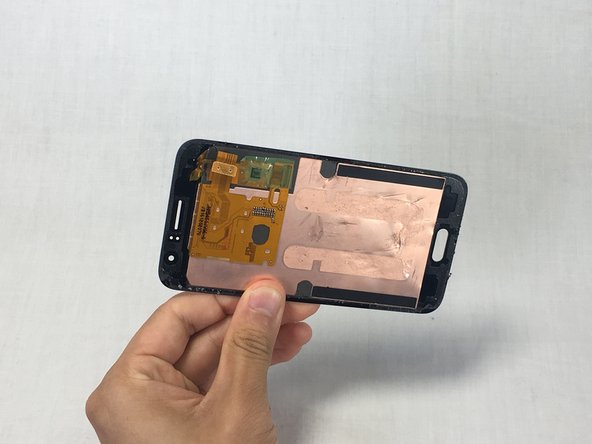
    • detach the connector with a tweezer or a plastic spudger.

  6. Samsung Galaxy Luna Motherboard Replacement: passo 6, imagem 1 %32 Samsung Galaxy Luna Motherboard Replacement: passo 6, imagem 2 %32 Samsung Galaxy Luna Motherboard Replacement: passo 6, imagem 3 %32
    • Place small suction cup on the center of screen and press firmly.

    • Hold the back of the phone and pull on the suction cup gently until the screen begins to bend.

  7. Samsung Galaxy Luna Motherboard Replacement: passo 7, imagem 1 %32 Samsung Galaxy Luna Motherboard Replacement: passo 7, imagem 2 %32
    • Insert the small metal spudger into an opening on the phone and pry off the screen.

    • Avoid tearing any exposed circuits as the screen is being removed.

    • Make sure the screen is completely detached from the motherboard before removing it.

  8. Samsung Galaxy Luna Motherboard Replacement: passo 8, imagem 1 %32 Samsung Galaxy Luna Motherboard Replacement: passo 8, imagem 2 %32
    • Using a Philips PH000 screwdriver, remove the nine 3 mm screws.

  9. Samsung Galaxy Luna Motherboard Replacement: passo 9, imagem 1 %32 Samsung Galaxy Luna Motherboard Replacement: passo 9, imagem 2 %32
    • Using a metal spudger, gently pry the button frame off the motherboard.

    • Do the same for the motherboard.

    • Avoid scraping the circuitry on the motherboard, as they can be very fragile.

  10. Samsung Galaxy Luna Motherboard Replacement: passo 10, imagem 1 %32 Samsung Galaxy Luna Motherboard Replacement: passo 10, imagem 2 %32 Samsung Galaxy Luna Motherboard Replacement: passo 10, imagem 3 %32
    • Using a Philips PH000 screwdriver, remove the black screw.

    • Use the metal spudger to pry open the motherboard cover.

    • Be careful when prying the cover of the motherboard. avoid scratching the motherboard circuitry.

Conclusão

To reassemble your device, follow these instructions in reverse order.

2 outras pessoas executaram este guia.

Equipe

USF Tampa, Team S6-G1, Eyestone Spring 2018 Membro de USF Tampa, Team S6-G1, Eyestone Spring 2018

USFT-EYESTONE-S18S6G1

Membros da 4

Autoria de 5 guias

0 comentários

Adicione um comentário

Exibir estatísticas:

Últimas 24 horas: 0

Últimos 7 dias: 0

Últimos 30 dias: 2

Duração total: 676