Esta versão pode conter edições incorretas. Mude para o último instantâneo verificado.
O que você precisa
-
Este passo não foi traduzido. Ajude a traduzi-lo
-
Locate the indent area highlighted in red and use either your fingernail or a Prying Tool (such as a guitar pick) to separate the back from the body of the phone.
-
-
Este passo não foi traduzido. Ajude a traduzi-lo
-
Once the cover is removed, locate the battery that reads "SAMSUNG."
-
Use either your fingernail or a Plastic Prying Tool (such as a guitar pick) to lift up the bottom indent of the battery.
-
-
Este passo não foi traduzido. Ajude a traduzi-lo
-
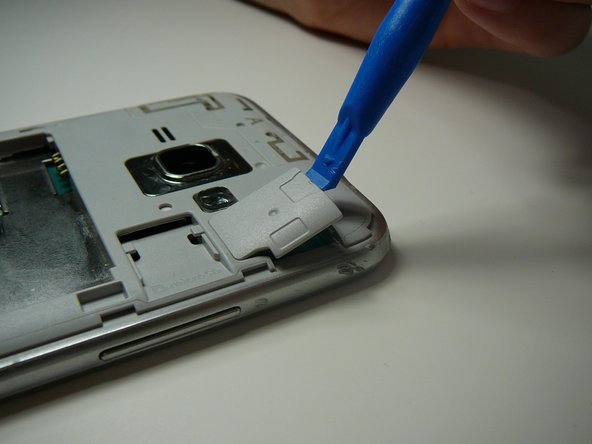
Use a Plastic Prying Tool (such as a spudger) to pop out piece shown.
-
-
-
Este passo não foi traduzido. Ajude a traduzi-lo
-
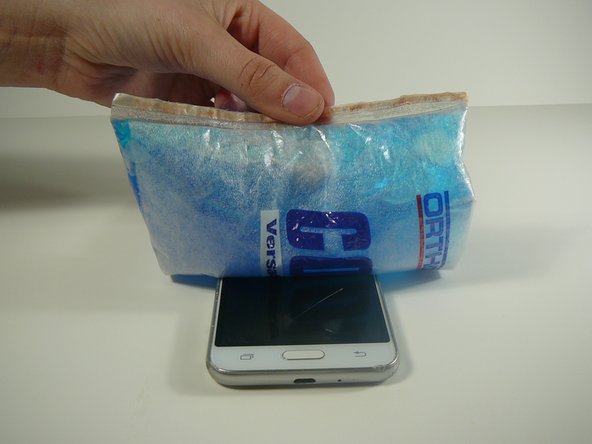
Use a blow dryer or heating pad to heat up the screen.
-
-
Este passo não foi traduzido. Ajude a traduzi-lo
-
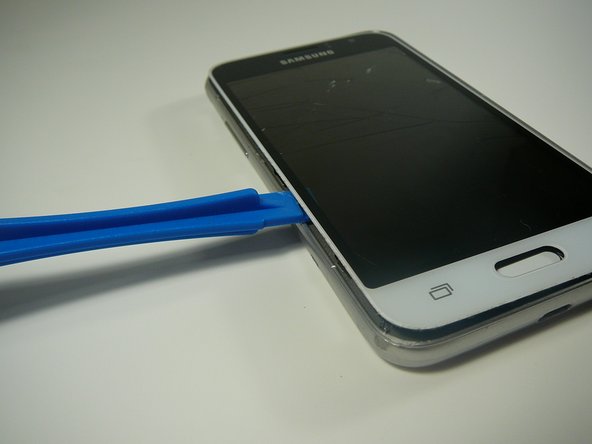
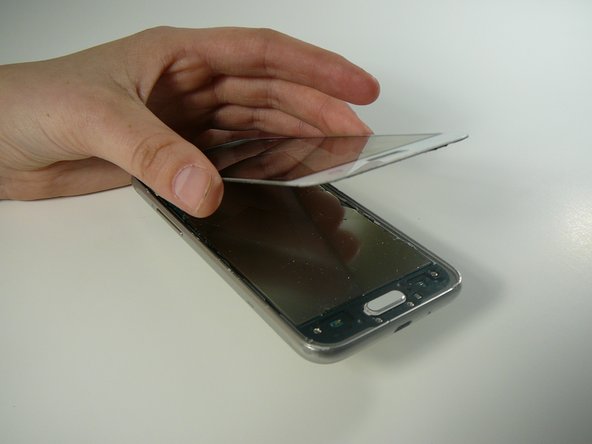
Use a Thin Plastic Tool (such as a guitar pick) or Plastic Prying Tool (such as a spudger) to lift out the glass digitizer and LCD screen around the edges.
-
-
Este passo não foi traduzido. Ajude a traduzi-lo
-
Use a plastic tool to remove back and/or recent tabs circuit buttons.
-
-
Este passo não foi traduzido. Ajude a traduzi-lo
-
Use a #0 Phillips bit screwdriver to remove the four screws from the black, plastic piece surrounding the home button.
-
-
Este passo não foi traduzido. Ajude a traduzi-lo
-
Using a sharp plastic tool such as a guitar pick or prying tool to pop up and remove the black, plastic piece.
-
-
Este passo não foi traduzido. Ajude a traduzi-lo
-
The white button will be connected to the black piece.
-
Slightly bend the black piece and gently push the white button until it pops out of the black, plastic piece.
-
Cancelar: não concluí este guia.
Uma outra pessoa concluiu este guia.


