Esta versão pode conter edições incorretas. Mude para o último instantâneo verificado.
O que você precisa
-
Este passo não foi traduzido. Ajude a traduzi-lo
-
Start by switching off your phone.
-
Take an iOpener to heat up and soften the glue behind the back cover.
-
Lift the bottom part of your back cover with a suction handle and insert an opening pick.
-
-
Este passo não foi traduzido. Ajude a traduzi-lo
-
Slide the opening pick up to the rear camera to separate the back cover from the frame.
-
-
Este passo não foi traduzido. Ajude a traduzi-lo
-
Insert a second opening pick and move around the other corner at the bottom part of the back cover.
-
-
Este passo não foi traduzido. Ajude a traduzi-lo
-
Move the second pick along the left side of the back cover to loosen the adhesive.
-
Move around the upper left corner and loosen the adhesive above the rear camera.
-
After loosening all the edges and sides of the back cover use an iOpener to loosen the adhesive underneath the center of it.
-
-
Este passo não foi traduzido. Ajude a traduzi-lo
-
Insert a plastic card at the bottom and slide it underneath the back cover.
-
Separate the glue until you reach the rear camera.
-
Now you can slowly lift up the back cover and finally remove it.
-
-
-
Este passo não foi traduzido. Ajude a traduzi-lo
-
Remove the SIM card tray.
-
Remove the 16 Phillips #00 screws on the midframe.
-
-
Este passo não foi traduzido. Ajude a traduzi-lo
-
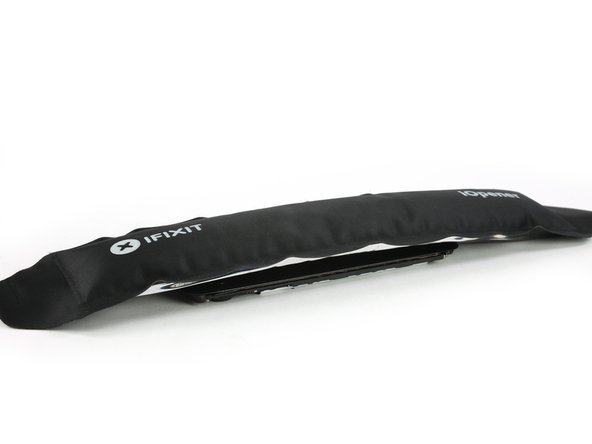
Use an iOpener to loosen the adhesive around the mid frame.
-
-
Este passo não foi traduzido. Ajude a traduzi-lo
-
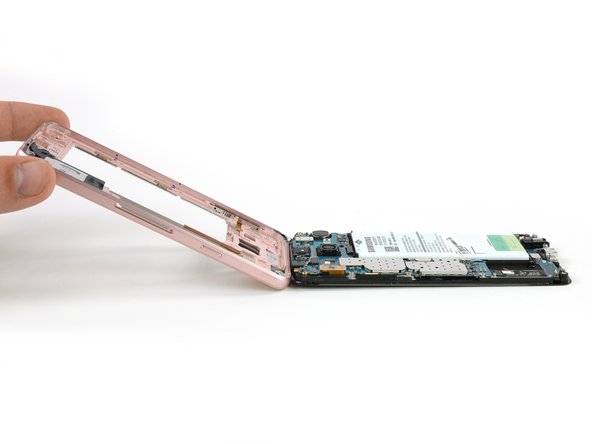
Push the exposed part of the battery away from the midframe to separate the components.
-
Remove the midframe.
-
-
Este passo não foi traduzido. Ajude a traduzi-lo
-
With the flat end of a spudger disconnect the display cable.
-
Heat up the glue behind the display with an iOpener.
-
-
Este passo não foi traduzido. Ajude a traduzi-lo
-
Use a Jimmy to get between the frame and the front panel.
-
Pry up the display unit just a bit so you can put an opening pick behind the display.
-
Slide down the side to separate the glue. At the bottom you can insert the opening pick further to keep the adhesive from resealing.
-
-
Este passo não foi traduzido. Ajude a traduzi-lo
-
Repeat the same procedure on the other side.
-
Here you can insert the opening pick as far as half of an inch to get the glue off behind the battery.
-
Slide down to where the display ends.
-
-
Este passo não foi traduzido. Ajude a traduzi-lo
-
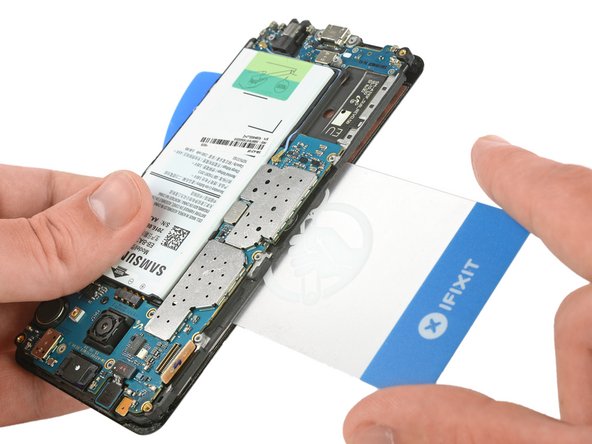
On the left hand side (where the motherboard sits) replace the opening pick with a plastic card to get to the glue behind the battery.
-
Continue separating the adhesive until you reach the display cable.
-
-
Este passo não foi traduzido. Ajude a traduzi-lo
-
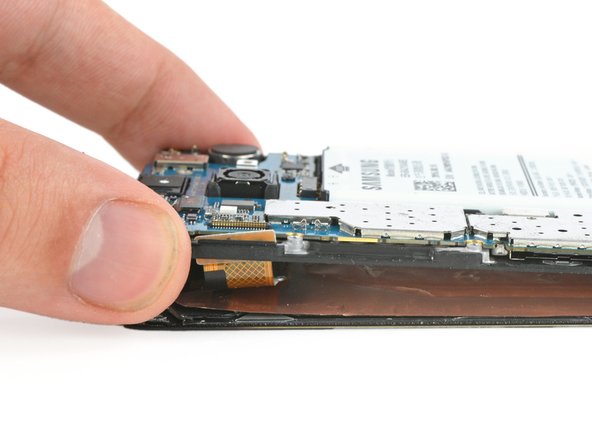
Separate the display from the display frame and cut the remaining glue at the top with an opening pick.
-
Carefully slide the display cable out of the slot in the display frame.
-


Cancelar: não concluí este guia.
47 outras pessoas executaram este guia.


4 comentários
Super Beschreibung hat alles genau so funktioniert
Der schnellste Weg ist, wenn du das Gerät mit dem Akku nach oben legst und das Display links daneben, mit Bildschirm nach oben. Dann kannst du das Displaykabel anschließen (ohne durch den Rahmen zu fädeln) und das Telefon einschalten indem du die beiden Kontakte unter dem Displaykabel kurz überbrückst (z.B. mit einer Büroklammer – das sind die Kontakte für den Einschalter am Mittelrahmen).
Die saubere Lösung wäre, das Displaykabel durchzufädeln, anzuschließen und den Mittelrahmen von hinten wieder drauf zu klipsen, damit der Einschalter ordentlich genutzt werden kann.
Die Schutzfolie des Displays brauchst du für den Test nicht unbedingt abzunehmen, der Touch sollte auch so funktionieren (evtl muss man ein klein wenig fester drücken).
Wenn alles funktioniert, kannst du alle Schutzfolien entfernen und das Display richtig verkleben und einbauen.
Hat alles sehr gut funktioniert. Die beiden Touch Tasten (Zurück und “Menü”) funktionieren leider nur mit etwas druck bzw. nach öfterem drücken. Hat jemand einen Tipp an was das liegen könnte? Vielen Dank
I wish I had seen this before attempting to replace the display. I bought a cheap Chinese one and although the display worked, the touchscreen did not. Any ideas as to why? They are connected through the same connector, right.
Also, the glass on that display was very brittle and broke. Think it would make sense to buy a new display, from Ifixit thing time and try again?