Esta versão pode conter edições incorretas. Mude para o último instantâneo verificado.
O que você precisa
-
Este passo não foi traduzido. Ajude a traduzi-lo
-
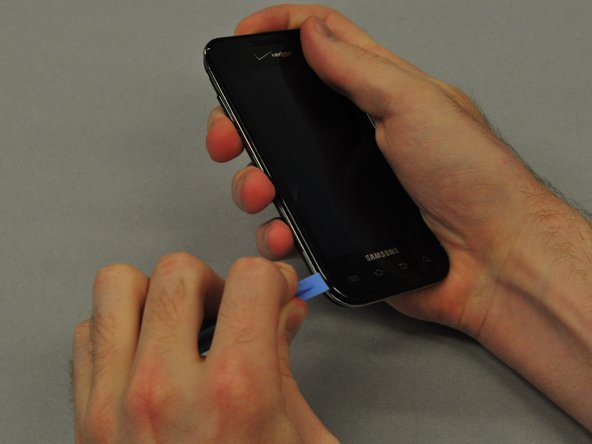
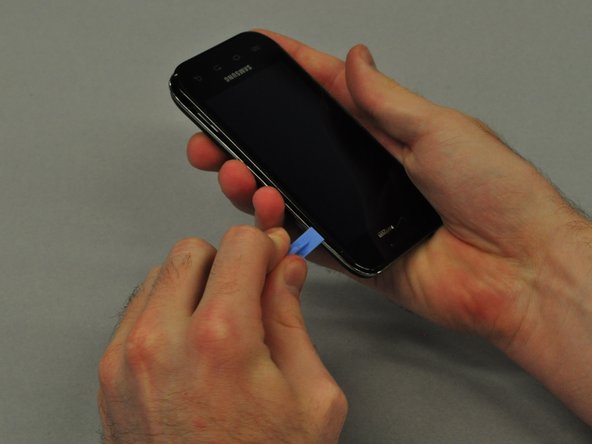
To remove the back case of the Samsung Galaxy S, you may need a spudger.
-
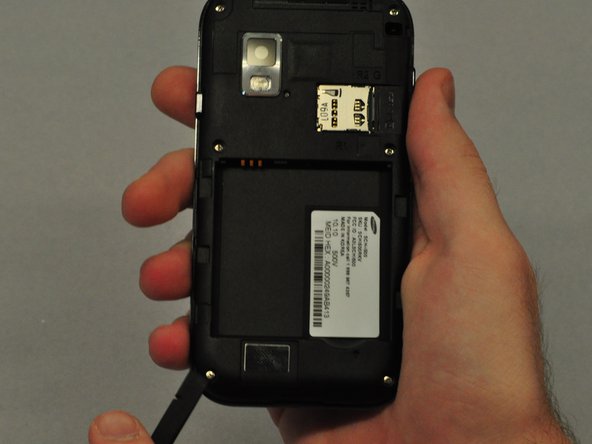
Identify the slit which is at the bottom edge of the phone.
-
-
Este passo não foi traduzido. Ajude a traduzi-lo
-
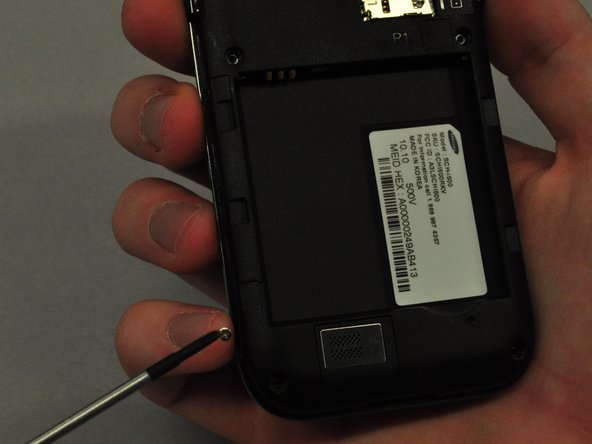
Insert the edge of the spudger into the slit and use it to pry the back case off of the phone.
-
-
Este passo não foi traduzido. Ajude a traduzi-lo
-
Insert the spudger into the space between the battery and the phone and pry the battery out as you slide it along the underside the battery.
-
-
-
Este passo não foi traduzido. Ajude a traduzi-lo
-
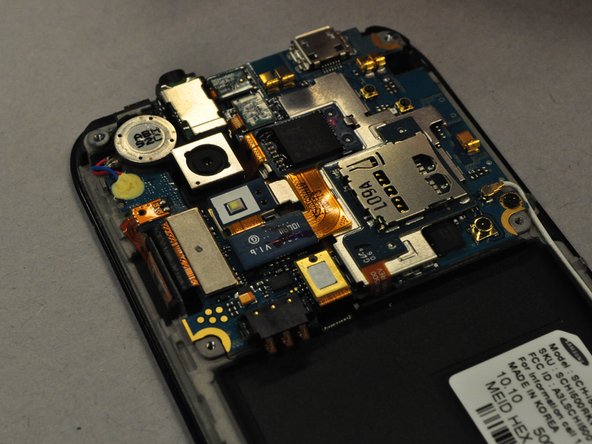
Use the screwdriver to unscrew each of the 6 silver screws holding the main case to the LCD touchscreen.
-
If the screws are stuck, use the spudger to pry them out.
-
-
Este passo não foi traduzido. Ajude a traduzi-lo
-
Use the plastic opening tool to pry the main case from the LCD touchscreen.
-
Insert the thin edge of the plastic opening tool into the groove between the silver edge and black edge.
-
Run the tool all the way around the edge of the phone until you hear each of the clips detach.
-
-
Este passo não foi traduzido. Ajude a traduzi-lo
-
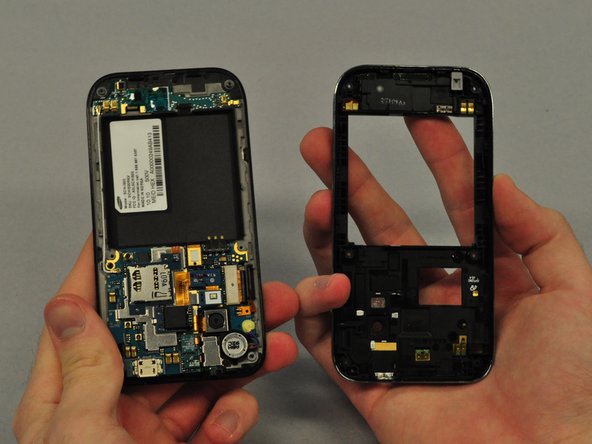
Once the clips are detached, separate the main case from the LCD touchscreen.
-
-
Este passo não foi traduzido. Ajude a traduzi-lo
-
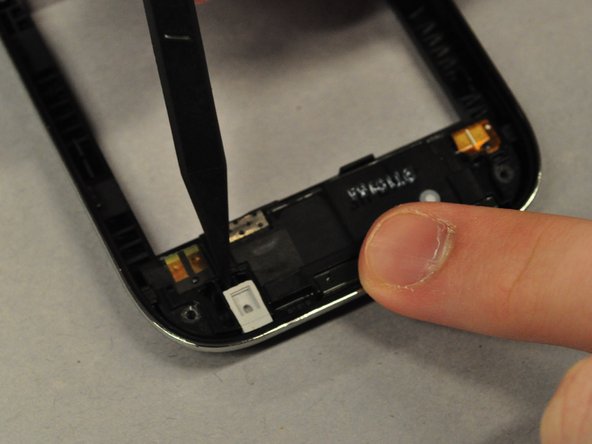
Use the spudger to pry out the grey rubber rectangular component from the main case.
-
-
Este passo não foi traduzido. Ajude a traduzi-lo
-
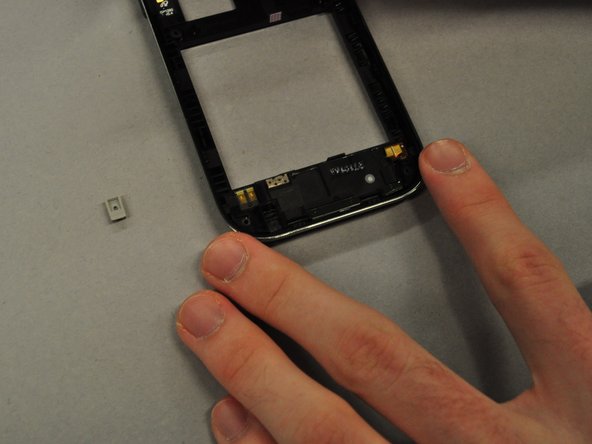
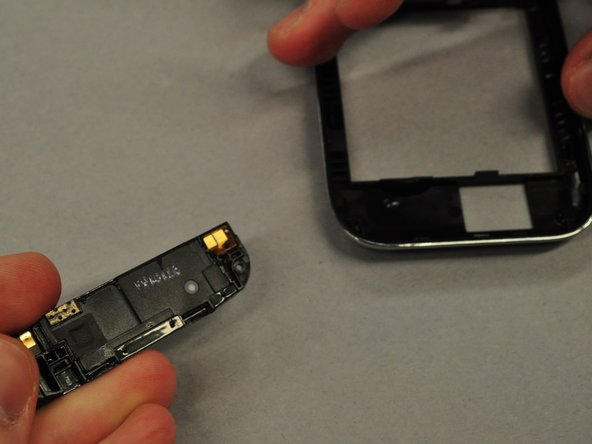
Use the spudger to pry along the groove between the speaker and the main case.
-
Once the speaker is unclipped it should pop out easily.
-


Cancelar: não concluí este guia.
2 outras pessoas executaram este guia.
Equipe

Cal Poly, Team 25-25, Garner Spring 2011 Membro de Cal Poly, Team 25-25, Garner Spring 2011
CPSU-GARNER-S11S25G25
Membros da 4
Autoria de 6 guias