Esta versão pode conter edições incorretas. Mude para o último instantâneo verificado.
O que você precisa
-
Este passo não foi traduzido. Ajude a traduzi-lo
-
Open the tray by pressing the eject button
-
Remove the DVD tray faceplate by pushing the faceplate up off of the tray.
-
-
Este passo não foi traduzido. Ajude a traduzi-lo
-
Press the eject button to insert the tray
-
After the tray is closed unplug DVD player
-
-
Este passo não foi traduzido. Ajude a traduzi-lo
-
There are six symmetrically placed tabs holding in the front faceplate. Unhook these six tabs to loosen the faceplate.
-
-
Este passo não foi traduzido. Ajude a traduzi-lo
-
Pull off front faceplate. This may take a couple of tries to get all six tabs unhooked simultaneously.
-
-
Este passo não foi traduzido. Ajude a traduzi-lo
-
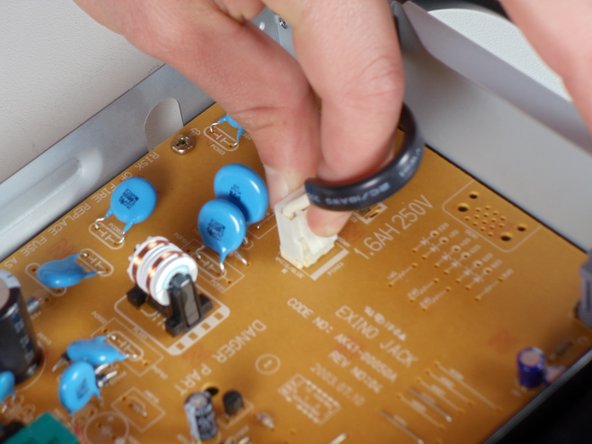
Locate the white clip that attaches the cord to the motherboard
-
Grasp clip and squeeze to release
-
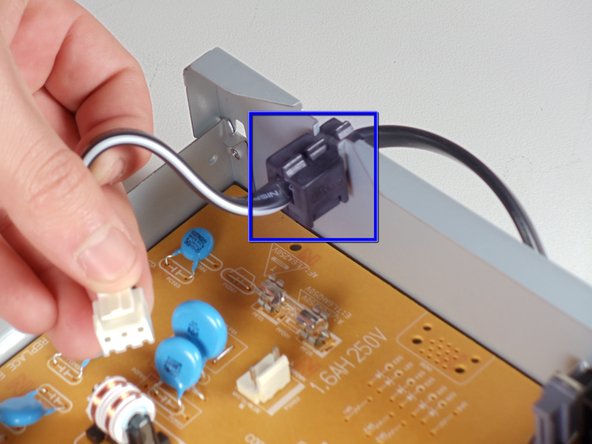
Lift up and remove power cord
-
Slide cord mount from outer case
-
-
Este passo não foi traduzido. Ajude a traduzi-lo
-
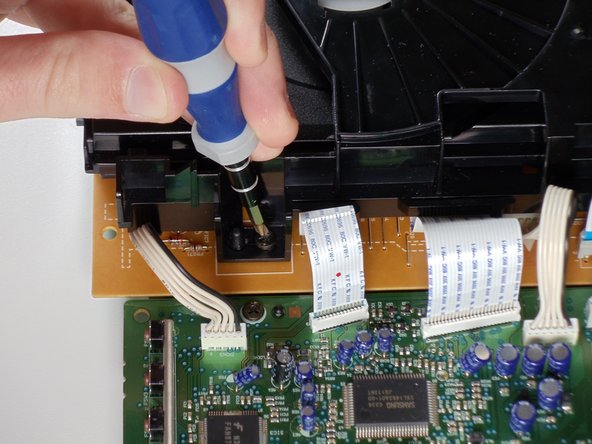
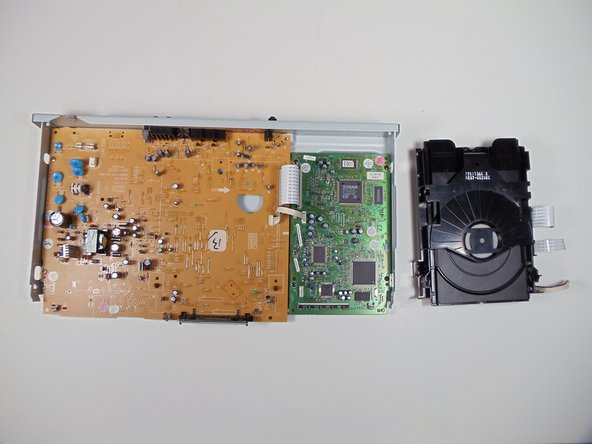
Remove the power cord and first two ribbons by pulling them directly out of their sockets.
-
-
Este passo não foi traduzido. Ajude a traduzi-lo
-
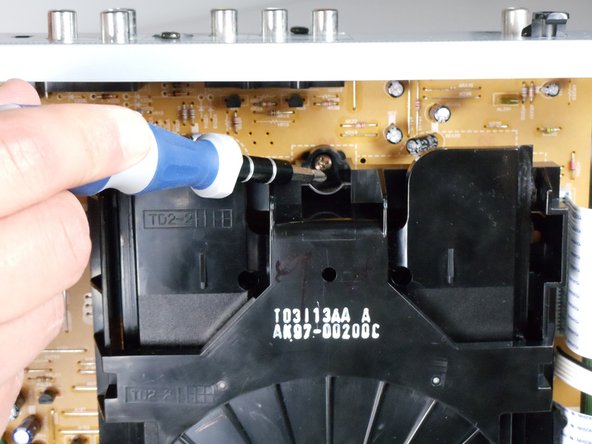
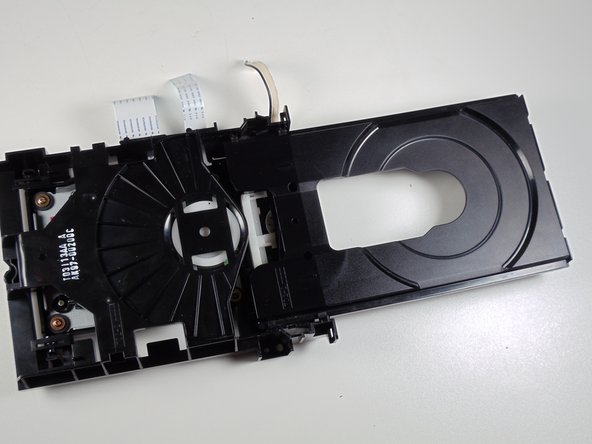
Spin the small gear shown to the right to begin opening the tray. There should be relatively little resistance in the gear.
-
-
Este passo não foi traduzido. Ajude a traduzi-lo
-
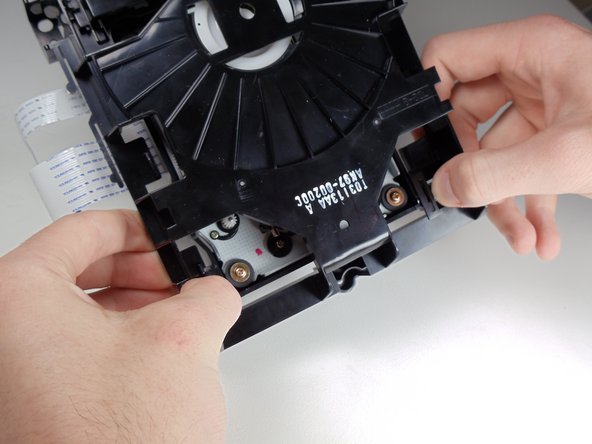
Use your fingers to pull the shown tabs towards the sides of the tray, releasing the internal tray that contains the laser.
-
-
Este passo não foi traduzido. Ajude a traduzi-lo
-
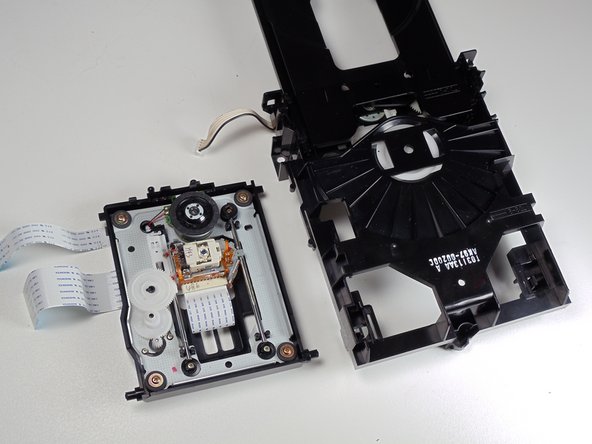
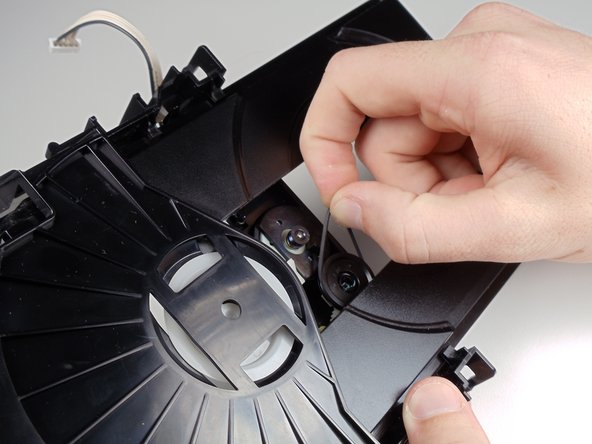
In order to remove the tray motor you must detach the small rubber band that runs between the two shown wheels.
-
If the rubber band is improperly fitted onto one of the wheels or broken this is probably the cause of the tray not opening or closing.
-
-
Este passo não foi traduzido. Ajude a traduzi-lo
-
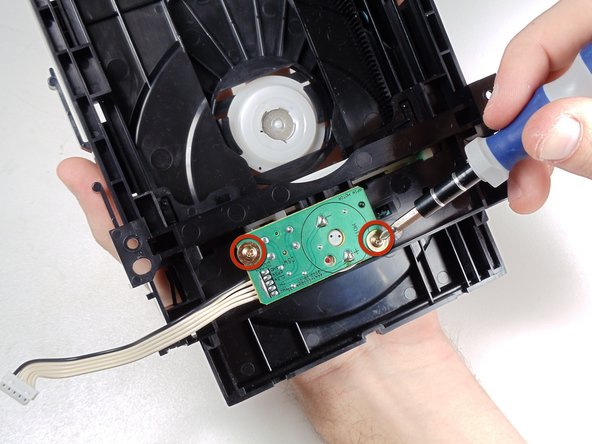
Flip over the tray.
-
Unscrew the two screws that attach the motor to the tray.
-
Once completed the motor can be easily removed and replaced.
-


Equipe

Cal Poly, Team 3-30, Regan Winter 2011 Membro de Cal Poly, Team 3-30, Regan Winter 2011
CPSU-REGAN-W11S3G30
Membros da 4
Autoria de 8 guias