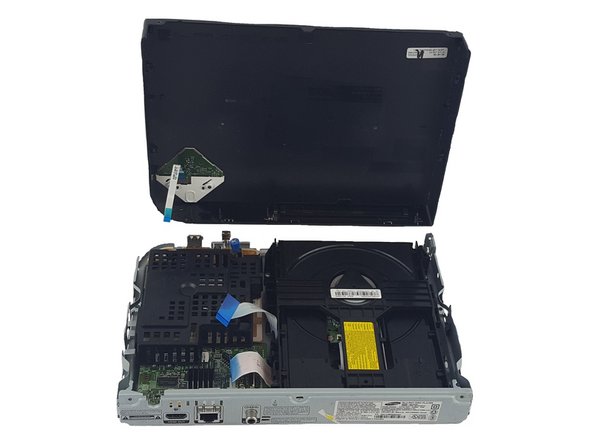
Ir para o conteúdo principal

Samsung BD-H5100 Disk Tray Replacement

O que você precisa

  1. Samsung BD-H5100 Disk Tray Replacement, Disk Tray: passo 1, imagem 1 %32
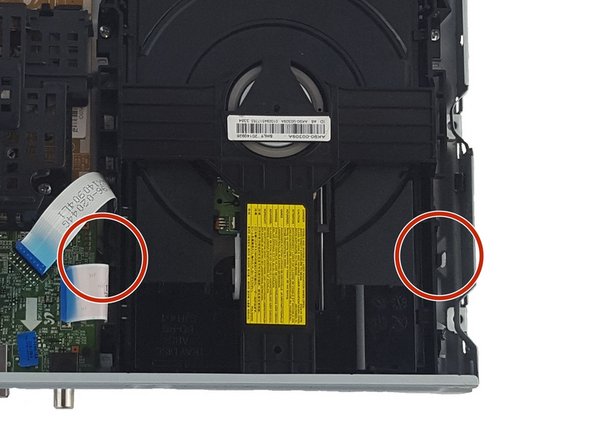
    • Use the Phillips Head #2 screwdriver to remove the three 10mm screws on the back panel.
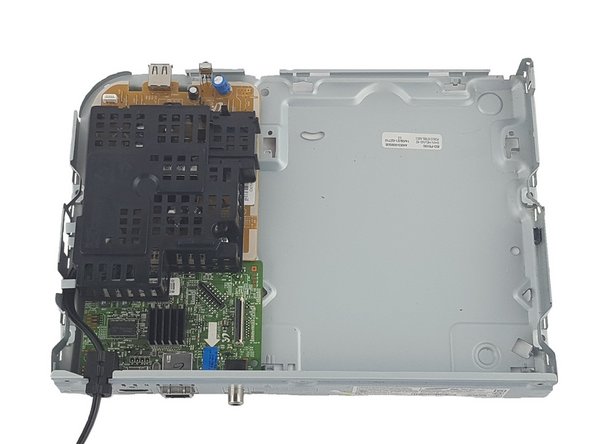
  2. Samsung BD-H5100 Disk Tray Replacement: passo 2, imagem 1 %32 Samsung BD-H5100 Disk Tray Replacement: passo 2, imagem 2 %32 Samsung BD-H5100 Disk Tray Replacement: passo 2, imagem 3 %32
    • Use the plastic spudger to pry open the top panel.

    • Be careful not to break the ribbon connecting the motherboard on the bottom panel to the top panel.

  3. Samsung BD-H5100 Disk Tray Replacement: passo 3, imagem 1 %32 Samsung BD-H5100 Disk Tray Replacement: passo 3, imagem 2 %32
    • Pull the ribbons gently from one corner by the blue tabs to remove it.

  4. Samsung BD-H5100 Disk Tray Replacement: passo 4, imagem 1 %32
    • Remove the two 7.5 screws on both sides of the disk tray with Phillips Head #2 screwdriver.

  5. Samsung BD-H5100 Disk Tray Replacement: passo 5, imagem 1 %32 Samsung BD-H5100 Disk Tray Replacement: passo 5, imagem 2 %32
    • Push two small prongs on both sides inwards and push forward.

    • Remove the disk tray.

Conclusão

To reassemble your device, follow these instructions in reverse order.

Mira Patel

Membro desde: 10/11/16

580 Reputação

Autoria de 5 guias

Equipe

USF Tampa, Team 1-2, Leahy Fall 2016 Membro de USF Tampa, Team 1-2, Leahy Fall 2016

USFT-LEAHY-F16S1G2

Membros da 3

Autoria de 5 guias

0 comentários

Adicione um comentário

Exibir estatísticas:

Últimas 24 horas: 0

Últimos 7 dias: 5

Últimos 30 dias: 7

Duração total: 371